Pages

Pages

Thursday, April 28, 2011

serendipitous

ser·en·dip·i·ty 
n. pl. ser·en·dip·i·ties
1. The faculty of making fortunate discoveries by accident.
2. The fact or occurrence of such discoveries.
3. An instance of making such a discovery.
seren·dipi·tous adj.


how beautifully serendipitous that just three days after seeing this lovely photo on country living

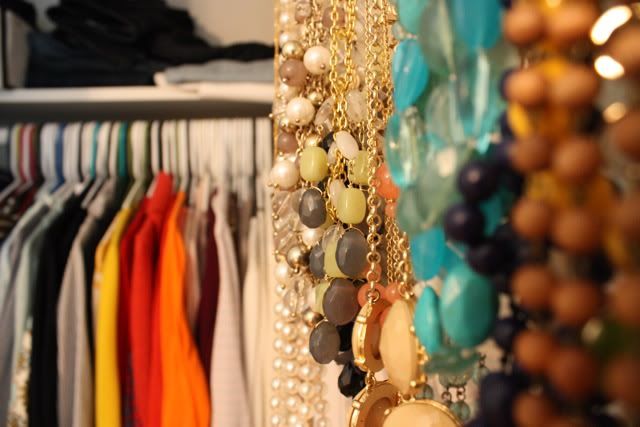
I in fact stumbled upon on old metal rake of my own! Remembering this picture, I snatched it up for a mere $3 from a local antique store.  Here's my version:
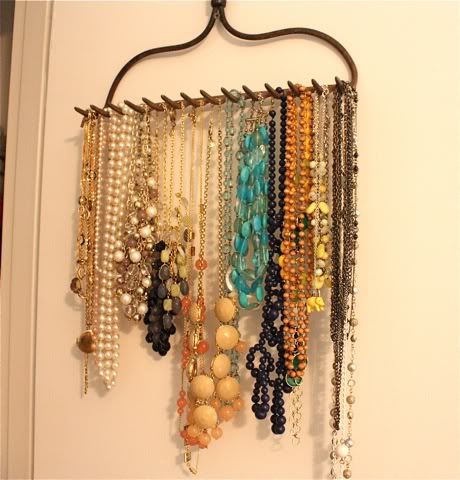
If you know me at all, you know I've never been much of a jewelry-wearer. I almost never change my earrings. I honestly think part of the reason is because when my jewelry is out of sight, it's out of mind. Plus, it's all been shoved in my jewelry box and tends to get tangled and that's just annoying.
Hopefully, its new home on the back of my closet door will remind me to give it its fair share of wear. (how's that for rhyming?!)


there's just something about shiny, pretty things combined with rusty, old things that gets me every time.
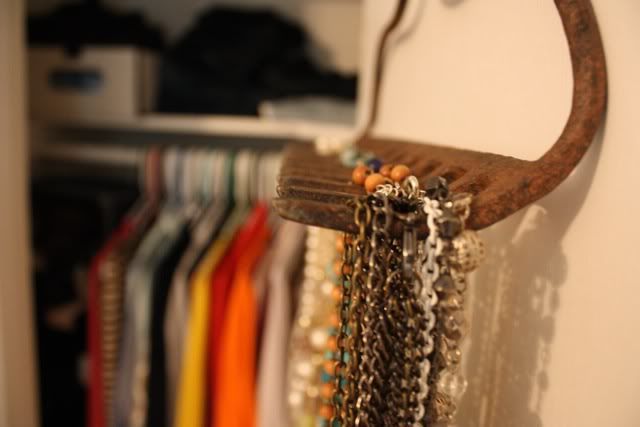

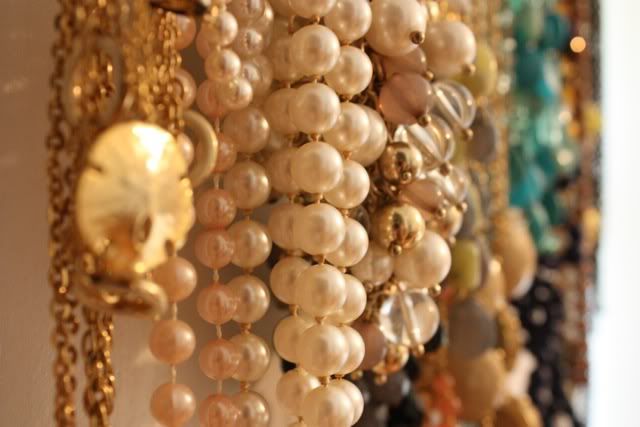

oh, to be free from tangled necklaces! the liberty! the release!

Wednesday, April 27, 2011

save your newspapers & target bags

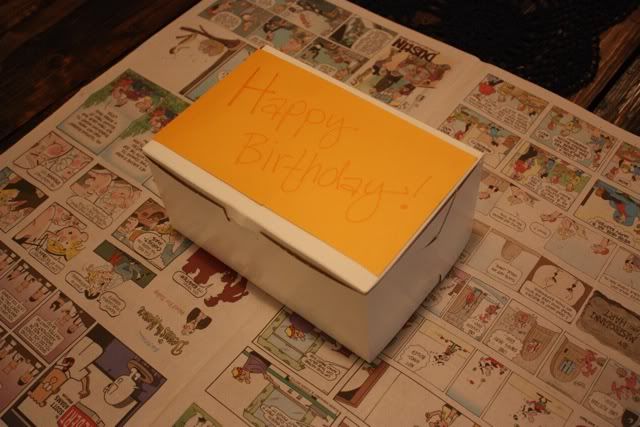
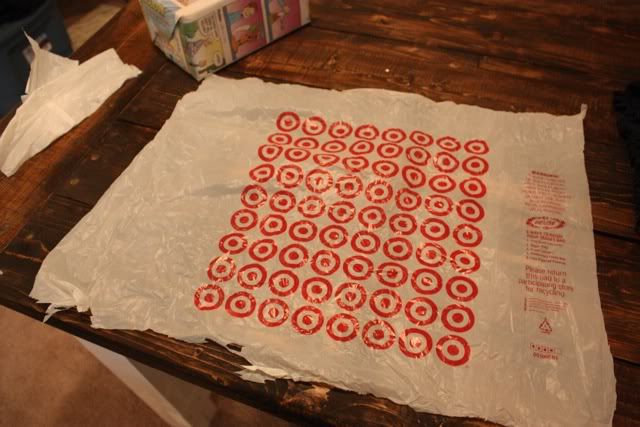
Did you know that by using a newspaper and a target bag you can create stylish (and free!) gift wrapping?!

Here's the lowdown...
When I was little my grandparents used to always wrap our birthday presents in the comic section of the newspaper. So the idea of using the funnies for wrapping paper has always been a sweet sentiment to me. It's the perfect wrapping paper when all you have left is wedding wrapping paper and you're trying to wrap a birthday present or you need to wrap a gift for a guy and all you have is girlie paper. If you don't get the newspaper (unlike this sunday paper coupon junkie), ask a friend/neighbor or wait in starbucks long enough and someone is sure to leave one behind.


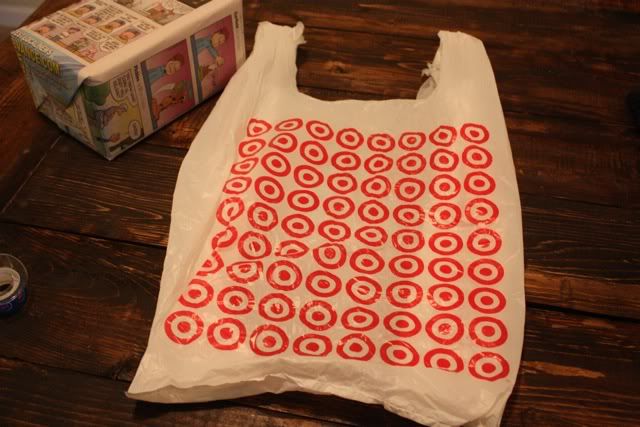
Once your gift is wrapped, you'll need a bow of some sort to punch it up a bit. Enter target bag.


I learned this trick a long time ago and have used it often when I wanted to make a quick bow for a gift.

First, cut the handles off your target bag. But save one, you'll use it later.


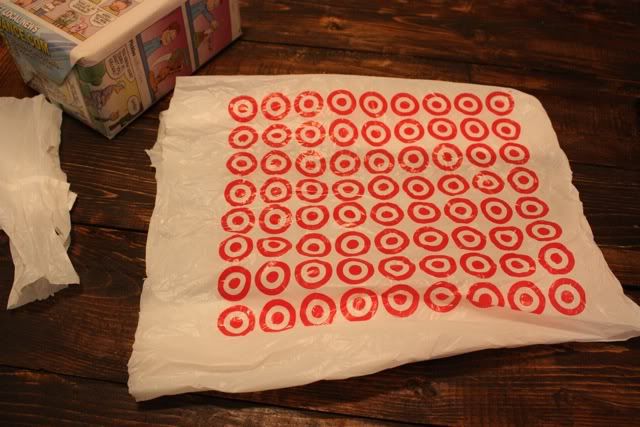
Next, cut along the seams of the bag so that you just have the flat front of the bag. Reserve the plain white back side of the bag - you may want to use it later.


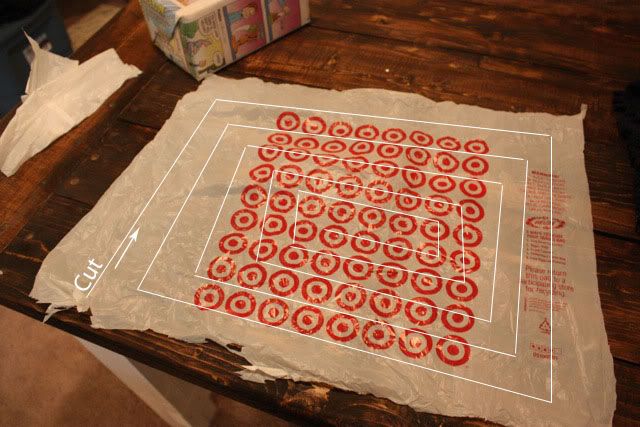
For this next step, I drew a little diagram to follow. Essentially what you are doing is making one long strip out of the bag. It doesn't have to be perfect, just one, long piece.


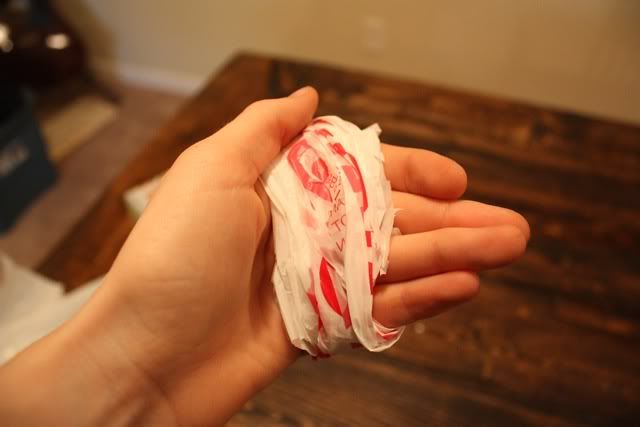
Then you are going to take this long strip and wrap it around your fingers. (If you've ever made a yarn pom-pom, it's sort of the same idea.)


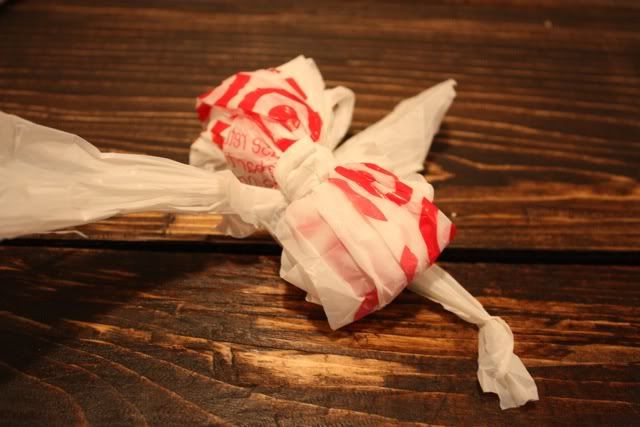
Next, pull out that handle that you set aside and use it to tie the center of your bag.


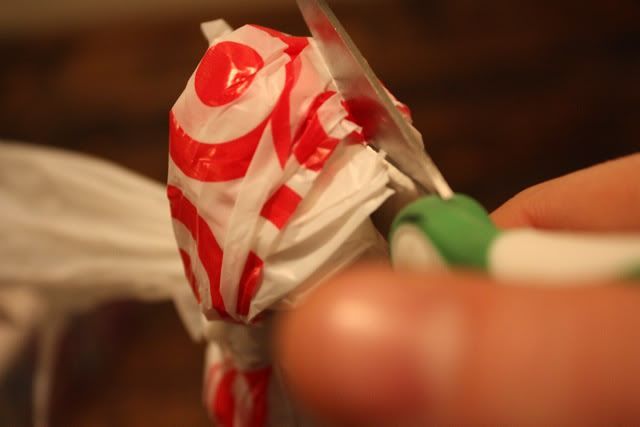
Now, cut through each end's opening.


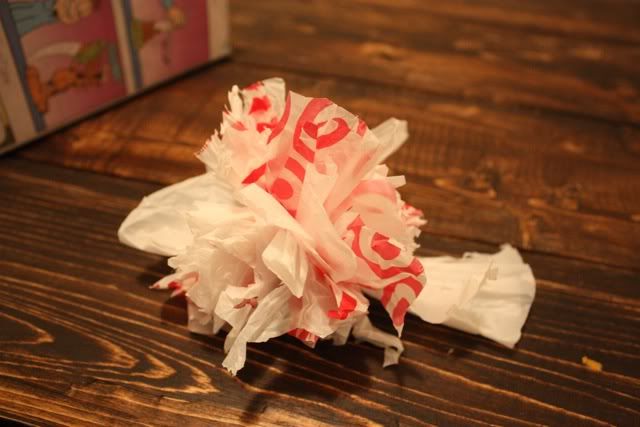
Voila, your bow is formed! Feel free to trim it up and make it more symmetrical - I like to leave mine a little unruly-looking.


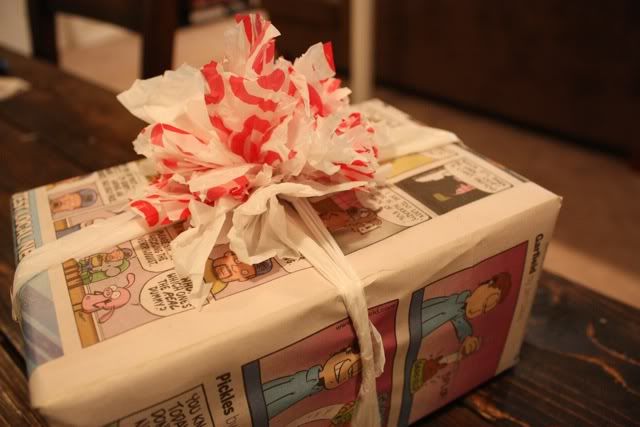
Repeat the same style of cutting used to make one long strip for the reserved white part of the bag. This will be used as your 'ribbon'. Use the excess part of the handle to attach the bow to the 'ribbon'.


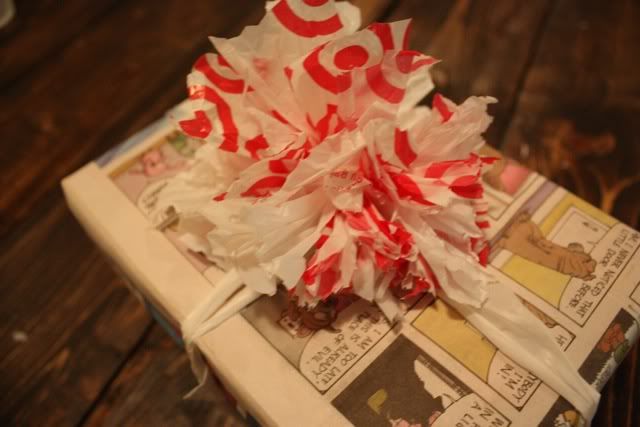
And there you have it. So, be sure to save those newspapers and target bags and you'll never be caught 30 minutes before a party with nothing to wrap your gift with!

Tuesday, April 26, 2011

diy window boxes

do you guys know how much window boxes cost?! like a legit window box? like this. it's a travesty. a travesty that spurred josh and i to diy our own window boxes. so if you are also up in arms about this issue, read on.

diy version:
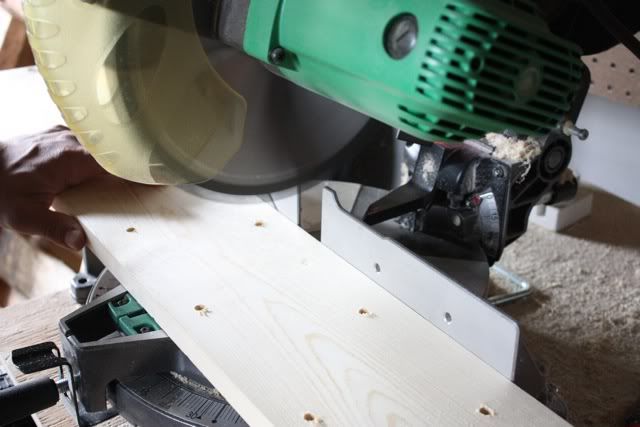
1. Measure the length of your window.
2. You will need 3 pieces of wood for each window box's side and bottom so multiply your length by 3 to decide how much wood you will need for each.
3. Purchase 1" x 5 1/2" x 6' boards.
4. Cut boards to fit your desired length which pre-measuring can help you be economical to save money on the amount of wood you purchase.

5. Attaching the three wood pieces can be done by staples or with wood screws, we used wood screws
6. Measure the ends of your wood boxes and cut the width of each end to enclose your box - ours was 7 inches.
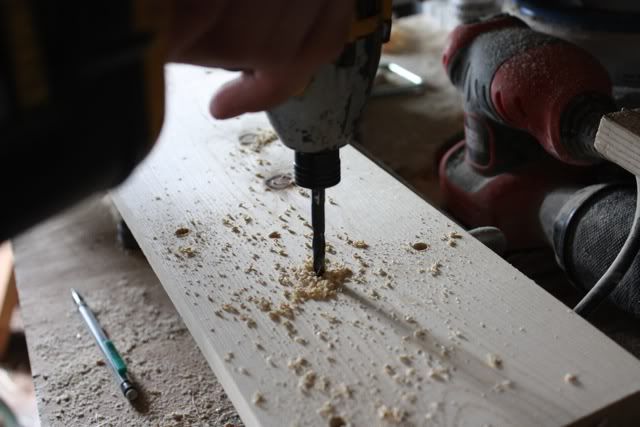
7. Drill holes in the bottom of the boards to allow water to drain when watering.

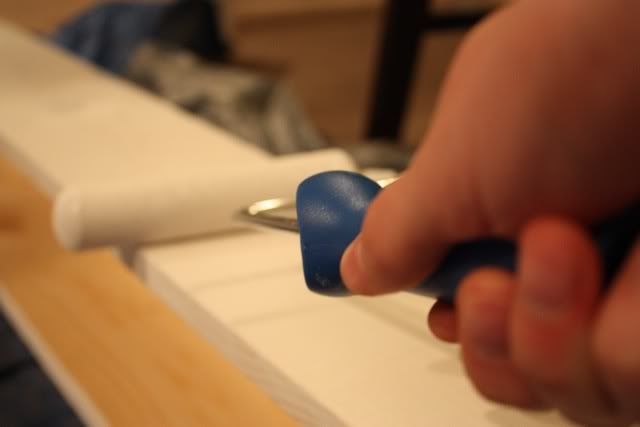
8. Now you will want to paint the boxes and apply polyutherane to prevent mildew given the outdoor elements.

9. Lastly attach your wood boxes to your house underneath the windows using screws. We used tapcon screws because of our brick front of where we wanted our boxes to be located.


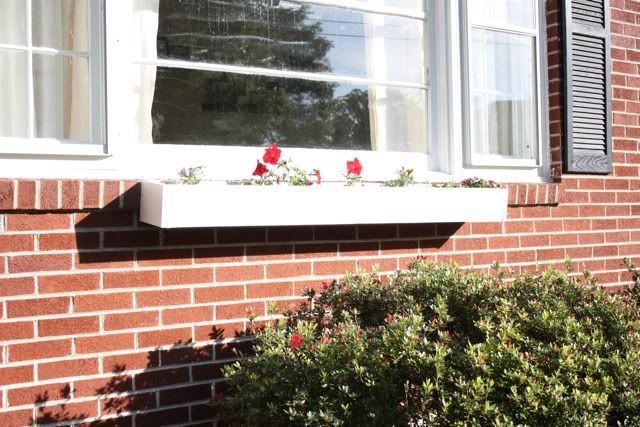
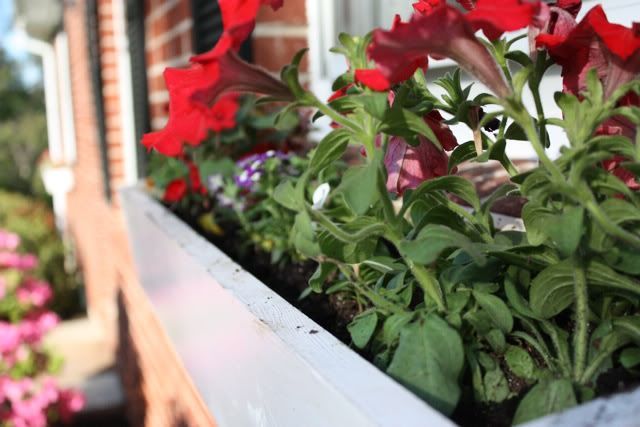
We made one smaller window box for under our kitchen window...


...and one larger box for under our living room picture window.


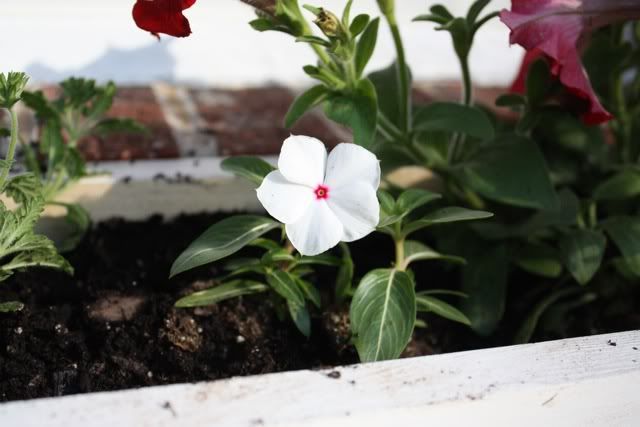
Fill your boxes will the flowers of your choice.


Enjoy the beauty and added dimension to your house!

Our grand total for wood and supplies was about $20. Pretty good considering I couldn't find one window box that wasn't plastic for less than that!
Monday, April 25, 2011

the adirondacker

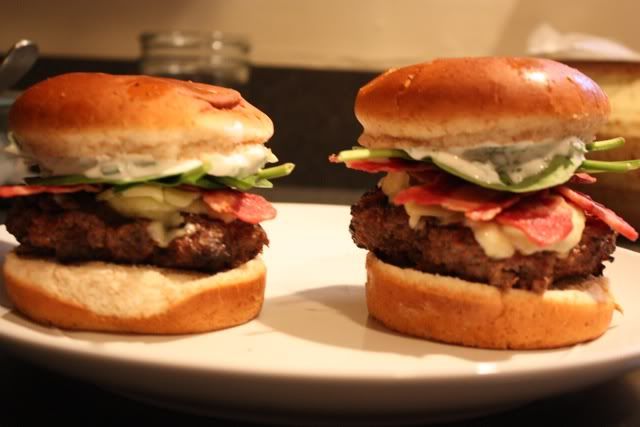
It was the title of this recipe from Everyday with Rachel Ray that reeled me in. I used to live in the Adirondack Mountains of New York and so the origin of this burger hit close to home. This burger was SO good! And it was a nice break from our normal ketchup, mustard, pickles routine. I highly recommended giving it a try!


INGREDIENTS:

  • 8 slices smoked bacon
  • 2 pounds ground sirloin
  • 2 tablespoons Worcestershire sauce
  • 2 tablespoons prepared horseradish
  • Salt and pepper
  • 8 ounces shredded or sliced extra-sharp white cheddar cheese
  • 1 cup sour cream
  • 1/3 cup finely chopped flat-leaf parsley (a generous handful)
  • 1/3 cup finely chopped chives (a generous handful)
  • 1/3 cup finely chopped dill (a generous handful)
  • 4 crusty kaiser rolls, split
  • 1 bunch watercress or arugula, chopped

  • DIRECTIONS:
  1. In a large skillet, cook the bacon over medium-high heat until crisp. Drain on paper towels. Discard all but 1 tablespoon bacon fat.
  2. In a medium bowl, combine the sirloin, Worcestershire sauce and horseradish; season with salt and pepper. Form into 4 patties. Heat the bacon fat in the skillet over medium-high heat. Add the beef patties and cook, turning once, for 8 minutes for medium. Melt the cheese on top of the patties during the last 2 minutes of cooking.
  3. Meanwhile, in a medium bowl, combine the sour cream, parsley, chives, dill and lots of pepper.
  4. Place the cheeseburgers on the roll bottoms and top each with 2 slices bacon and some watercress. Slather the bun tops with the sour cream sauce and set into place.

    • 4 SERVINGS
    • PREP 15 MIN
    • COOK 20 MIN

Friday, April 22, 2011

finding a match

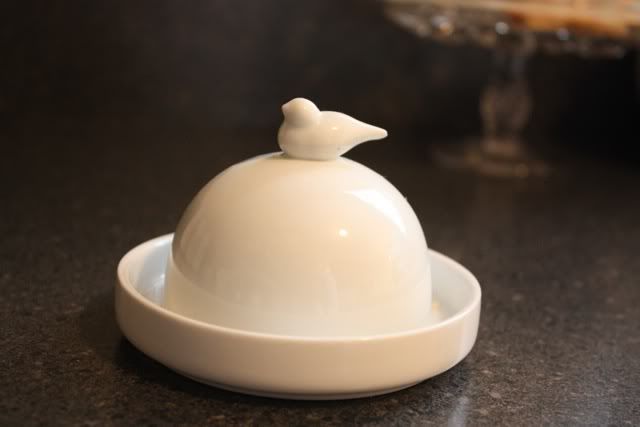
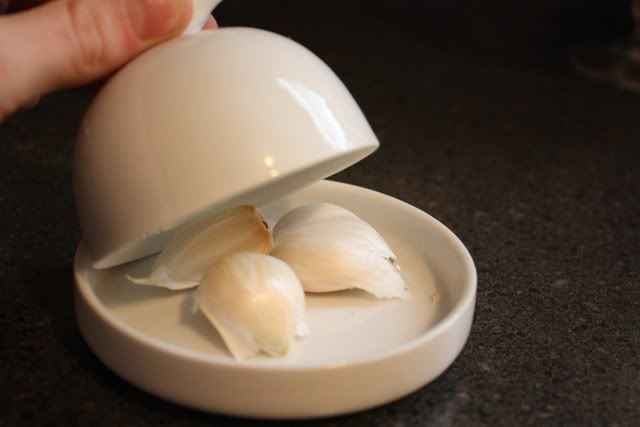
If I had a nickel for every abandoned lid or top I saw in my thrifting adventures - I'd be a rich girl. I've been known to give a lonely lid a new mis-matched home from time to time. For example, this little bird-topped dome was found left without a mate, but I picked it up and matched it with a candle holder from home.


Now I use it to store my excess garlic cloves.


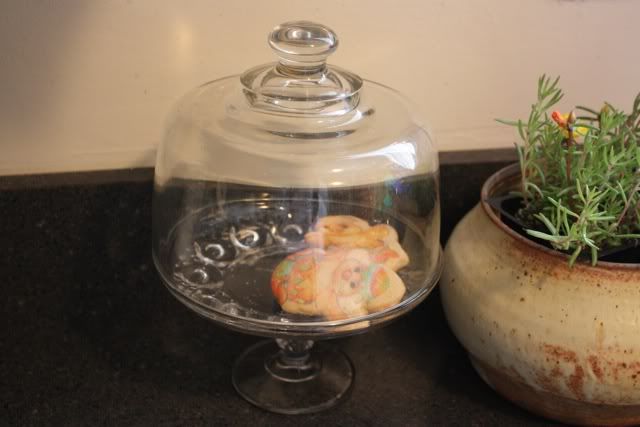
If you go to thrift store at all, I'm sure you've seen many of these cheese domes. I've often seen them paired with wooden plates or cheese boards. But this one was all alone. As luck would have it, it is a perfect mate for this little cake plate I had at home.


Now it helps to display and keep my Easter cookies fresh.


So, next time you see a tossed aside lid, think about how you might be able to give it a new home and find it a match.

Thursday, April 21, 2011

what dreams are made of


well, at least what my dreams are made of: endless rows of antique treasures and my handsome husband.

Wednesday, April 20, 2011

flair

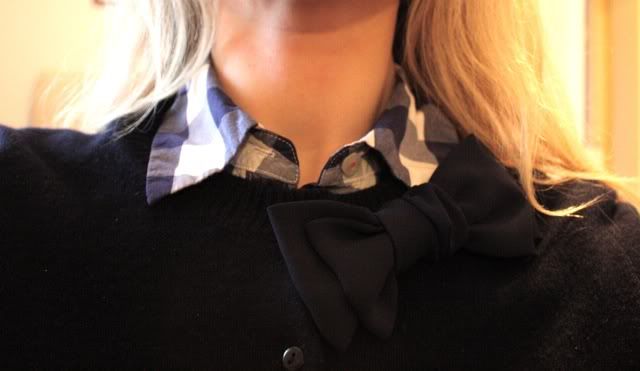
I have several pieces in my wardrobe that have become kind of....well, tired. I look at them and I want to fall asleep. But since I've made this quasi-resolution to be more resourceful, instead of ditching them, I decided to create some flair.

No, not this kind of flair...
(name this movie for 15 cool points)

In this case, flair = fabric bows and flowers. And since I'm more of a trial and error kinda girl when it comes to my crafting, you can check out this tutorial on making bows and this one on making fabric flowers. I'm sure they will be much more helpful than my 'um..well, I tried to fold the fabric like this and it didn't work, so then I did it like this and that looked better...'  I am thankful for tutorial-type people.

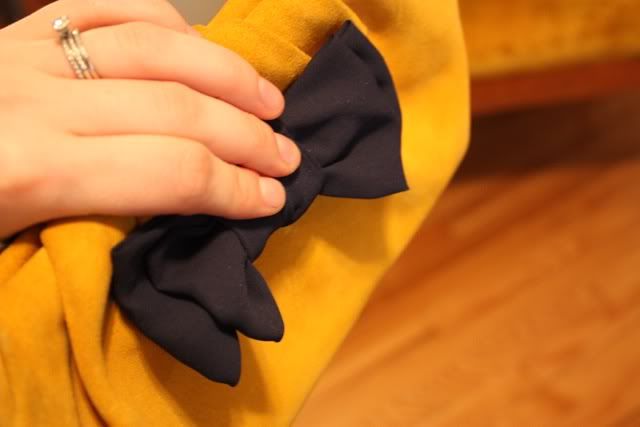
This bow livens up this plain-jane cardi anyday!


It also helps gussy-up this yellow clutch.


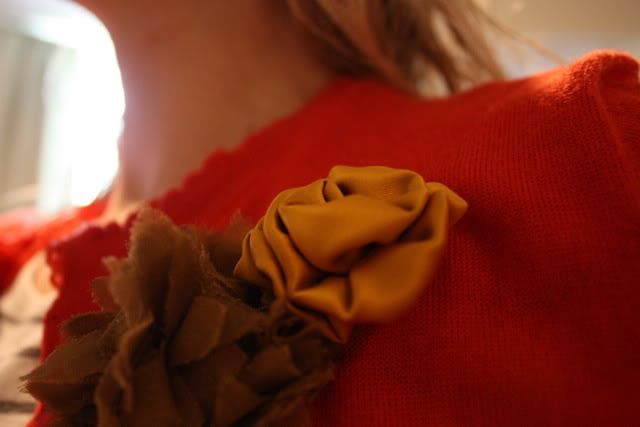
Fabric flowers are a great way to add some spunk into your wardrobe (or hide a hole in my case)


The best part about adding flair is that you can take it away for those days when plain sounds perfectly beautiful in and of itself.

Tuesday, April 19, 2011

easter decorating: a first

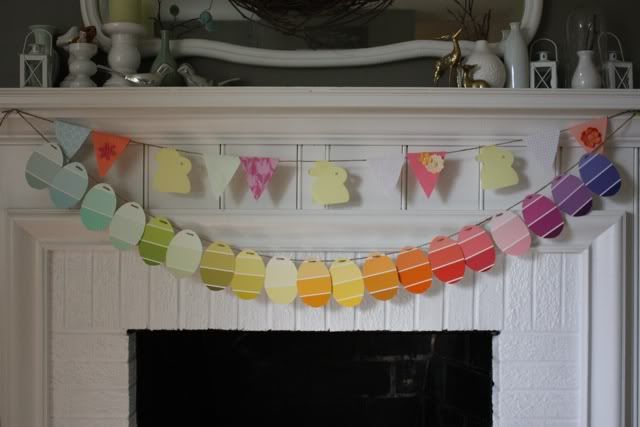
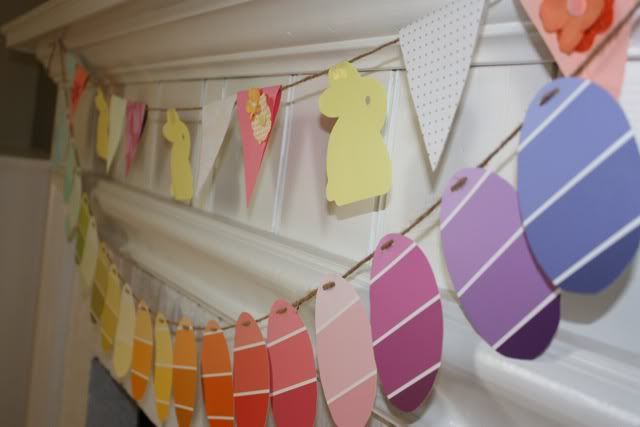
Josh and I are staying home for Easter. It's the first ever holiday where we aren't traveling to be with family or friends. It feels kinda weird. So, to get in the Easter spirit, I determined that I would make an Easter-themed bunting. While I was in this mode of determination, I stumbled upon this super-simple Easter egg garland from The Coterie Blog that would coordinate beautifully with what I already had in mind.

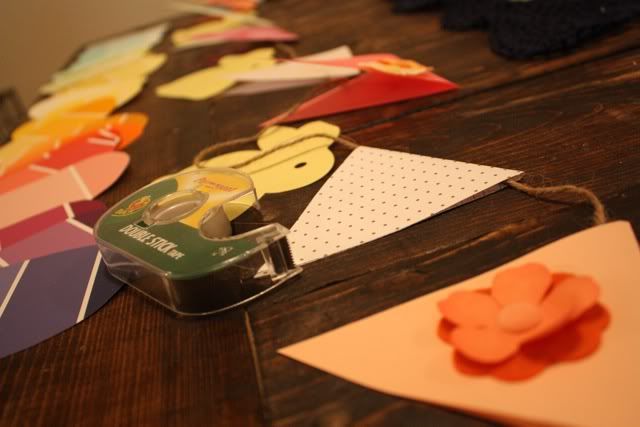
My idea for Easter bunting was typical bunting flags and bunny cutouts. I used double sided tape to keep my triangles together which would also allow me to move them around on my string of twine.

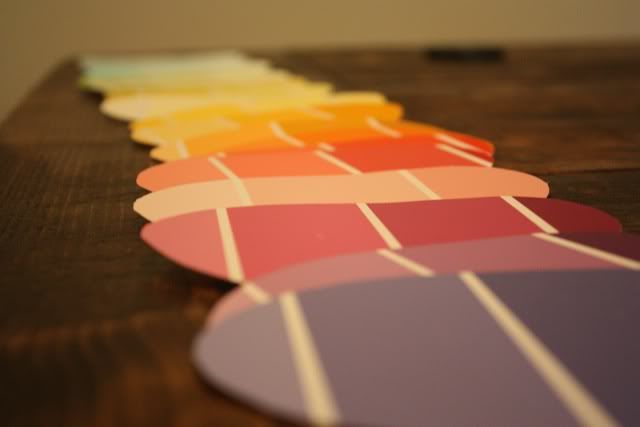
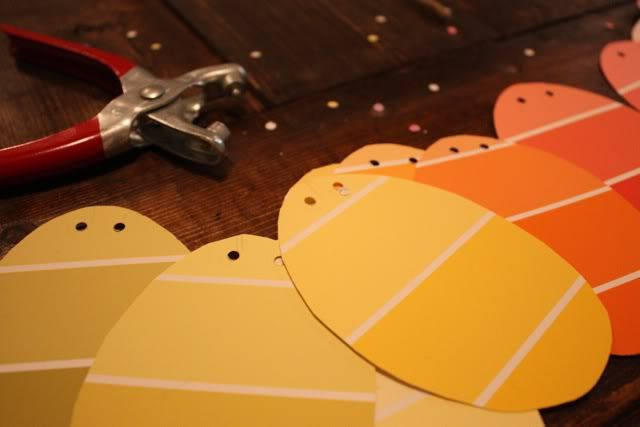
The Easter egg garland was made from paint swatches. Easily grabbed when you're already headed to the store for mulch. Thank you, Home Depot.

I love how the white lines make the eggs look striped.

I freehanded my egg shape (it's pretty hard to mess up an oval) and then I used my first cut out as a pattern for all the rest. I used my small hole punch and strung my eggs by color groups.

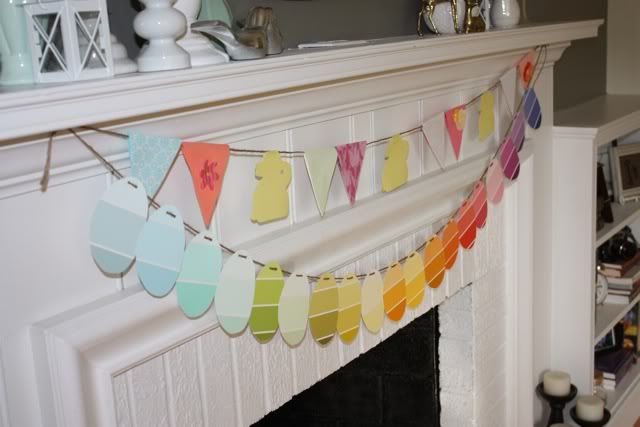
My finished product. I love how bright and Easter-y it is against all the white.


Makes having Easter at home feel a little bit better. 

Monday, April 18, 2011

menu planner


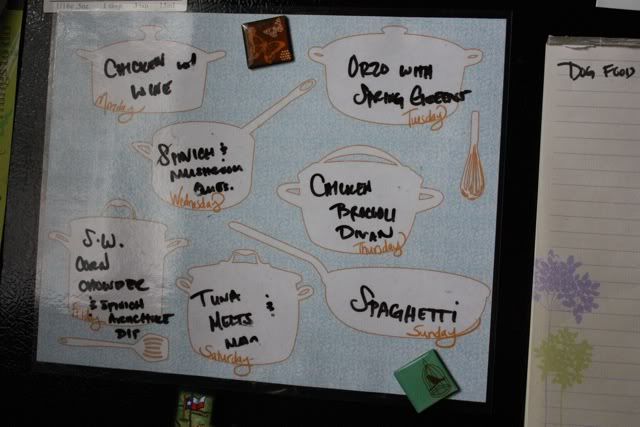
As I've said before, menu planning keeps me sane. I used to start stressing every day at about 3 o'clock about what I was going to make for dinner. Often times I would begin to make something and then realize I was missing an ingredient. Frustrating, let me tell you. So in order to rid myself of this reoccurring frustration, I decided to start menu planning. On Sunday afternoons, I sit down with my recipe binder, coupons, and shopping list and I hash it out. I love to try new recipes, but I also like to give myself nights where the meals are no-brainers. 

I have a menu planner on the side of my frig where I write* down all the options for the week. I usually trade around the days depending on my mood, but it's nice to be able to look at it and know I have everything I need to make anything on that menu. My menu planner is a free printable from Ollibird which you can download and print for yourself here. And then I got it laminated, which works great with dry-erase markers. They suggest to frame it so you can write on it, which is also another option.

Anyone else an menu planner out there? Maybe you're trying to become one - if this cute & free planner isn't enough to motivate you, I'm not sure what will. :)


*that's not my handwriting in the picture above. I think Josh got water on it and had to re-write it.

Friday, April 15, 2011

twitterpated

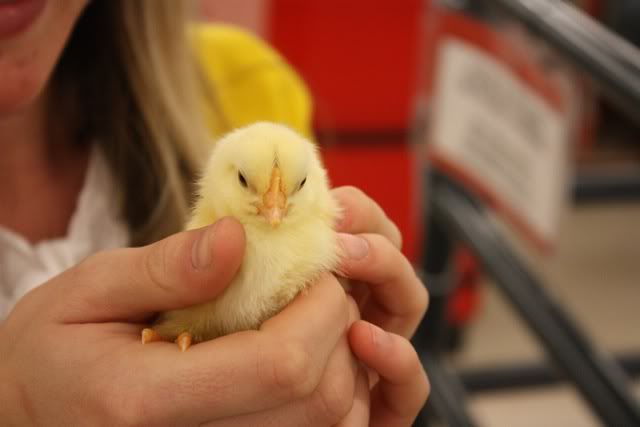
It's spring and i'm twitterpated....with baby animals that is. who am i kidding? it's not just in spring, it's all year long- I have an affinity for all things tiny. it's true. Especially this little chick that I got to hold while browsing in Tractor Supply, Co. If they would stay small, I would own chicks.

Here are some other baby animals to help you get your fill of cuteness for the day:


source

You're welcome.