Pages

Pages

Monday, February 28, 2011

5.24.08 in 2011

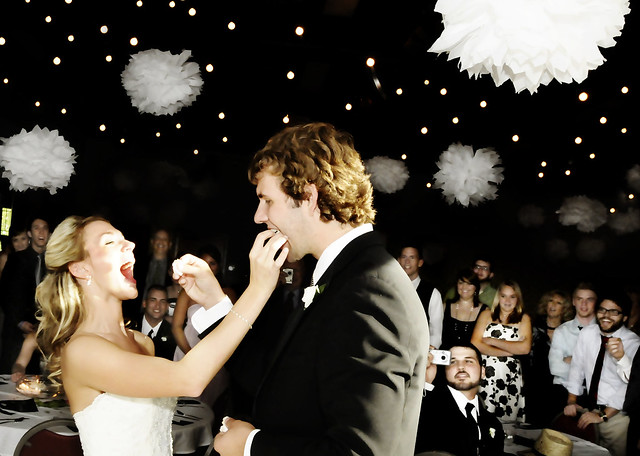
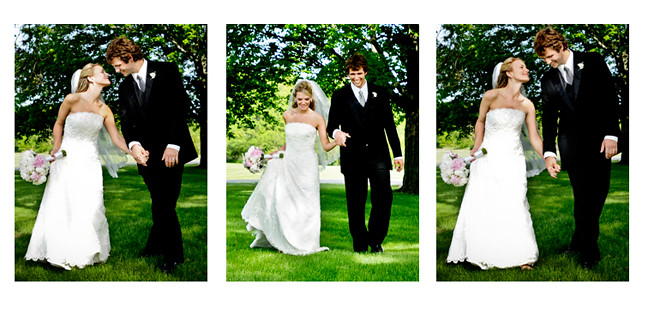
May 24, 2008 was the best day of my life. not only did i get to marry my best friend and true love, but i couldn't have paid for a prettier day


and there's nothing like being surrounded by people you love....and eating cake.


Some people hate to plan a wedding and find the detail-oriented task to be quite overwhelming, but I was not one of those people. I relished in the planning process and enjoyed finding ways to make my ideas work on a budget (like making over 50 martha stewart inspired poms by hand to hang at the reception). So, today I was thinking about if I was able to get married again this year, what I would do.

I would marry the same guy...


I would wear the same dress...

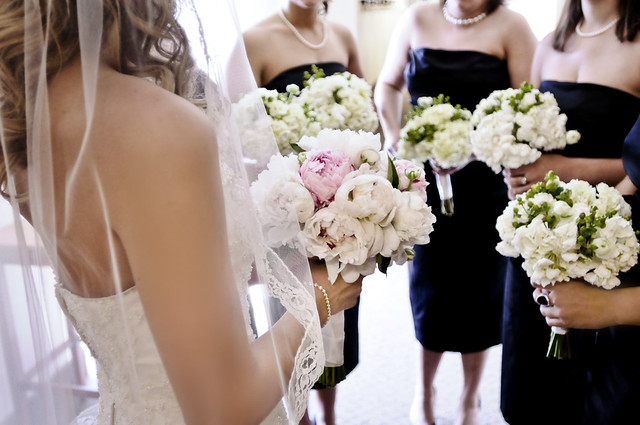
I would hold the same bouquet (i love peonies).....


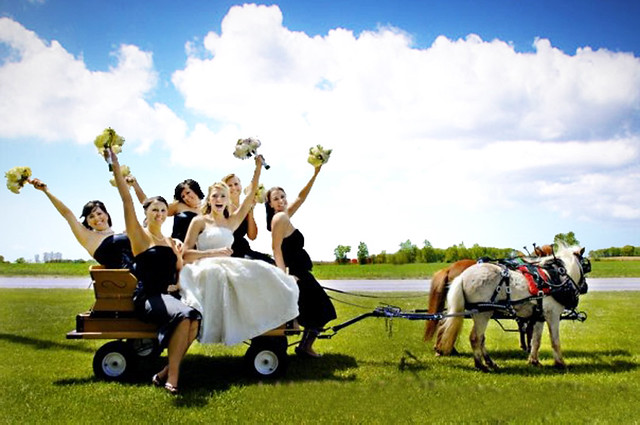
and ask the same people to stand by my side.


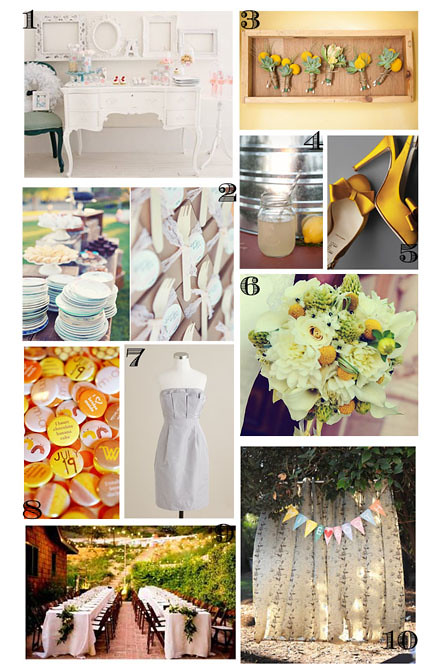
But if I could plan a wedding again this year, it would be more like this:


1. I would love to do an Amy Atlas type styled dessert table....
2. ...and use mis-matched vintage dessert plates for serving with cute take home boxes.
3.  I would use yellow. Billy ball boutineers for the guys.
4. I would drink lemonade (my hubs favorite beverage) out of mason jars.
5. I would wear colored shoes instead of white.
6. I would spice up my girls' bouquets with a pop of yellow.
7. I would have my girls wear something chic and grey.
8. I would make cute and clever buttons for favors.
9. I would choose a beautiful outdoor venue where all my favorite people could sit together at long, classy tables.
10. I would make my own photobooth.

12345, 6, 7, 8 , 9, 10

Maybe I'll try to convince Josh to become like Heidi Klum and Seal and renew our vows every year so I can indulge my love for planning. Probably not. Hey, a girl can dream...

Happinest Photo logo

All the wedding photos pictured are courtesy of Happinest Photo - if you're in the market for a wedding photog, they coming highly recommended by this girl. (They are based out of Indiana, but they do travel.)

Thursday, February 24, 2011

a spot of {for} coffee

a long time ago, when our current house was just a glimmer in josh's eye, i bookmarked this image from notebook: magazine


i loved it because of the coffee shelf and the glass jars.

i remembered this image when i saw this little nook in our kitchen during our walk-thru:
so then when i spotted this white shelf at a garage sale for $1, i immediately saw its potential. I had Josh cut down one of our thin wooden curtain rods that we had no use for in this new house and hide it under the shelf. Then I spray painted some S-hooks white for hanging my coffee cups.

I love these coffee cups. They were a wedding present, they are huge, and they say coffee. I also love those little ceramic hanging baskets that I found at goodwill - perfect for stirring spoons.


i honestly don't know what i would use this space for other than a perfect little space designated specifically for my favorite morning beverage. 
how 'bout you? do you have a special place for your coffee to call home?

Wednesday, February 23, 2011

etsy search: vintage decor

Someone recently asked me what my home decorating style is. I blanked. What do you call a mod-podge of antique/vintage hand-me-downs mixed with various craigslist finds sprinkled with some target furniture?
I suppose if i had been given more time to think I would have said it was modern/antique-chic. Our house is a fair mix of both. Although i find myself erring on the side of antique items lately.
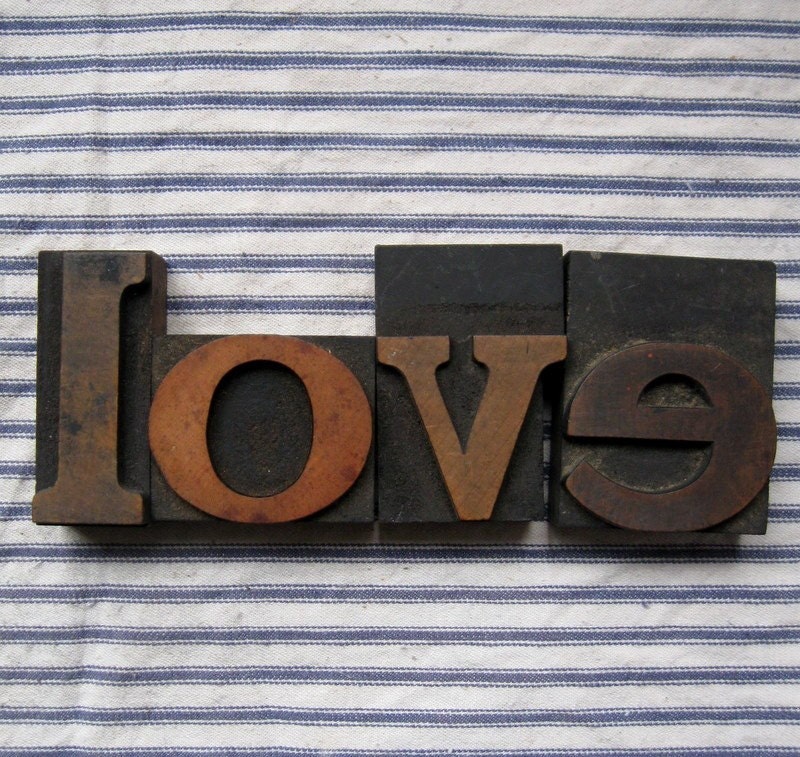
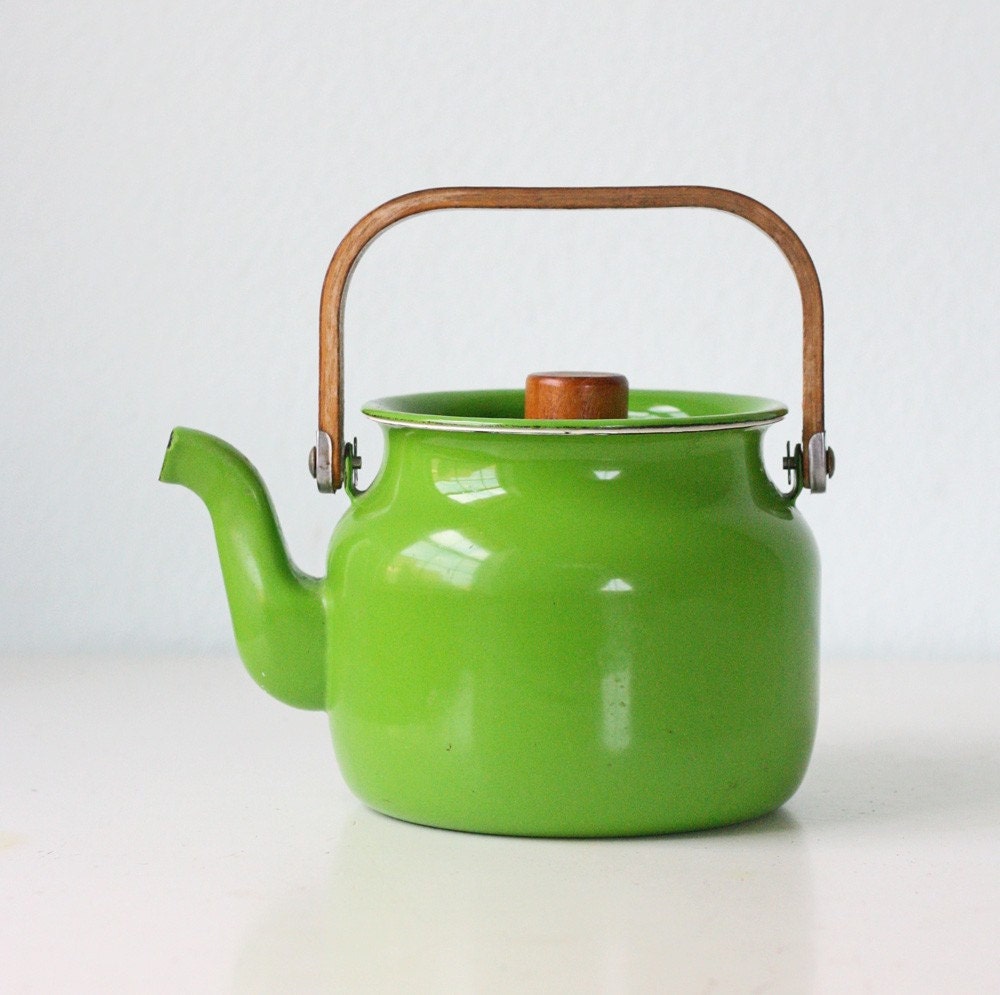
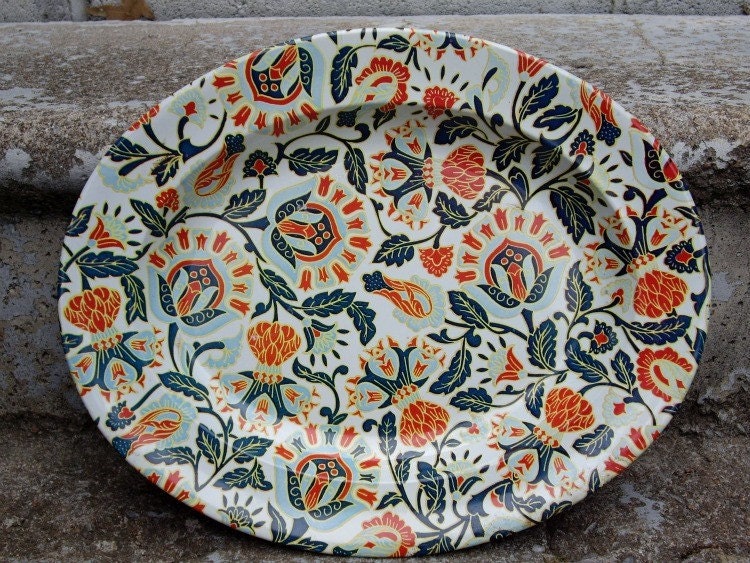
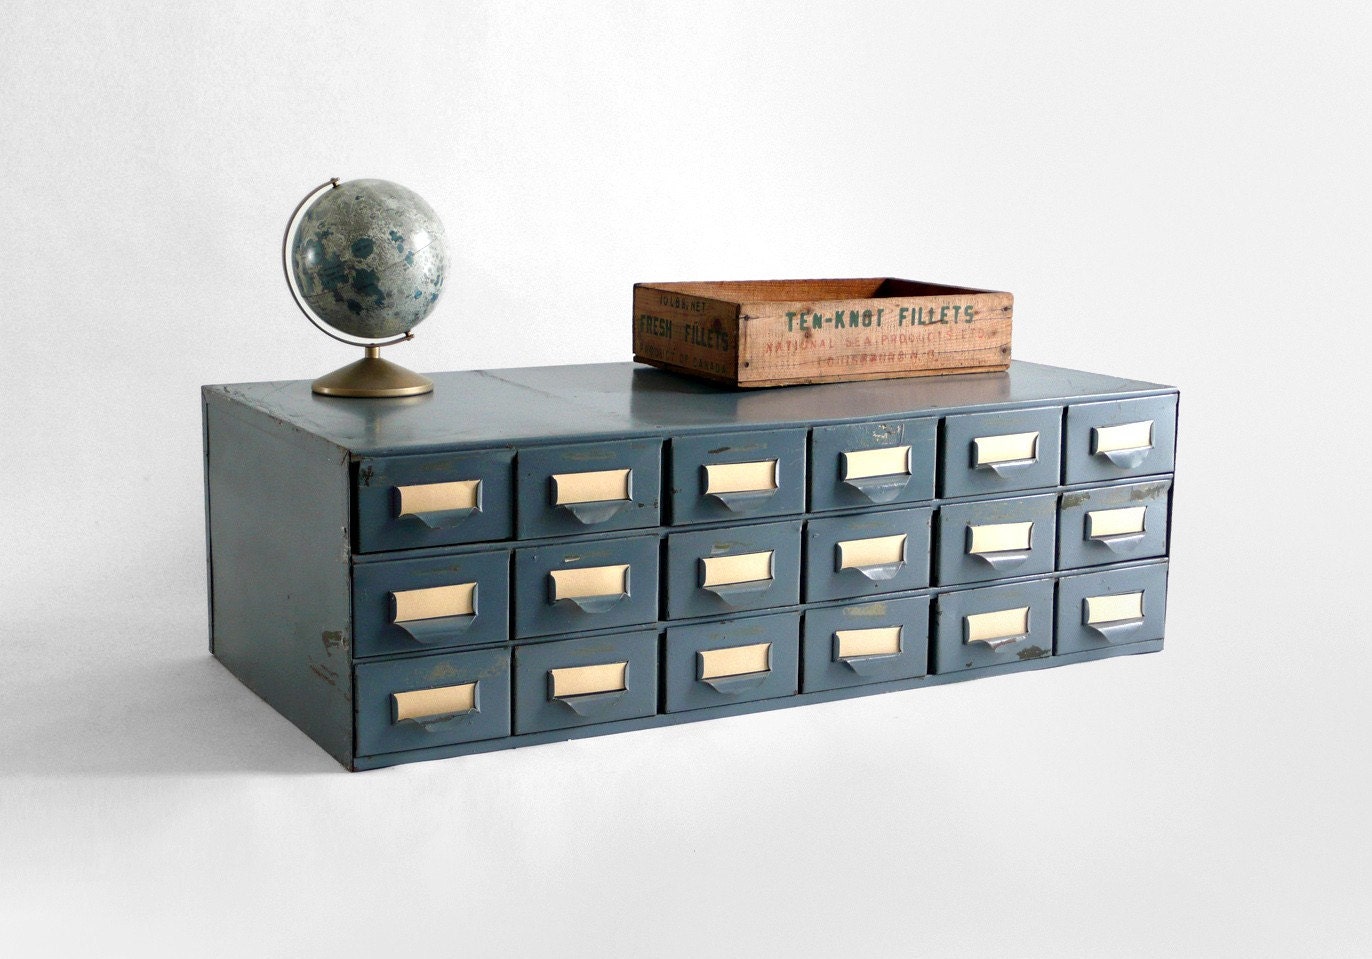
and i'm sure i could find some space for these antique lovelies:

Antique Wooden letterpress print blocks love set3

Retro Green Enamel Teapot

Oval Flower Platter Made in South Africa Tin
Industrial Metal Card Catalog
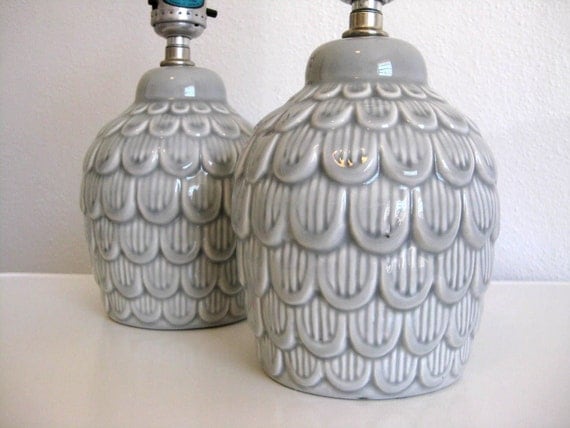
Pair of Mid-Century Lamps
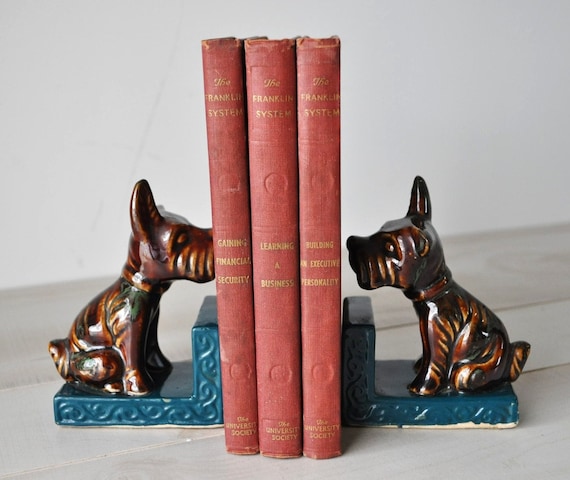
vintage dog book ends
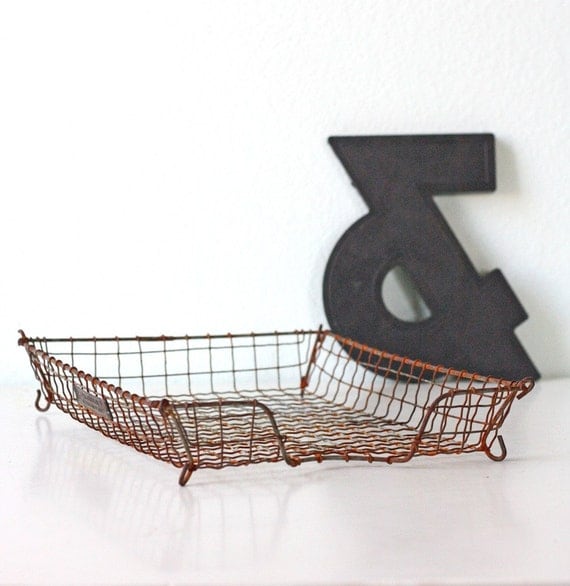
Vintage Acme Wire Basket

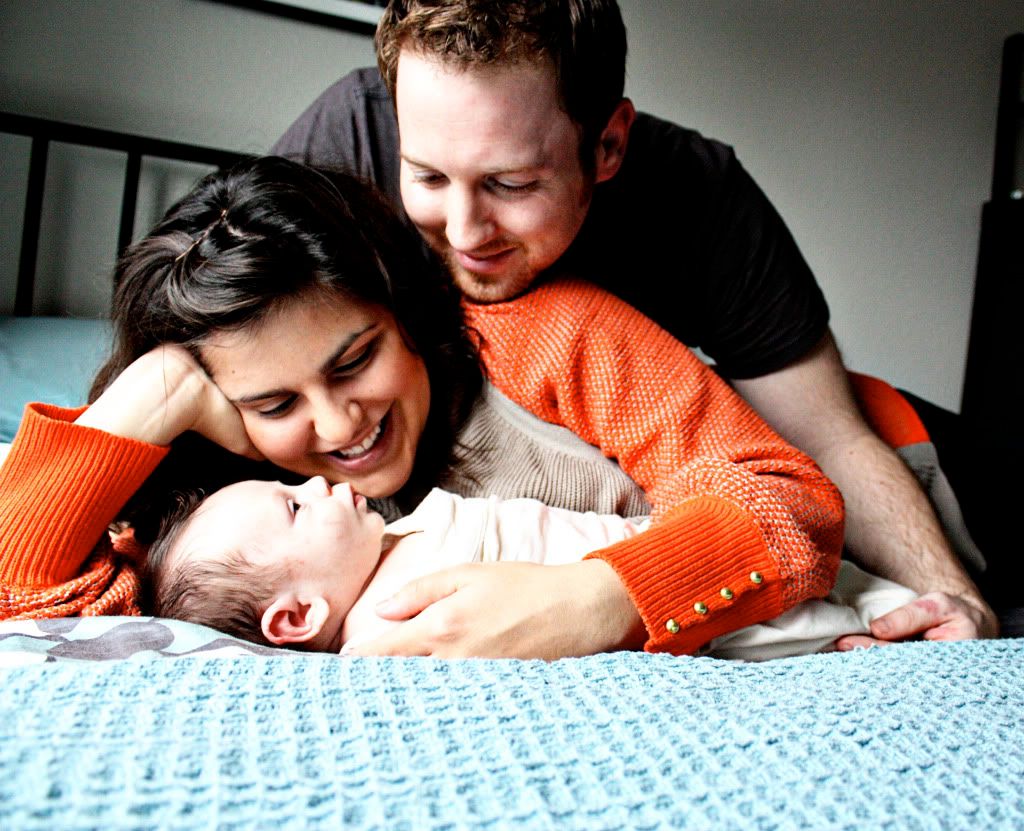
meet the bowmans

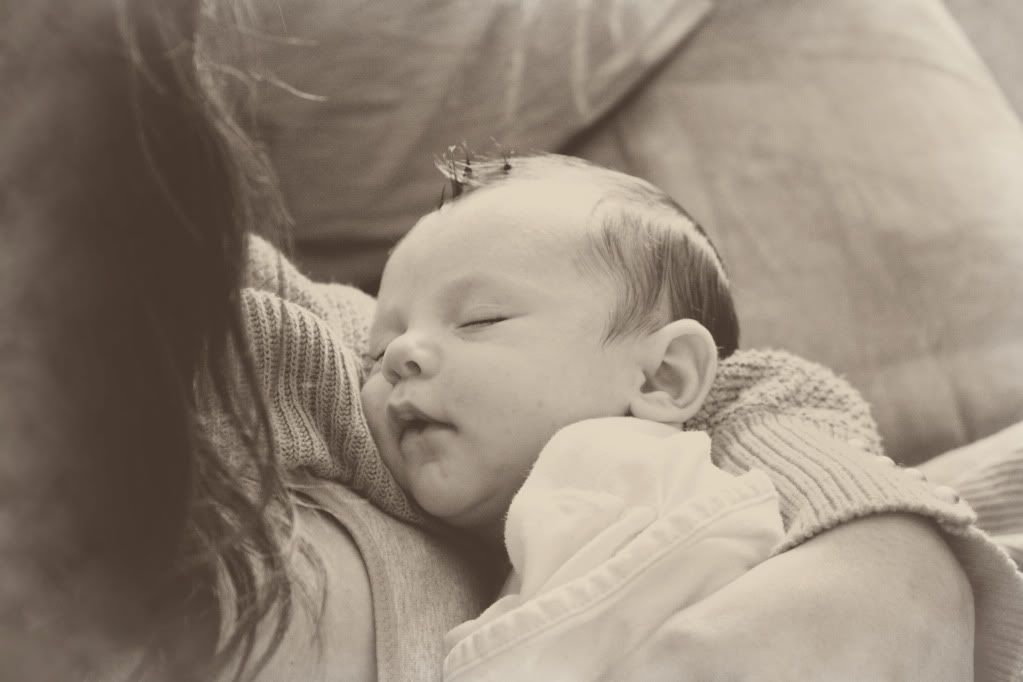
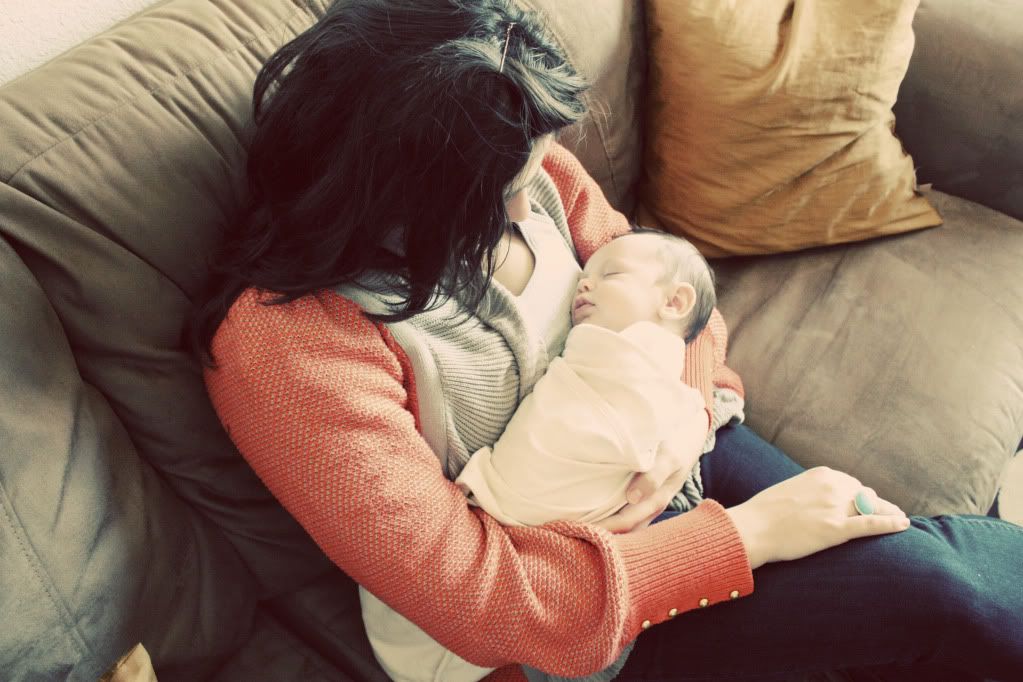
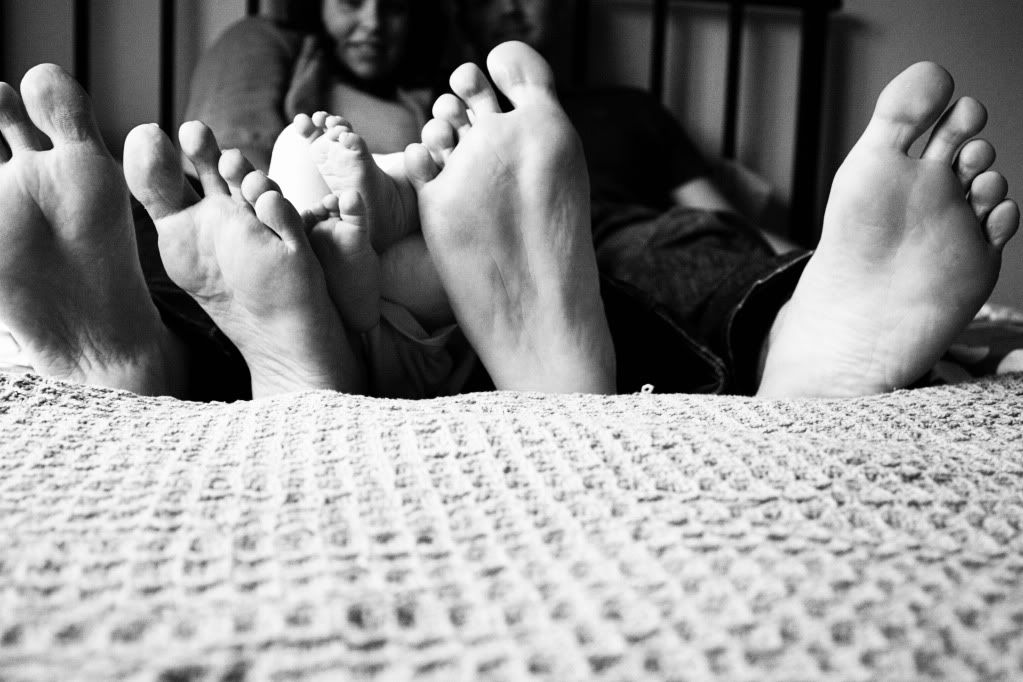
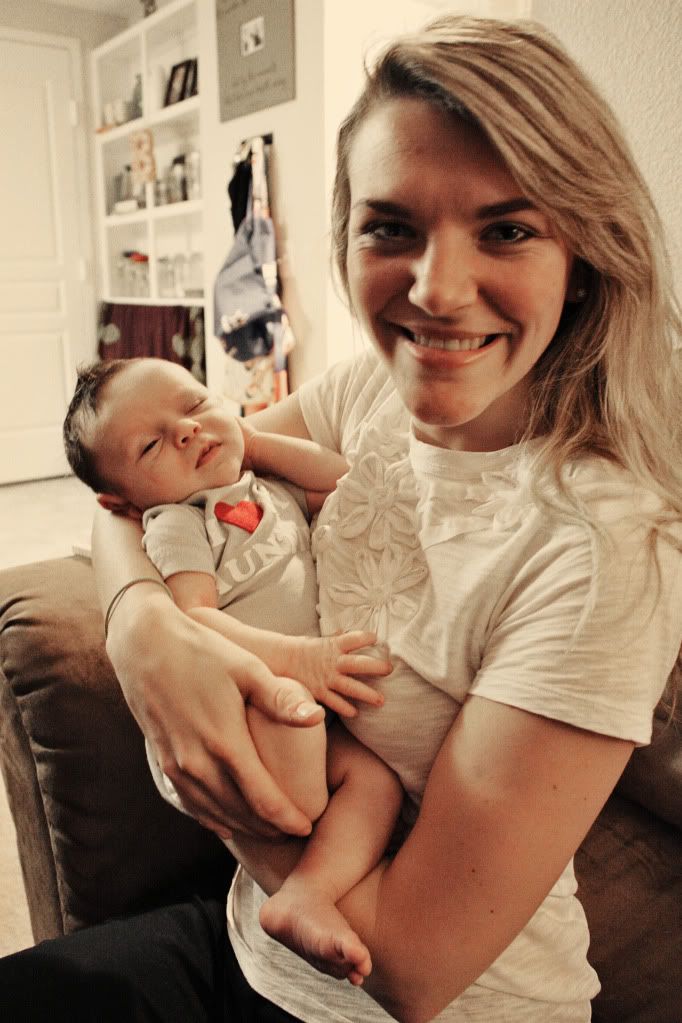
I finally got to go meet my bff Katie's much anticipated bundle of joy. While I was there visiting, I snapped some family photos for them. They sure do make new parenthood look good.


Monday, February 21, 2011

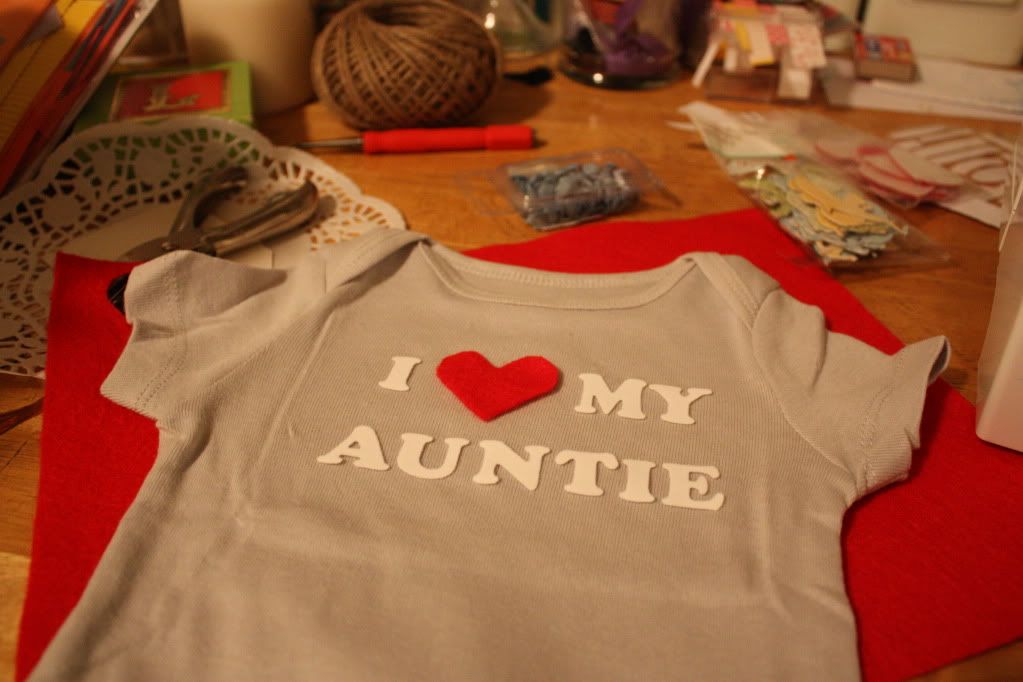
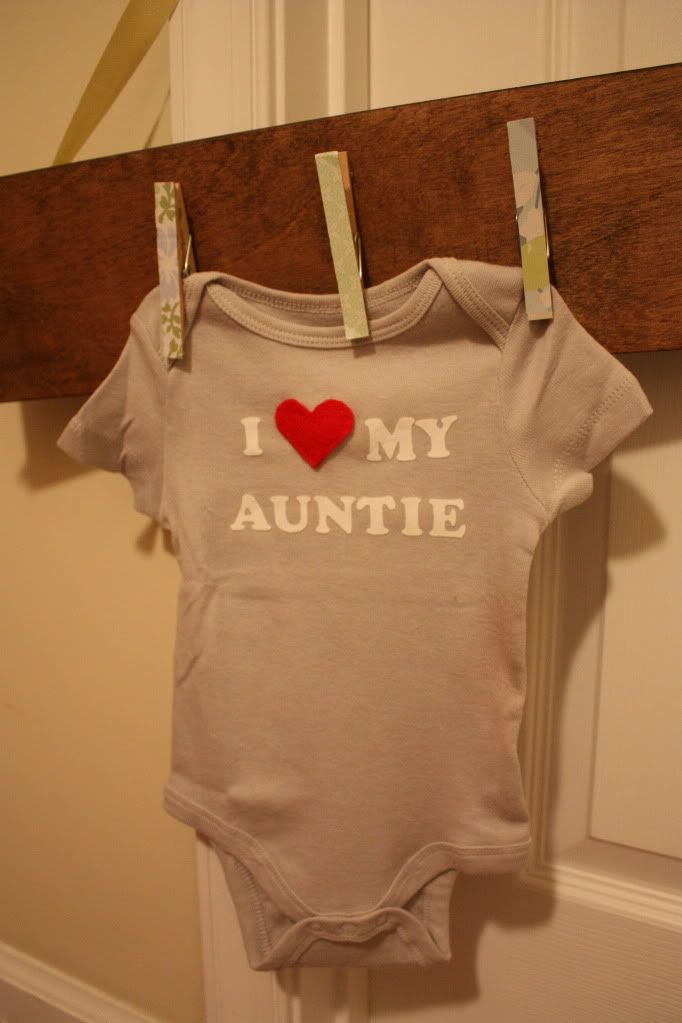
How to make a personalized gift for your favorite little person

Step one: Go to target (or your store of choice) and buy a gender and size appropriate onesie.


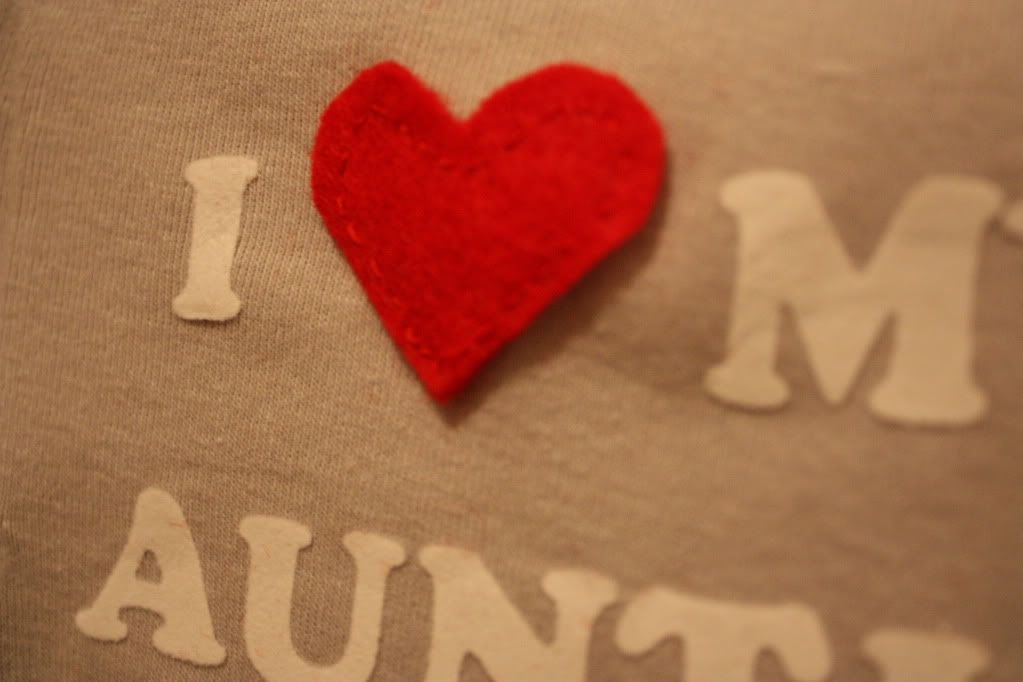
Step two: Go to Michaels.com and download a 40% off coupon. Go to Michael’s and purchase iron-on letters on the cheap using your coupon. While you’re there buy a scrap of felt in your color of choice for 30 cents.


Step three: Come home, cut out a heart or other embellishment of your choice out of your felt.


Step four: Arrange your letters to make a personalized message and ensure your spacing is correct.

Step five: Iron on the letters. (I kept mine in place and just ironed them one at a time so I was sure they wouldn’t move on me.)


Step six: Use simple stitching to apply your embellishment.


Step seven: Admire your completed personalized onesie.


Step eight: Gift it to your favorite little person.


Step nine: Snuggle your favorite little person in their new onesie proclaiming their love for you. J

Tuesday, February 15, 2011

goodwill hunting & sewing treasures

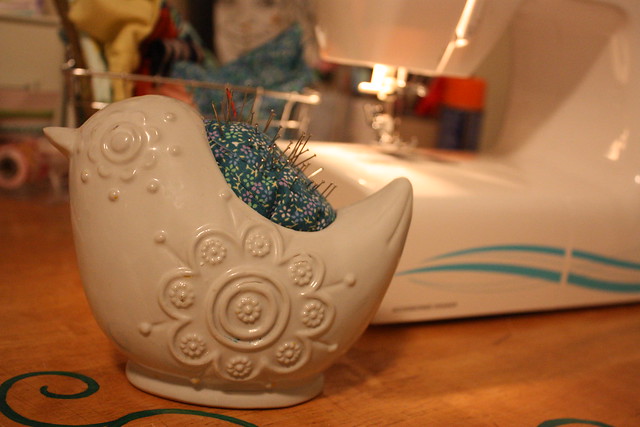
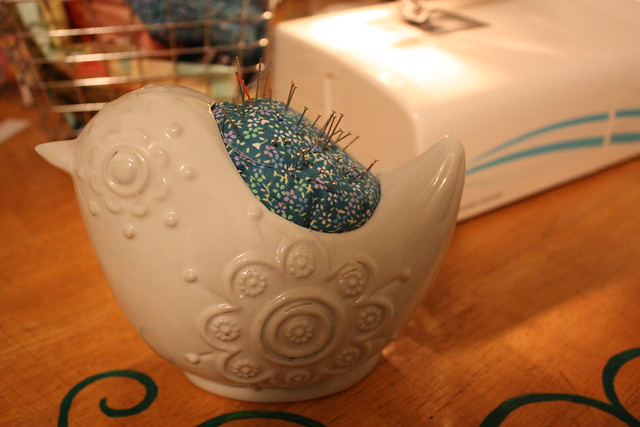
I finally found a purpose for this funky little bird i found not too long ago at a thrift store. It has a hole in it so i'm not sure if it's supposed to be a planter or something, but I've decided to make it into a pincushion!


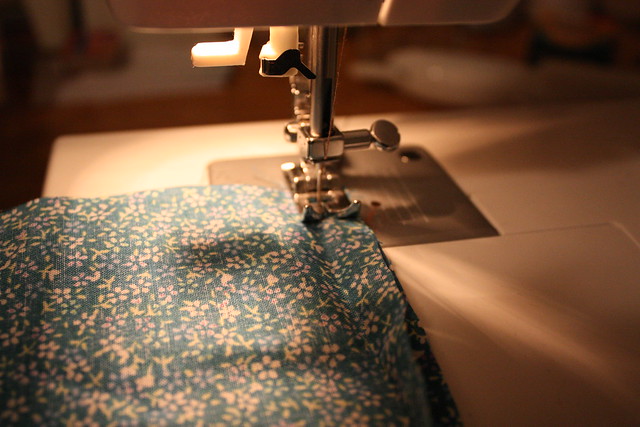
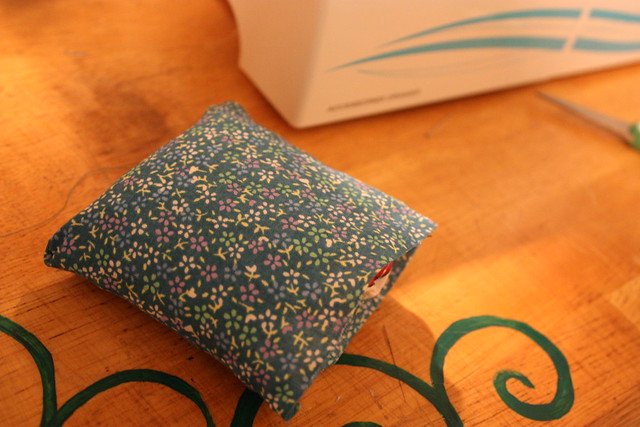
All I needed to do was to sew a piece that could be stuffed with batting and was big enough to cover the hole. So, I sewed two squares, right sides together, on three sides.

Normally, for the last side, I would hand stitch it to give it a polished look, but for this project, I knew the unfinished side would not be seen anyways, so once the three sides were sewn, i stuffed it and sewed the final side using the machine.

In order to keep the pincushion pushed up through the hole, I stuffed the empty space with newspaper.

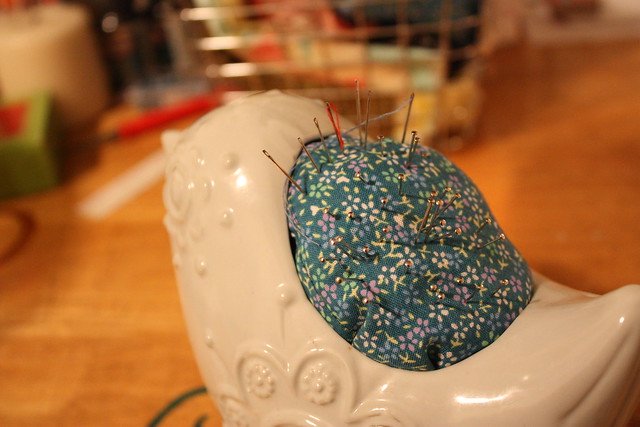
Now, I have a permanent fixture holding my pins and my funky little bird is now happy in his newfound purpose. He kinda makes me want to sew more.

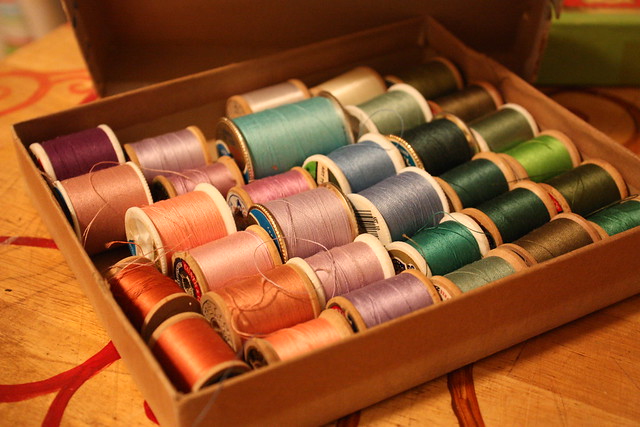
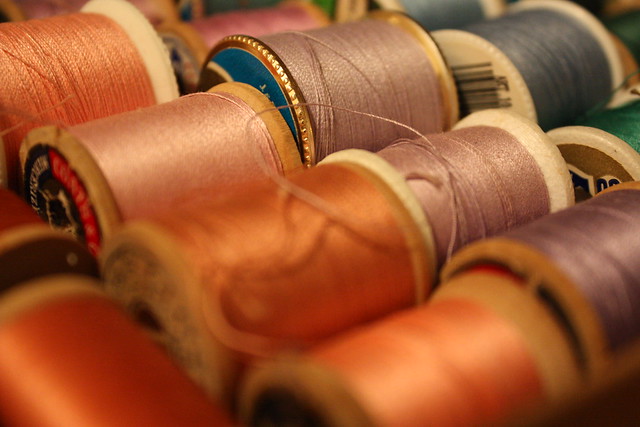
In another one of my thrifting adventures, I found this old, beat up box with a $2 price tag. This is what was inside that old, beat up box:

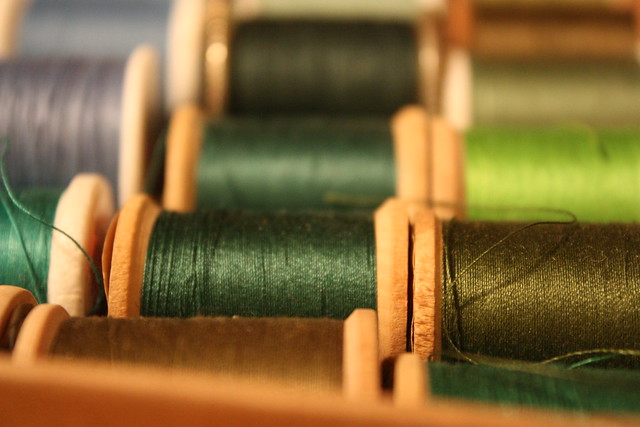
As if the price weren't enough to sell me, I was totally sold by the wooden spools and the fact that the thread was already color coordinated.

Dear beautiful old thread, you had me at hello.

Now I'm really gonna have to sew more.

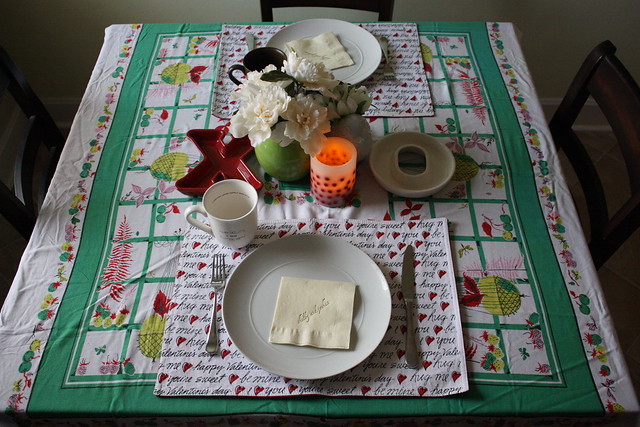
how i loved my valentine


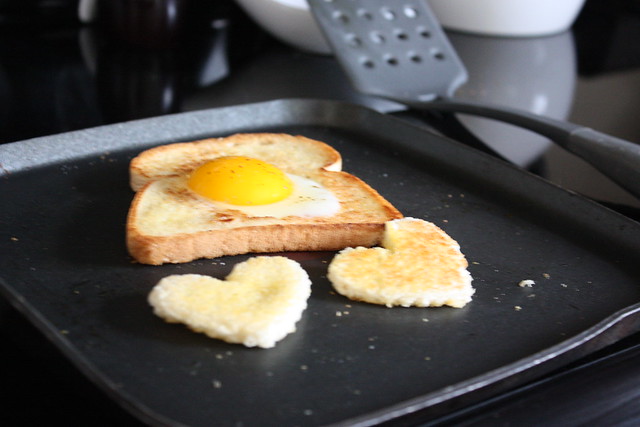
heart-shaped foods. hobo eggs, as josh calls them.

a lovely meal together. they say the way to a man's heart is through his stomach - i think it's true.

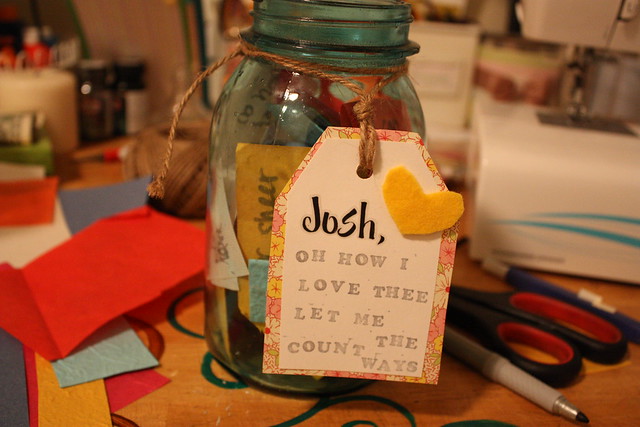
i try to be creative in my gift-giving. and as i pondered what to give my valentine, i remembered the book we read together before we got married, The Five Love Languages by Gary Chapman. If you haven't read it with your significant other, you should. I found it to be very helpful in understanding how Josh feels most loved. And because I know his love language is 'words of affirmation', I decided to give him a gift that keeps on giving. It's a mason jar filled with all the things I love about him, big and small. He loved it - the love language thing is legit. He decided to take it to work and pull one out when he needs a little extra encouragement during the day.
hope you all found fun ways to show the people in your life you love them!

Friday, February 11, 2011

labor of love

If you know me at all, you probably know that I can often be found 'keeping my eye out' for something I would like to purchase. When I say I'm 'keeping my eye out' for something what I really mean is, "I haven't been able to find it for the price I want to pay." Such was the case for the 8-10 person dining table I couldn't seem to find and had been 'keeping my eye out' for since we moved into our new house some 9 months ago. This meant scouring craigslist, frequent trips to goodwill and other various thrift stores, and looking for furniture store sales. No dice. Part of the problem was that I had lofty ideas of this Pottery Barn beauty with the equally lofty price tag of $1500.

Bennett Dining Table, 86 x 35"

Then Christmas came and Josh was gifted with a new miter saw and a drill press to add to his growing tool collection. He knew of my frustration with not being able to find a large dining table in our price range and joked that now he could build me one. The idea was born. Now, my husband is super handy, but I never envisioned him a carpenter. But off he went looking for farmhouse table plans on the internet to see if he could figure out how to build me one. If you're familiar with the DIY world at all, then I'm sure you've heard of Ana White. She is a builder extraordinaire....and she provides building plans....for a farmhouse table! Now her farmhouse table plans were a little smaller than we wanted, but with a few recalculations, Josh had our table in the works.

I'm not about to do a step-by-step, you can visit Ana for that, but here are a few highlights of our process:

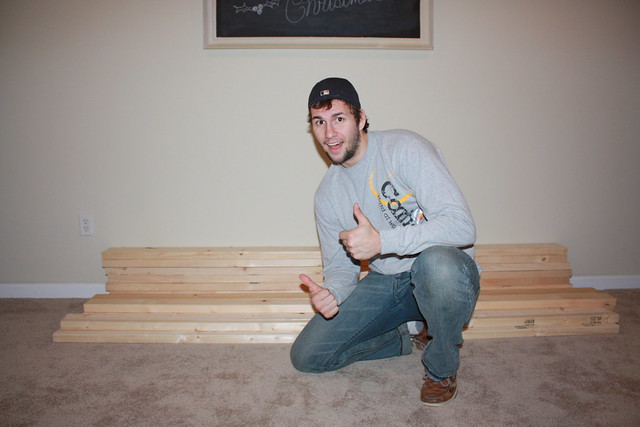
Here is Josh feeling excited about his wood purchase and ready to start the table.

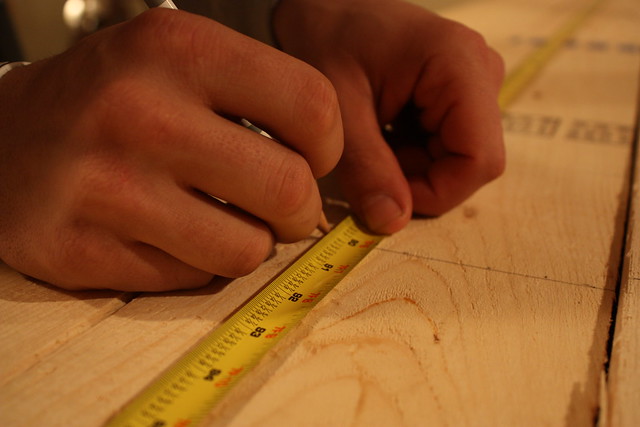
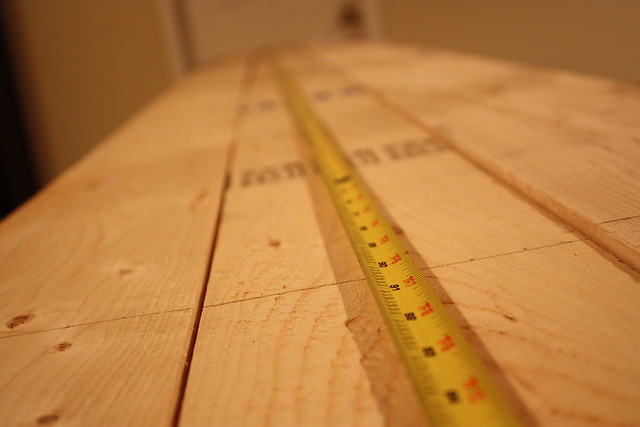
Measuring before making cuts. Josh's words to build by: measure twice, cut once.


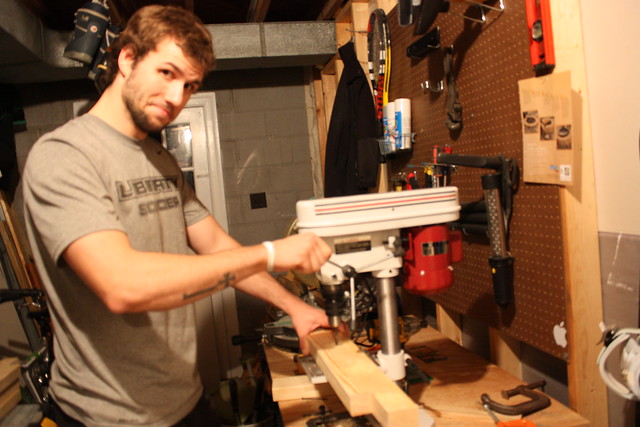
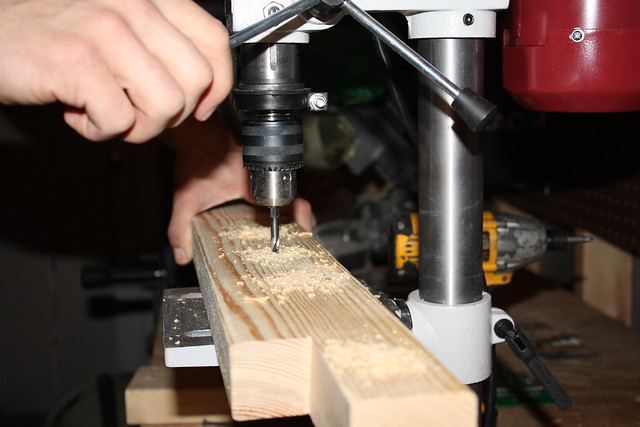
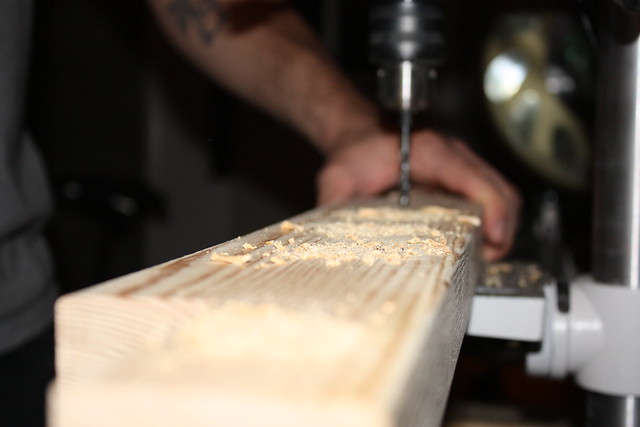
After all the cuts were done, Josh used his new drill press to make the screw holes.


Once that was done, it was simple piecing together with screws. Voila - the frame!

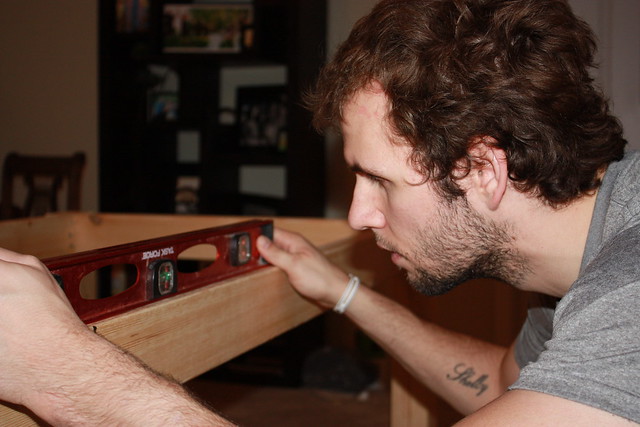
Here he is making sure his boards are straight. You should have seen this kid at Lowes trying to find straight boards, he is definitely a perfectionist in his work.

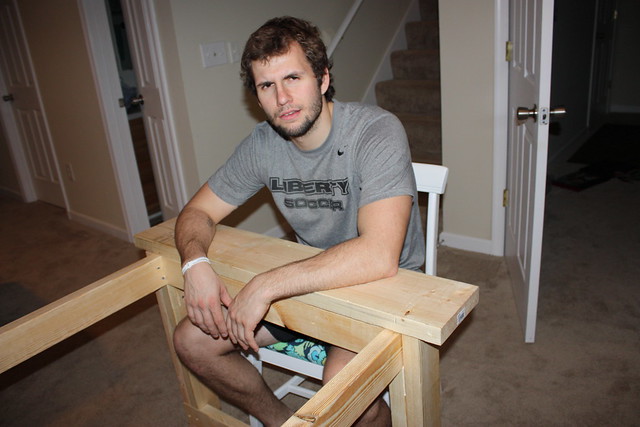
This is his "Seriously, Shelb?" face.
I was being persistent that I wanted someone to be able to sit on each end and I wasn't sure the breadboards would hang off enough. This is him proving me wrong.

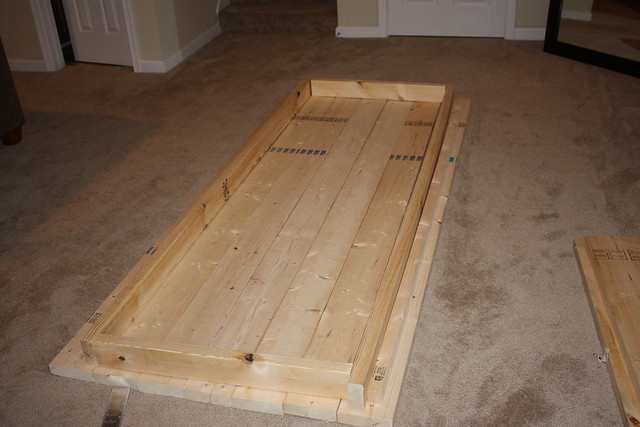
A glimpse of the top-to-be.

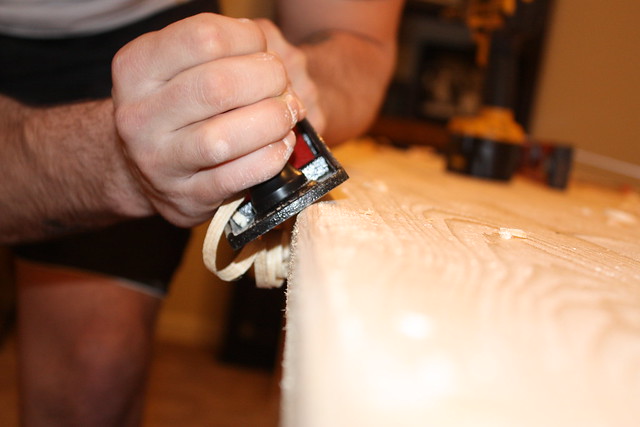
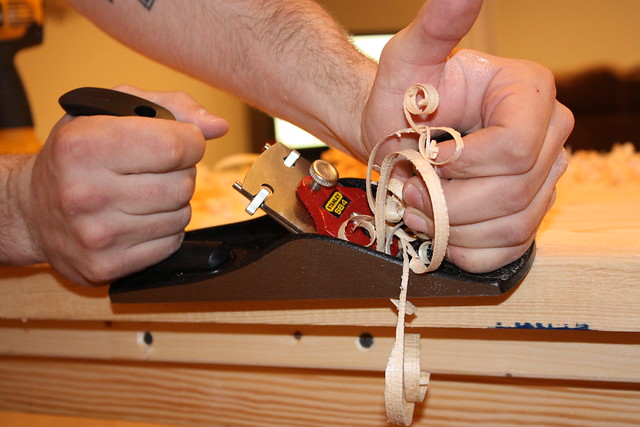
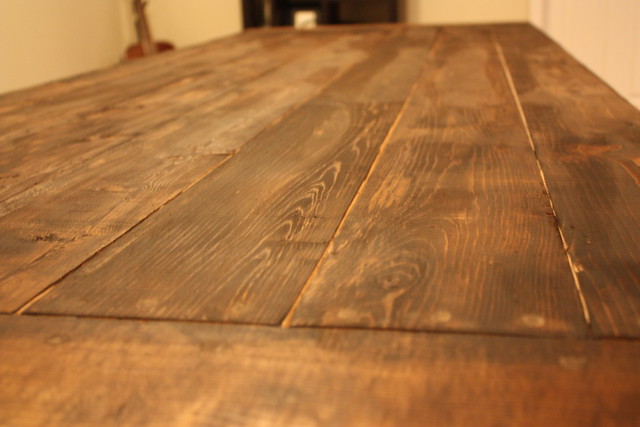
Once assembled, Josh planed the entire top to give it that rustic, this-has-been-in-our-family-for-years antique look.

Wooden curly-q's :)

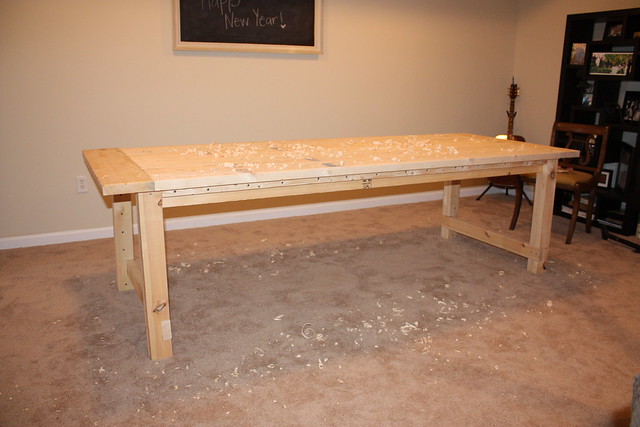
Assembled and planed.

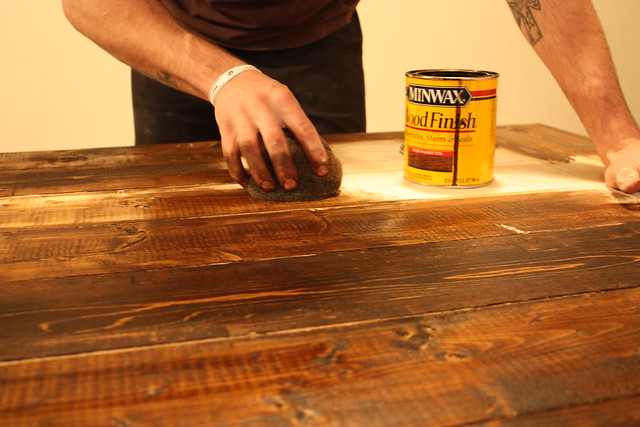
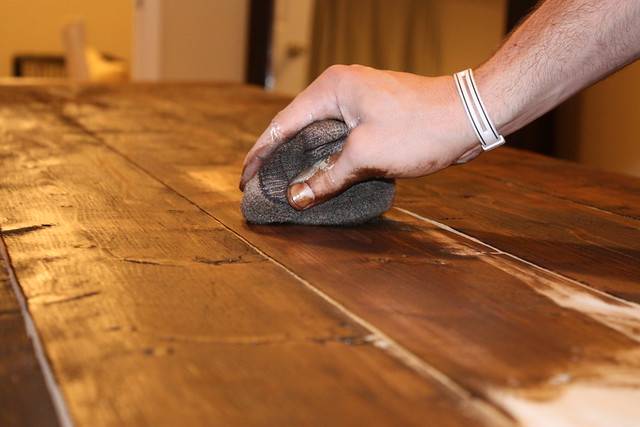
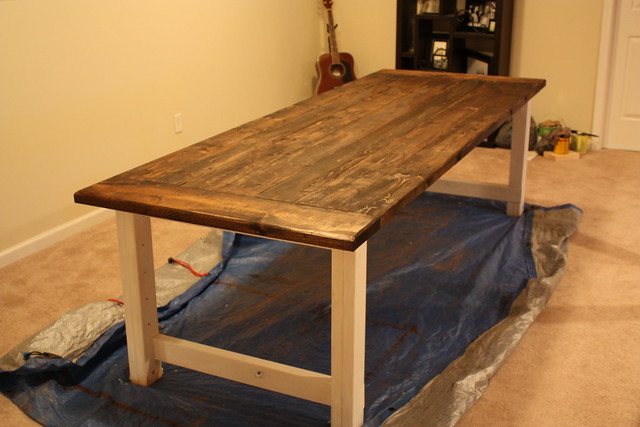
Now, for the stain. We decided we wanted a dark top and a white painted bottom for that antique look we were going for. Josh was in charge of stain.

I love how the character in each piece of wood came out as the stain went on. You could have convinced me they were reclaimed floor boards.


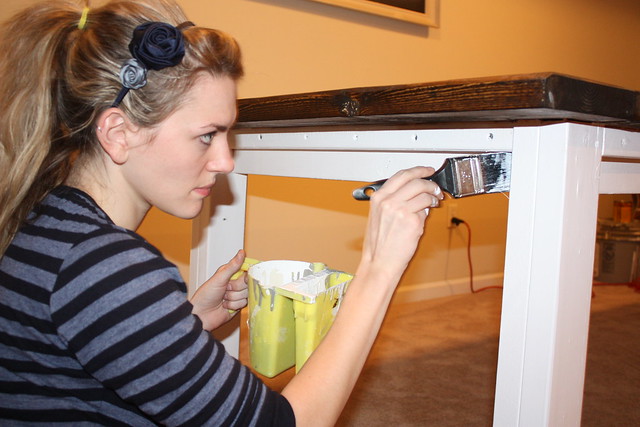
I was in charge of painting. Two coats.


While I was ready to be finished, "We don't need to paint or stain the underside, no one is going to be looking under there", my 'do it right the first time' husband insisted on staining the underside. "It definitely looks more polished", I relented.

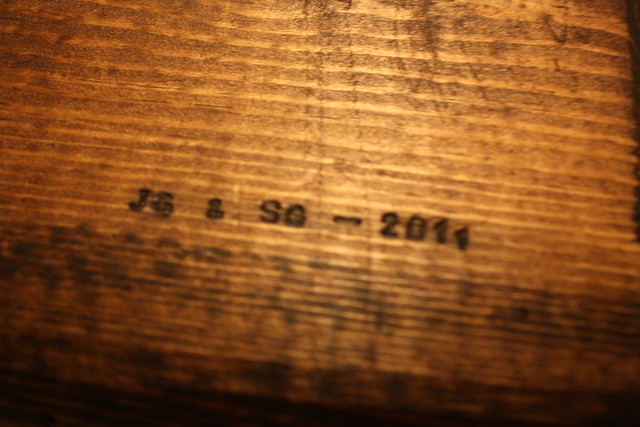
My finishing touches on the table using the metal stamping kit I found in my stocking this Christmas.

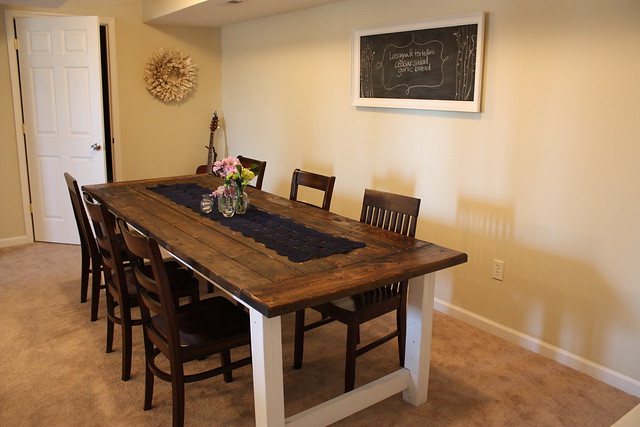
Our finished product. Pottery Barn who?

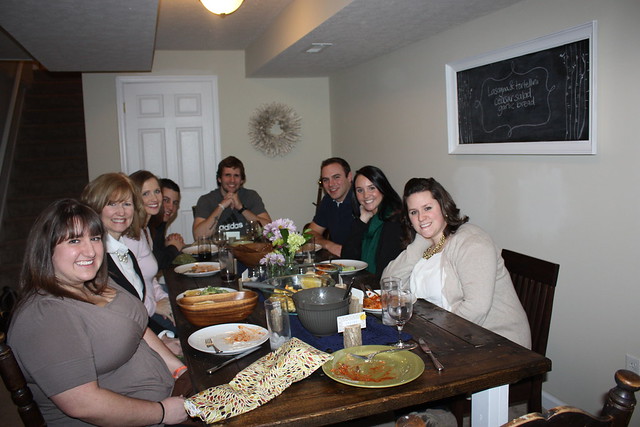
The final step was to prepare the table to fulfill its purpose - a dinner party.

Put out a fresh flower centerpiece....

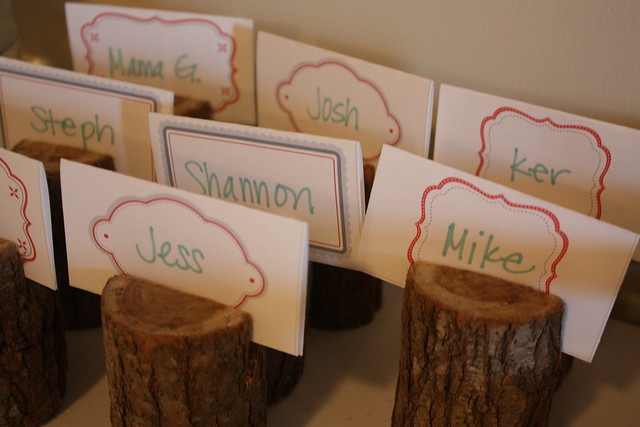
invite people you love...

...enjoy dinner with friends on your new table!

And I just have to gush about my husband, he built this table in a little over a week, and it is way more beautiful and well-built than anything I could have ever found at Pottery Barn (and was 1/20th the price!). I am so proud of him. It was a true labor of love.


*Check these out if you're wondering about the book wreath or chalkboard pictured above.


This project has been featured!


Also, shared at:
Somewhat SimpleThrifty Decor Chick