Pages

Pages

Thursday, June 28, 2012

DIY car seat canopy


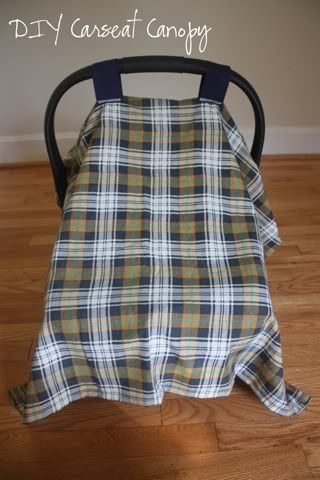
After seeing this product in the stores and then seeing this link on how to make one, I decided to try my hand at making one for myself.
To me, it seems like a good idea because:
a) It can help protect my little bundle from the sauna that is Virginia
b) It can keep him completely covered in case of rain, etc.
c) It can help prevent disturbances if he's sleeping
d) It can help prevent the buckles from getting too hot when he's not in it


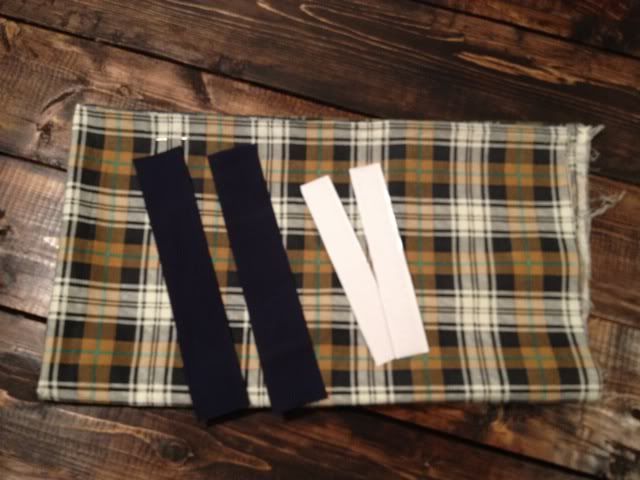
All you need in order to make one is:
- a piece of fabric large enough to cover your car seat
- ribbon or coordinating strips of fabric
- velcro
- 20 minutes of your time

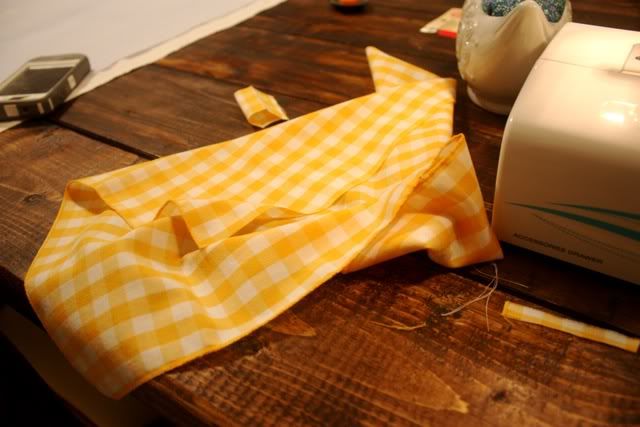
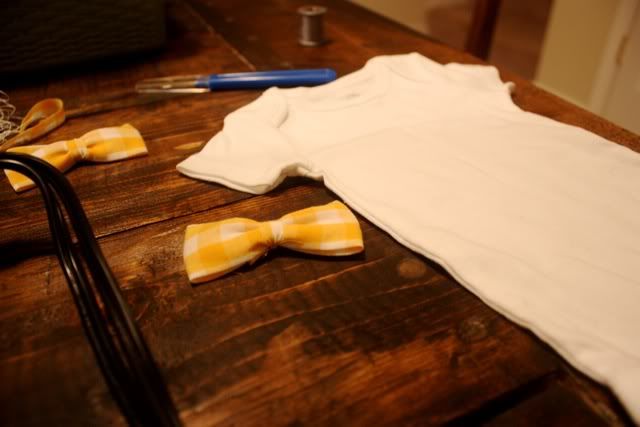
I am using a large piece of plaid fabric, large bais tape I already had on hand, and adhesive velcro.
(My fun piece of plaid fabric was gifted to me all the way from Washington state by Meegan. One thing I truly love about blogging and the cyber world in general is being able to interact with and meet people that I wouldn't normally be able to. Meegan befriended me through my etsy shop and we quickly bonded over our love of vintage. A few weeks ago I received a sweet package in the mail with this fabric and a few other vintage things for Grady's room. Thanks, Meegs - it was just the piece of fabric I needed!)

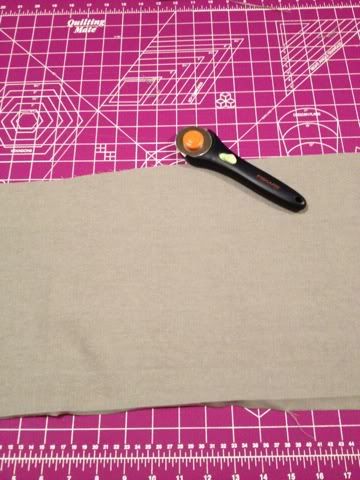
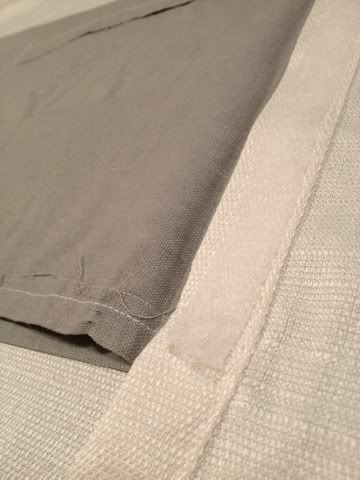
The first step is to finish all the edges of your fabric. If you want to skip this step, this project can be done using an existing blanket.
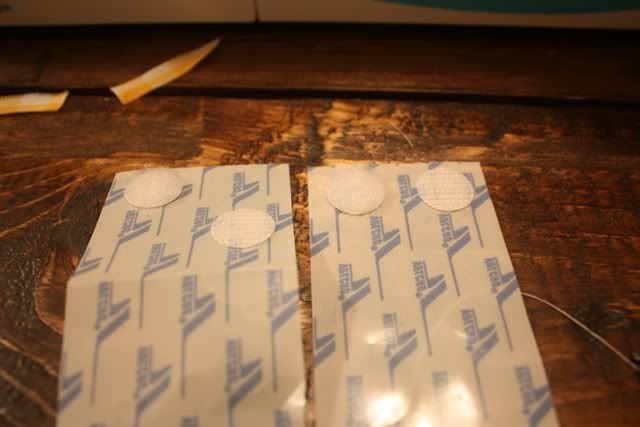
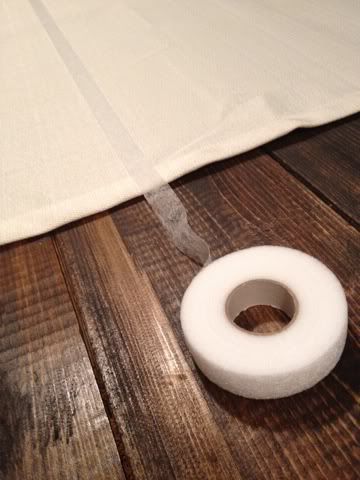
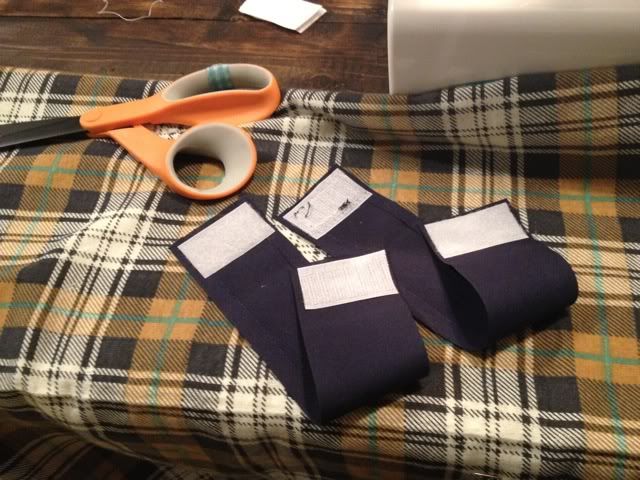
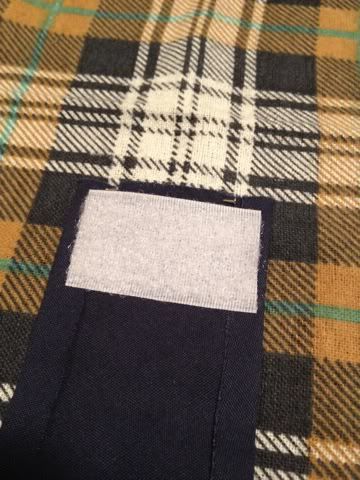
 Then, take your fabric strips and adhere one side of your velcro to each strip.


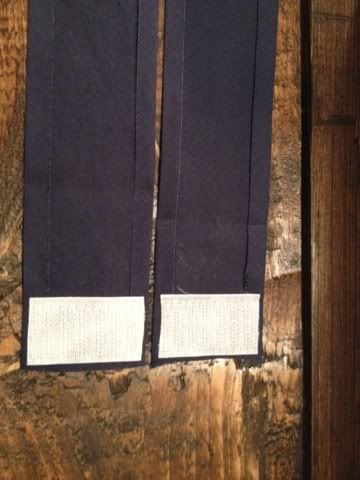
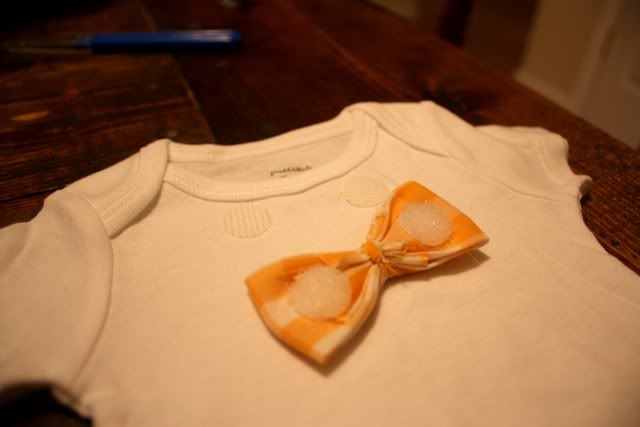
Take the coordinating part of the velcro and adhere it to the opposite side and opposite end of your fabric strip. You are wanting it to form a loop once it is attached.

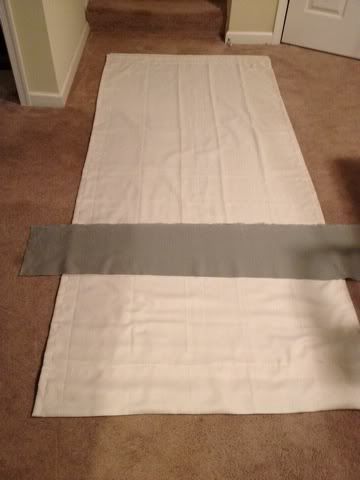
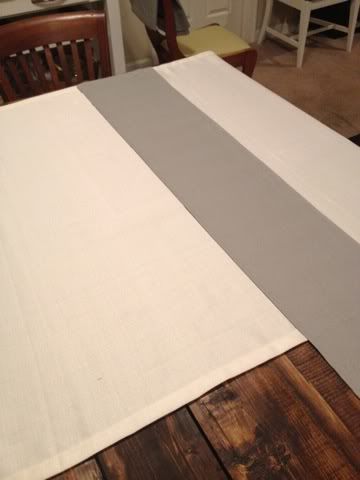
Next, place your fabric over your carseat and pin the fabric strips where you want the loops to attach to the handle.

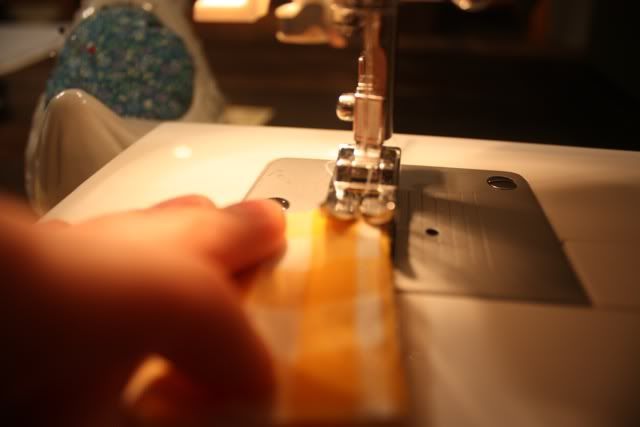
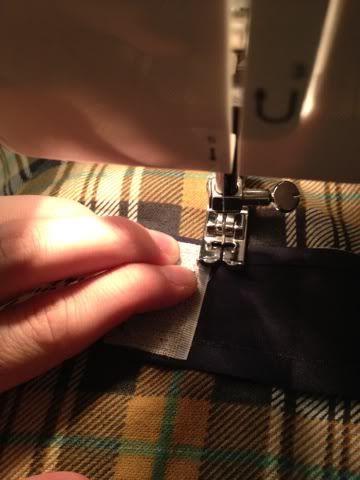
Sew around the border of the velcro on one side of your strip.
Note: If you use adhesive velcro, be careful not to sew into the velcro - the adhesive will ruin your needle. Lesson learned.

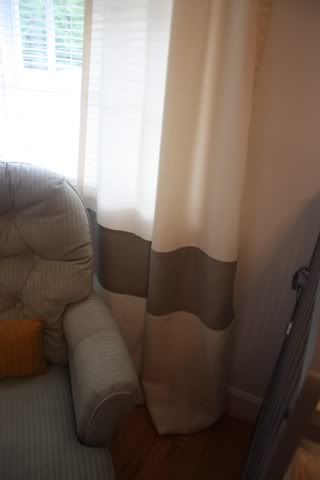
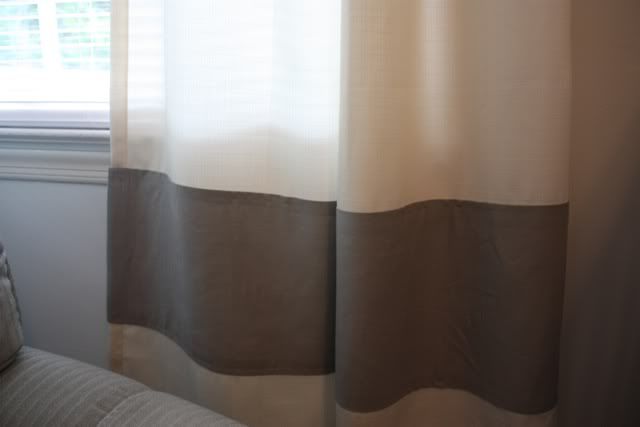
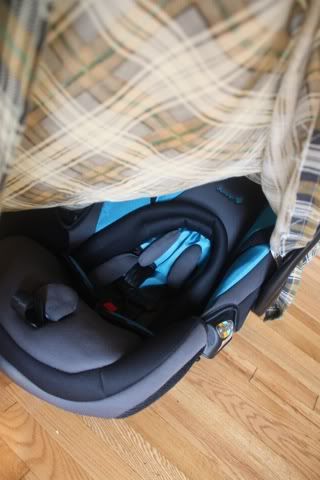
Then all you do is loop each strip around the handle of your car seat and you have yourself a canopy!


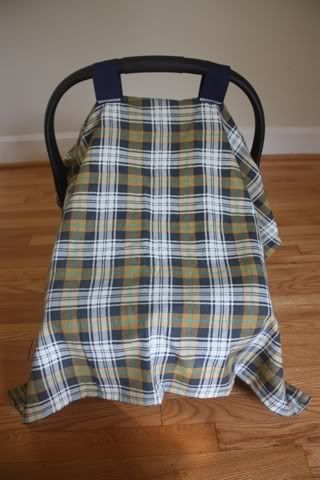
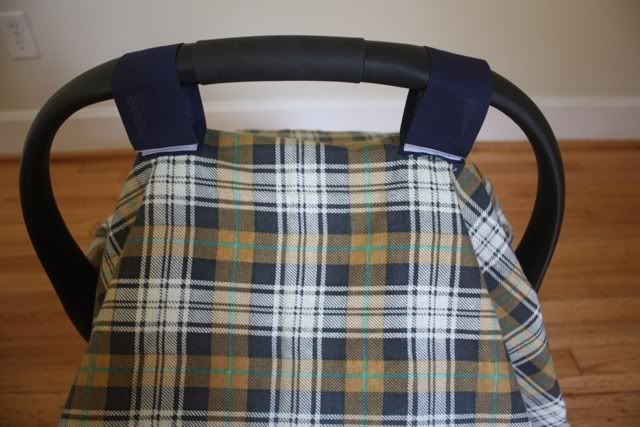
Makes for easy access to peek at your little guy.

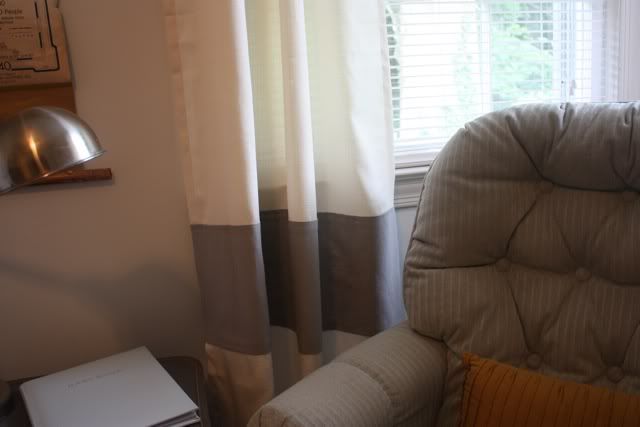
Or fold it back completely when you don't need it.

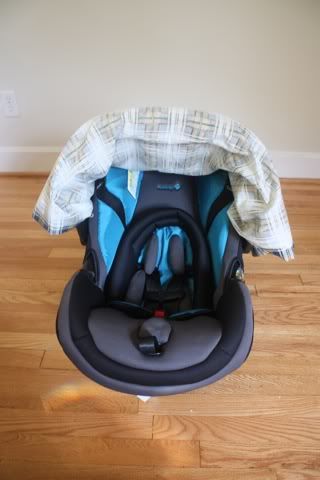
I'd say that was 20 minutes well-spent.

If you think this sounds like a good idea, but don't feel like making one, you can always buy one like this.


Monday, June 25, 2012

baby's first outfits

When I hit 36 weeks, Josh got serious about getting our hospital bags packed.
And because he knows I like to wait until the last possible second to do things, he requested that I do it now. The last thing he wants to be is unprepared.
And while I was kind of floundering wondering what to pack for myself, I had a lot of fun picking out clothes for my little guy to wear when he makes his debut.


His hospital photo outfit was an easy pick as I had bought those newborn seersucker pants with his first photo in mind. But in order to complete the outfit, I needed to make him a little bowtie.
Using the same technique I used to make Baxter's bowtie, I found and yellow gingham napkin in my fabric drawer and whipped up this sweet little thing in a couple of minutes.


I velcroed it to one of his newborn onesies so that I could take it on and off for washing.


And that completed the outfit.

So, I'm all set for what to bring for Grady, but tell me, what do I really need to bring for me?!

Thursday, June 21, 2012

Tuesday, June 19, 2012

Restoration Hardware Knock-off Curtains

You know how sometimes you'll see something on pinterest and want to buy it really bad until it leads you to the Restoration Hardware website where it costs $220? 
Exhibit A.
Curtains for G's room

I saw this picture and thought these curtains would be perfect for Grady's nursery.
Until I got to the RH website and saw they cost $109 per panel. Yes, per panel.
Then they were whatever the opposite of perfect is. Un-perfect.

But, they didn't look so $109 special that I couldn't try to make them myself.
Two cream curtain panels for $20 from Target and leftover gray linen from my faux roman shades was all it took.

I cut my gray fabric into matching stripes.

Ironed and sewed the edges.

Figured out where I wanted to place my stripes on the curtains.

Got out my stitch witchery to avoid two seams on my stripes.

Ironed/adhered my stripes.


And then admired my Restoration Hardware Knock-off's.


Today marks my self-imposed deadline for Grady's nursery - one month from his due date.
Save for a few minor touch-ups, I am declaring his nursery officially done. Just barely making that deadline, that's how I roll.
Let's hope Grady follows suit and comes on or before his due date!!

Monday, June 18, 2012

perfect pina colada party punch

This is my favorite punch recipe. It was originally made by my friend Jessica for Kerry's shower, and then my friends made it for my shower, and last week I made it for my friend Vanessa's shower.

It's definitely a crowd pleaser and oh-so delicious.

Here's what you need:
1/2 gallon vanilla ice cream
1 (20 oz.) can crushed pineapple
1 (8 oz. ) can coconut cream
1 (48 fl. oz) can pineapple juice
1 (2 L) bottle of lemon-lime soda

In a large container, combine ice cream, crushed pineapple, coconut cream, and pineapple juice. 
Mix well and slowly stir in lemon-lime soda. 
Freeze for 4 hours or until slushy.

Serve up and enjoy!

Recipe adapted from here.

Wednesday, June 13, 2012

what I will/won't miss


With just a little over a month left until my due date and birthing class under my belt, this thing is starting to feel real, you guys. My whole pregnancy I've been like 'I have tons of time...', and now it's like 'Oh crap, he's gonna be here soon!'

I wouldn't say that I'm one of those women who loves to be pregnant. If you've followed my journey at all, then you know parts of it have been a rough road. But to think that it's coming to an end has me all tied up with mixed emotions.

I will miss...
...baby kicks. Oh, those sweet baby kicks.
...guitlessly eating that second piece of cake.
...my perfect arm rest of a belly.
...special pregnancy treatment.
...never feeling like I need to 'suck it in'.
...genuine well wishes from complete strangers.
...catching Josh starting at my belly in awe.
...getting butterfiles when I tell people my due date.


I won't miss...
...those middle of the night bathroom trips.
...maternity clothing.
...the constant pain in my ribs.
...being skipped over when the sangria is being passed out.
...the awkward belly grabbers.
...being separated from Josh by pillows in bed.
...turning down corn dogs and that second cup of coffee.
...waiting to meet my baby boy.

Monday, June 11, 2012

nursery: the statement piece

Last week, I showed you my inspiration piece for the nursery, but as much as I love that part of his room, there's another piece I might love a little more. 

Anyone who knows me knows that I have been looking for a particular piece of furniture for years - 
a glass door cabinet. 
gray-washed?

styled

styled

It's just such a versatile piece - a dishware display, a linen cabinet, really, it makes anything look good. But let me tell you, these suckers are not easy to come by without a hefty price tag.
Well, that fateful day came and I found my long lost piece of dream furniture at a local antique store.


I know, she's not really a looker. She's super old and her back and one of her feet were in bad shape. But for $50, I knew she could be awesome.
So, of course, I enlisted the help of my handy husband to replace the whole back piece and remake one of the feet. This used to annoy him, but over the years it's helped refine his handyman skills, so I think he has me to thank for that. Right, honey?
Some people bring home stray animals who need to be nursed back to health, I bring in stray furniture pieces that need a little TLC.


It took some elbow grease, several rounds with a razor blade to get all the grime off the glass, and some paint and hardware, but she cleaned up nicely.


And then, she got even more gussied up when she became the statement piece in Grady's room.
The place to store all his special items and display his sweet gifts.


I know some of you are probably thinking this is the most unpractical piece of furniture for a kid room.
I know. But by the time he's toddling around and wild enough to break the glass, I'm sure this piece will have found it's way out of his room.
Plus, it really does serve as practical toy storage with all the bins on the bottom shelves.

Looking at all the special gifts and books he's been given already makes my heart happy and I can't think of a better place for them to be displayed.

For all of those who have been asking, I'm finishing up some final projects and then I will show you the entire nursery. :)


Shared at: The Blackberry Vine, Everything Under the Moon, Not Just a Housewife, Simple Home Life, My Romantic Home, Thrifty Decor Chick