It finally happened.
I've been itching to paint stripes on a wall ever since we moved into this house over two years ago.
And we finally did it - and it took less than 3 hours.
I'm really wondering why we didn't do it sooner.
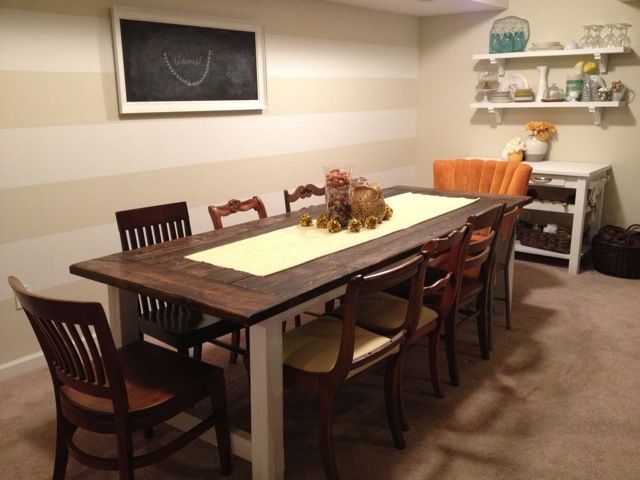
I read several tutorials before we started this project and here are the time saving tricks that we found to be super helpful.
1. Do your math. Measure the length of your wall and then divide by how many stripes you want. We opted for 7 stripes, because let's be honest, groups of odd numbers look better.
2. Make the math easy. Our wall was 79 inches. If you divide 79 by 7, it's 11.2857143. Try doing that math with a tape measure. So we just rounded down to 11 and left all the excess for the bottom.
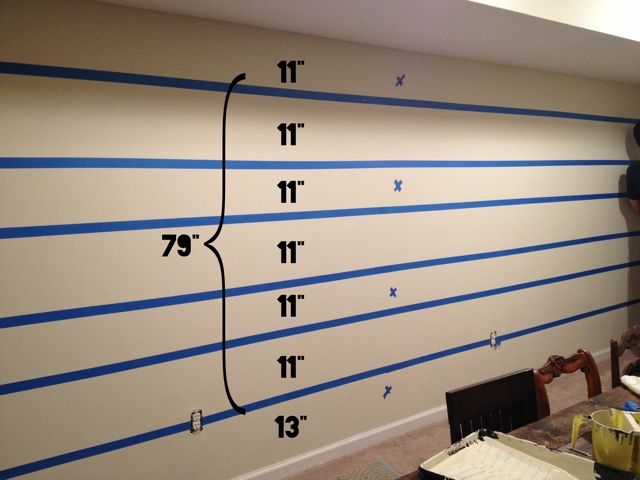
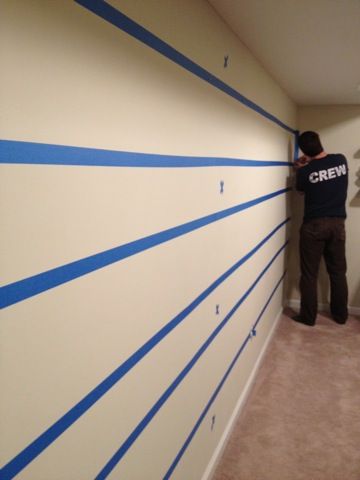
3. Measure in multiple spots. Before we put down the tape, we measured in multiple spots and made small tick marks with a pencil, then we stretched the tape from one tick mark to the other. Putting down a line of tape in several different increments like that made it much easier to keep straight. Unless you have a laser level, in which case, use that.
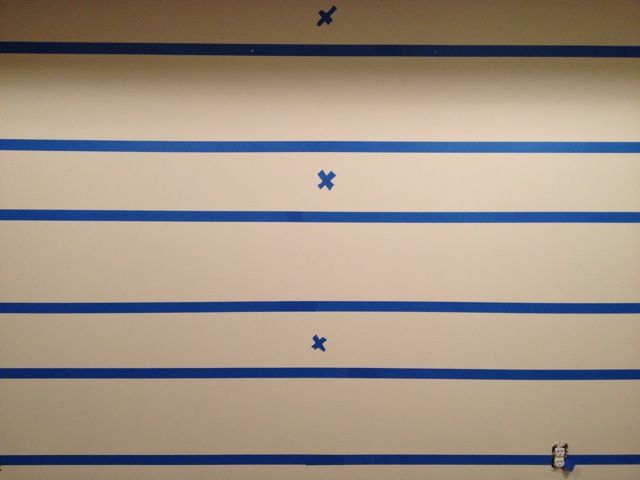
4. X does not mark the spot. Be sure to put tape in the stripe that you are NOT to paint. Hate to mess that one up.
5. Tape outside the line. Remember that you want your painted stripe to be the right size, so be sure to tape outside of your tick mark so that the whole area will be painted.
6. Two coats. Be sure to do two coats of paint and to paint into the tape.
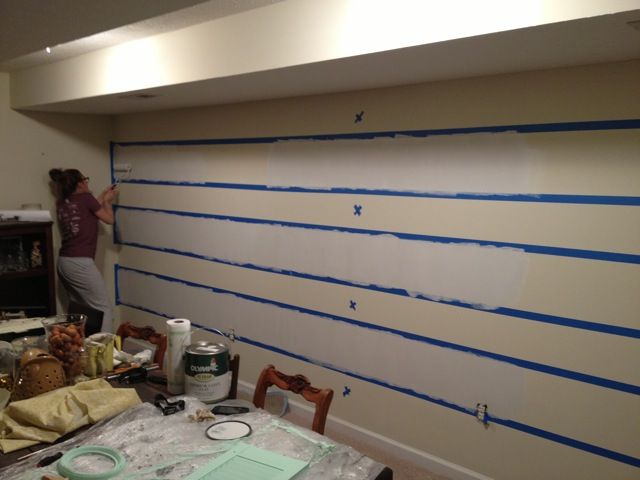
7. Don't watch the paint dry. Be sure to peel off your tape while your second coat is still drying. This was a great tip from one of the tutorials I read - we did this and had NO bleeding! Perfectly clean stripes - I couldn't believe it!
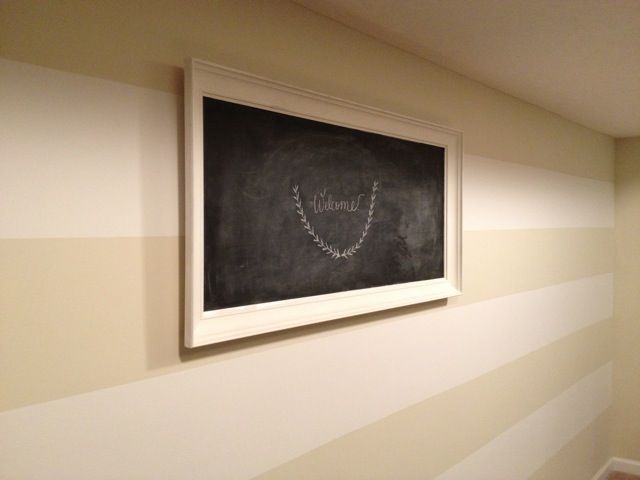
Something about seeing stripes makes me smile. And I love how much character it adds to the room.
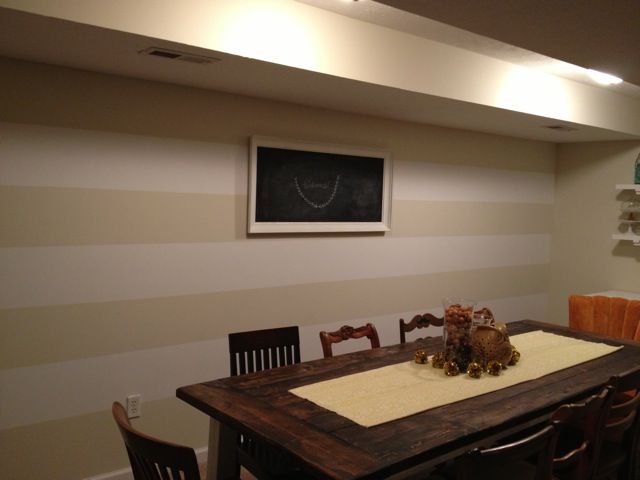
And here's my new favorite view.
Stripes and floral. Love.
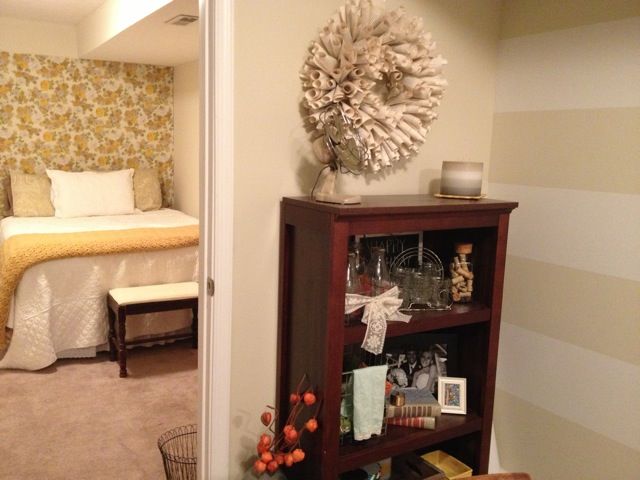
Anyone feel like they could tackle a striped wall now?
I promise it's much easier than it seems.

No comments:
Post a Comment
Will blog for comments.