Pages

Pages

Wednesday, September 7, 2016

Updated: Super Easy DIY Skinny Jeans

So, when I was looked back at my blog stats after 2 years, I noticed my DIY skinny jeans post had been one of my best viewed. And I was proud of two things 1) my sewing job had withstood over 3.5 years of wearing and washing and 2) those jeans still fit.

I first published this tutorial almost 3.5 years ago so I thought it was time for a little update since I've done this a few more times over the years and really think this is an easy way to update jeans if you know your way around a sewing machine in the slightest. Seriously, if you can turn it on and sew a semi-straight line you can do it!

So here's a little update on an old favorite:

I bucked the skinny jeans trend when it first started. I was married to my bootcut jeans and thought skinny jeans only looked good on the extremely skinny which excluded me. 
But ya know what, if a fashion trend is around long enough, it starts to grow on you.
And so did the skinny jeans. And look at me now, I'm cutting up my bootcut jeans and
turning them into skinnies. Guess it wasn't a real committed marriage.

Update: I switched to skinny jeans and never looked back. I can't even imagine wearing other jeans now.

I posted this instagram of my bootcut jeans turned skinnies and got a few requests for
a simple how-to and I am happy to oblige!
Update: At least pretend to make your bed, Shelby.

So, here we go.
Update: I honestly have no idea what happened to these green jeans.

 Step One:
Find a pair of skinnies that you like the way they fit
and line them up on top of the pants you wish to alter.

Step Two:
Turn the pants inside out.
Trace the shape of the skinnies onto the pants you wish to alter.
This will be the line you will sew along.
Be sure to make a gradual line to the knee. It will pucker weird at the knee if you don't.
I have seam ripped enough times to know. Trust.
Update: This really is important. And I hate seam-ripping.

 Tip: If you are altering jeans, be sure to trace along the side that has the simple seam vs. the side that has the professional seam with piping.

Do this side
vs.

Don't do this side  
The seams won't line up right if you do your altering along the professional seam side.


Step Three:
Sew along the line you traced.

Step Four:
Cut off your excess fabric. Cut fairly close to your seam so you don't have
any bulk in your skinnies.

Step Five:
Admire your work and high-five someone because you just
saved yourself some money by making your own skinny jeans!
Update: I've experimented a bit with shortening the length too because I really like my skinnies to land right above my ankle. 


 Step Six: 
Rock your new skinnies!


Tuesday, September 6, 2016

Our Cottage Craftsman

Hi guys!! It's been, what? 2 years?! I tell ya what that jump from 1 to 2 kids will really kill a blog, hah! No, it was an intentional killing in order to focus on being the very best mama while my boys are little and need me the most. But luckily, I have the ability to revive this little blog of mine and now that my boys are getting older and don't need me quuuuuite as much, I think I'll be back to sharing a bit more on this platform that I love!

So, I'll start with our current state. We've moved to the Midwest - Indiana to be exact. A small farm town to be even more exact but still kinda vague. ;)

And we bought a house! A cute little 1920's craftsman style with cottage-y details that we are lovingly calling #ourcottagecraftsman.

And we're giving it some upgrades to make it perfectly suited to us. We still have lots of projects up our sleeves but I'd say we're Phase 1 complete.

So if these first photos will show you anything it is: THE POWER OF PAINT.

Living Room/Dining Room Before:


Living Room/Dining Room Progress:

Let me tell you, dark brown is not a fun color to cover. So the walls all got primed first.


And then I had the hard task of trying to find my perfect shade of gray. 
You know, what that's not too dark, not to light, doesn't look beige, and looks good with my other paint colors. You'd think it wouldn't be that hard, but it was. 
I probably tried about 5 gray samples before I landed on one I loved.
I had to be picky because I was buying a 5 gallon bucket of whatever gray I chose and using it through the entirety of my house.
This color did NOT win. Too dark.

And it looked a little beige in some lights.

So then I tested more grays, but ultimately landed on Valspar's Modern Gray.
Not too light, not too dark, not beige and I love it.
And I better because this color went in the dining room/living room, kitchen, mudroom, bathroom, and hallways

And Living Room/Dining Room after:


We didn't do anything major to the space except for paint and put up nice blinds.
So the lesson of the day is, paint changes everything! 

p.s. It feels good to be back. :)


Friday, October 10, 2014

Griffin's Birth Video


One of the best gift's my husband ever gave me was the video he made the day our first son was born.
I have watched it so many times over his short 2 year life and it is so special to relive that day.

So, when our second son was on the way, he assured me he'd do the same thing so that we could have one for him. He's got a quite a knack for editing video and compiling songs to correlate.
This video is such a treasure to me.


While Josh has the video skills, I've got the graphic skills. So, I was in charge of designing his birth announcements. I had designed this birth print for his room and decided to combine that with a photo for his birth announcement.


We are so in love with this new addition to our family!

Tuesday, September 16, 2014

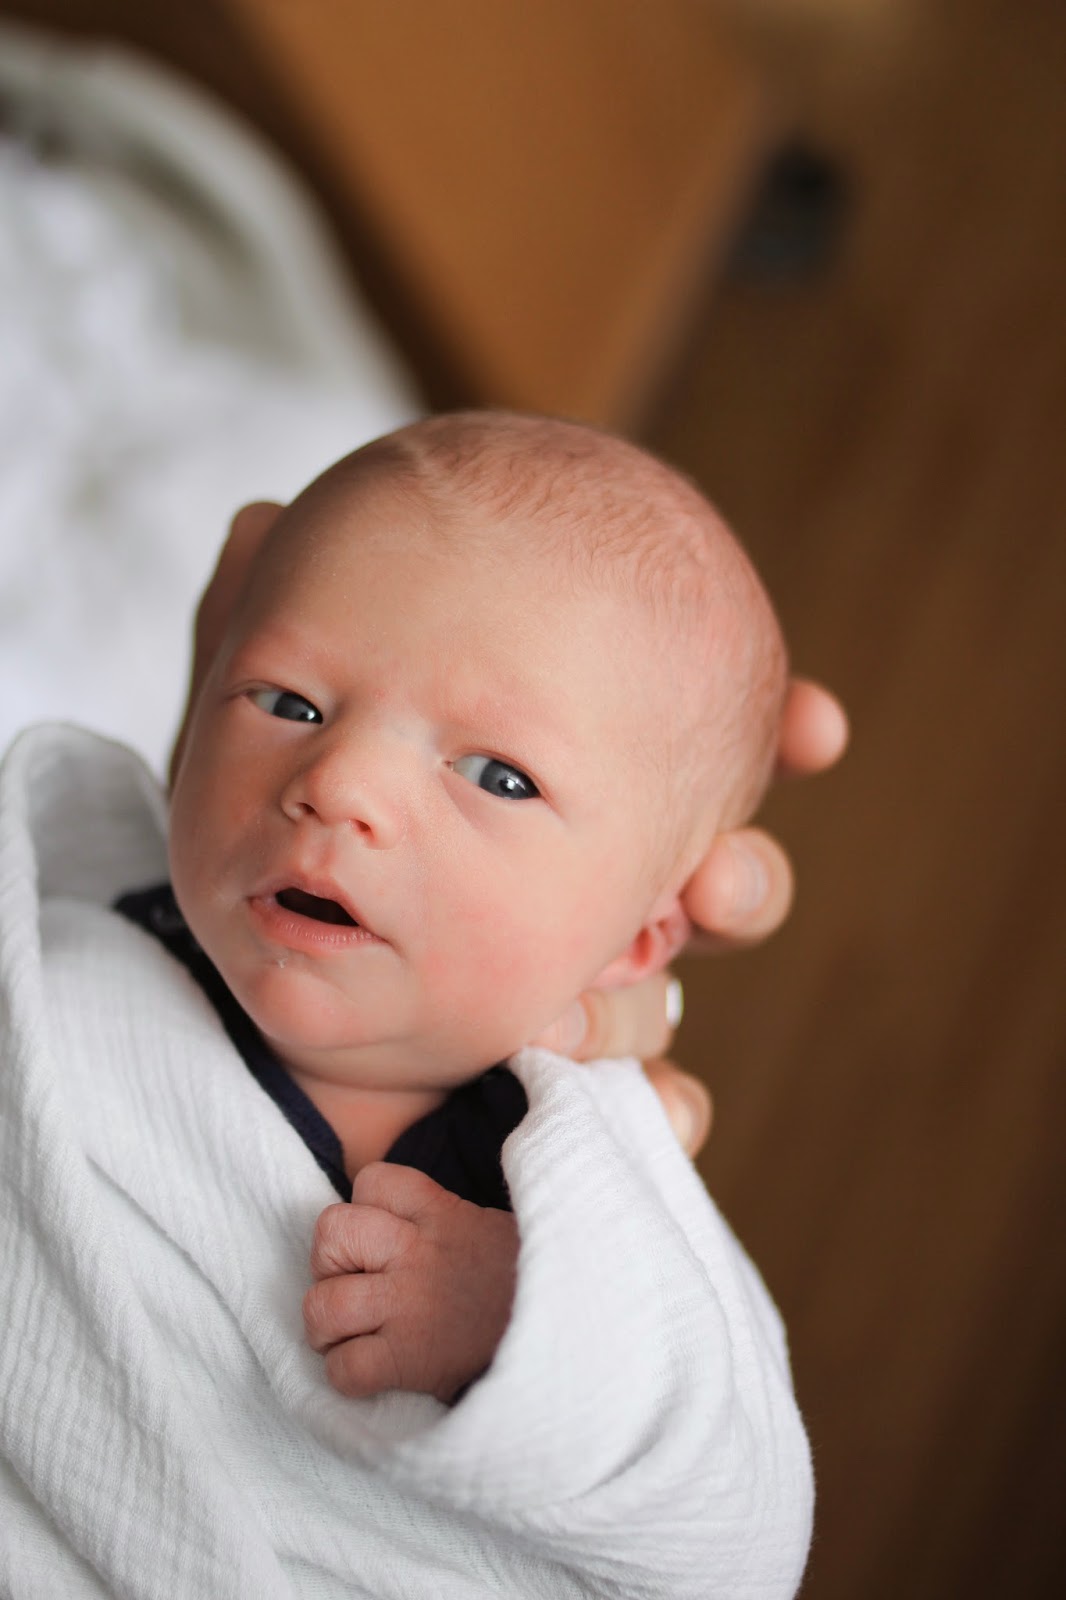
Griffin Michael Goodman - September 9, 2014


On Monday, September 8, I woke up and started to go about my day. As the day went on, I started experiencing all over cramping and tightening in my abdomen. It wasn't like Braxton Hicks or even regular contractions because there was no start and stop. It was just constant. By 5 p.m. that evening, I was in so much pain that it hurt to walk and my abdomen was sore to the touch. I started running  a fever of 100* + and that lasted into the night. Finally at around 2 a.m. we decided, we'd better just go get me checked out since I was running a fever and in so much pain.

We called our good friend Brittany to come over and sleep at our house so we didn't have to wake up our soundly sleeping 2-year-old. Once she and her husband arrived, we left for the hospital.

At the hospital, they monitored me and I started having irregular contractions on top of the constant abdomen pain. Finally, around 6 a.m. the doctor decided to admit me for fear of an infection around my placenta and the only way to rule it out was to deliver.

I was only dilated to 4 cm when they admitted me, so they decided to give me pictocin to try to speed up my labor. After about an hour on pictocin with no real change, they broke my water. They asked me about pain management and warned me that the contractions would start to get strong, but I remembered from my last delivery experience with Grady how much the epidural slowed down my labor so I told myself I'd power through them for at least an hour. And they weren't kidding about strong contractions, but Josh was amazing and he would watch the monitor and talk me through each of the contractions. After an hour, the contractions brought me to tears, I finally asked for the epidural knowing how tired I was and that I still needed to push.

The epidural came fairly quickly and the nurse that was with me for labor and delivery was amazing. She held me still as I had to endure getting the epidural through intense contractions. Once the epidural was in they checked me and I was 9 cm dilated! So I had gone from 4 cm to 9 cm in just one hour after  having my water broken! I was so relieved that all that hard work was not in vain, but this relief soon turned to panic when the nurse called out a code and the room was flooded with 8 hospital personnel. I couldn't make eye contact with Josh and they shoved an oxygen mask on my face and  beside me was a table full of surgical tools ready for emergency delivery! Griffin's heart rate had dropped to 80 bpm and mine was very low as well. They moved me from side to side and asked me to take big deep breaths, and were able to get Griffin's heart rate back up quickly, but it was a very intense few moments. I cried tears of relief when they told me that everything was fine and they didn't mean to scare me. I was happy to know that they could tell he was in distress and were ready to deliver him at a moment's notice to keep him safe. After all that, I was able to rest for a little over an hour before it was time for me to push.

The epidural I had this time was SO much better than the one I had with Grady. I could still move my legs and I could feel uncomfortable pressure, but no pain when having to push. It only took about 30 minutes of pushing and I had myself another sweet baby boy. When his shoulders were out, the doctor told me to reach up and grab him, it was an amazing feeling to pull him out and bring him to my chest. He was born at 1:48 p.m. He didn't cry very long when he was in my arms. We had beautiful, sweet first moments together. And the Lynchburg College nursing students that I allowed to watch my delivery thanked me with tears in their eyes.

At this point they were still concerned about infection because Griffin's temperature and heart rate were elevated and I was running a fever. The NICU team came and evaluated Griffin and determined that he just needed to be monitored to make sure his temperature went down but they thought he seemed perfectly healthy. My fever quickly left soon after delivery.

They're still unsure what caused my intense abdomen pain and fever but I am so thankful that there was no infection found.

Griffin weighed 7lb 1oz and was 19 inches long at birth.

Praising the Lord for a safe and healthy delivery and baby!


Monday, August 25, 2014

Sweet as Pie: A Baby Shower for Baby Pavao

It's so much fun to dream up a shower to celebrate a sweet friend due with her first baby.

What's even more fun is have the help of great friends and to get to do it all together. 
And the icing on the cake is getting to host it in a killer space like Toolry in downtown Lynchburg.


We opted to have a dessert spread and what better dessert than pie?
Like, every kind of pie you could want.

Black and white with touches of green and metallic made for a great palate in this space.


And leftover pie to double as favors. Yes.


We had the best time celebrating this beautiful mama-to-be!


All photos courtesy of the fabulous Adam Mullins Photography.


Some easy DIY projects from this shower: