Pages

Pages

Monday, September 12, 2011

trying my hand at embroidery

I took on my first embroidery project recently.
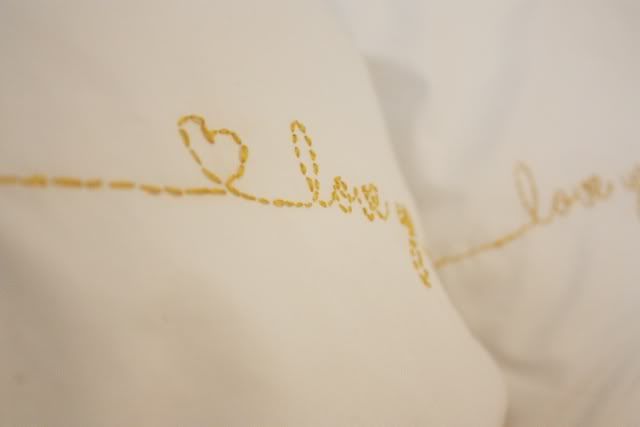
All it required was pillowcases, a large embroidery hoop, embroidery floss, an embroidery needle, pins, tissue paper and this love embroidery pattern from lazy may.
p.s. in case you're confused, that funky bird is the pincushion I made.
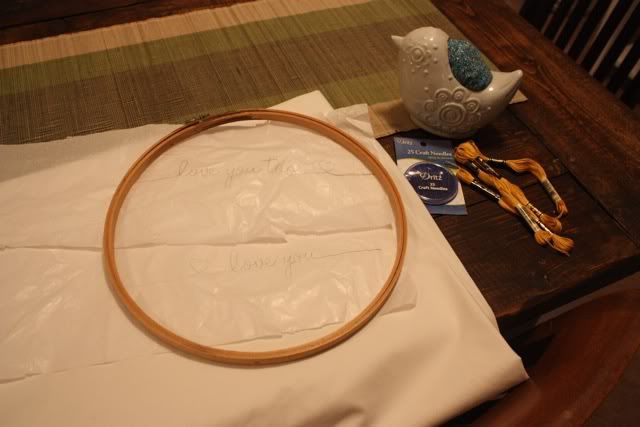

Since this was my first try at embroidery, I'm not really sure how you're supposed to transfer patterns to your fabric, but I decided to trace the pattern onto tissue paper and pin it in place so that I could embroider right over it.
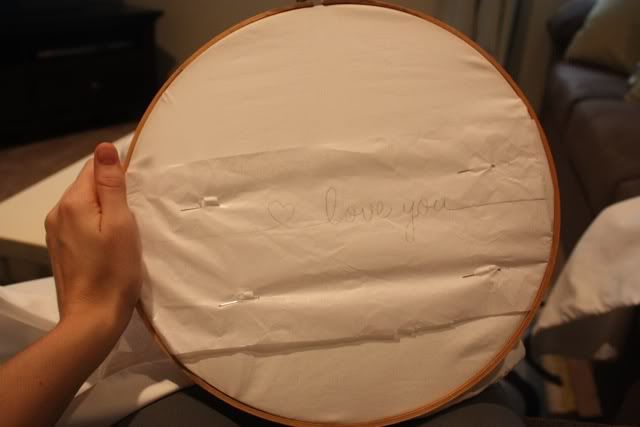

Here I go. I used two strands of DMC floss 3820 - mustardy yellow.
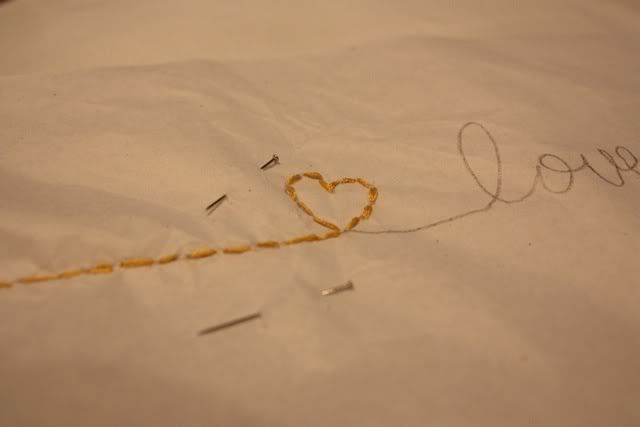

I know there are millions of kinds of embroidery stitches, but since I don't know any of them yet, I just stuck with simple, straightforward stitches.
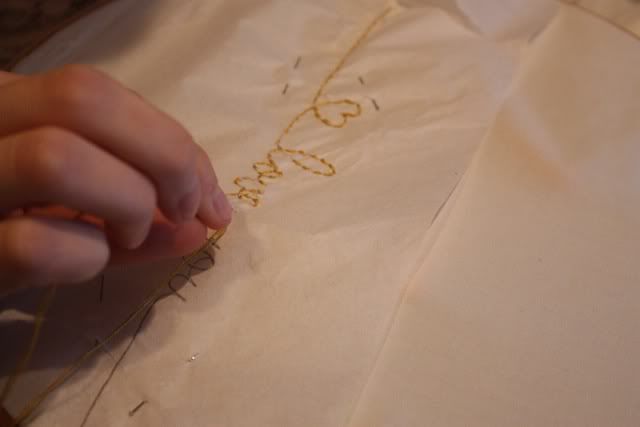

And more stitches...
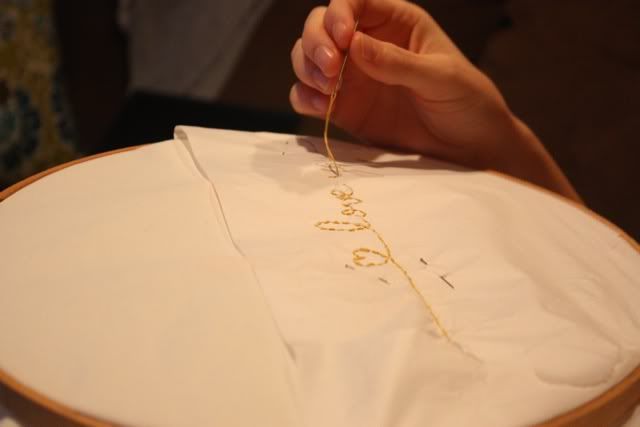

And even more stitches.
I'm not sure exactly how long it took me to embroider both pillows. There was a Rachel Zoe marathon on and all time was lost. It was ba-nan-as. (Sorry, couldn't resist.)
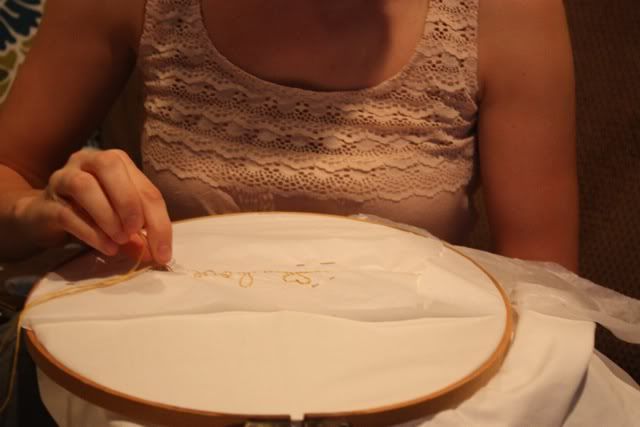

And when I was finished, I just tore off the tissue paper....
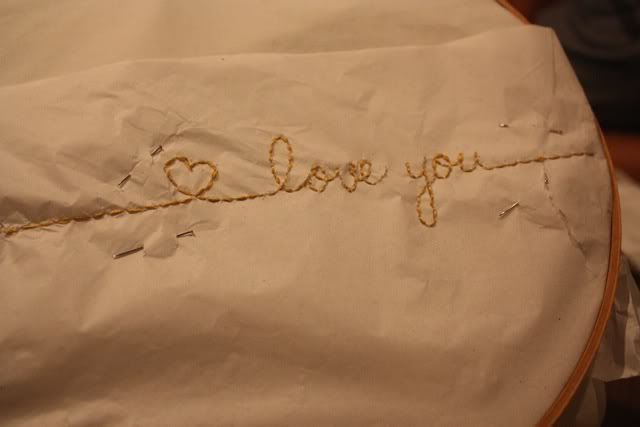

...and was left with this:
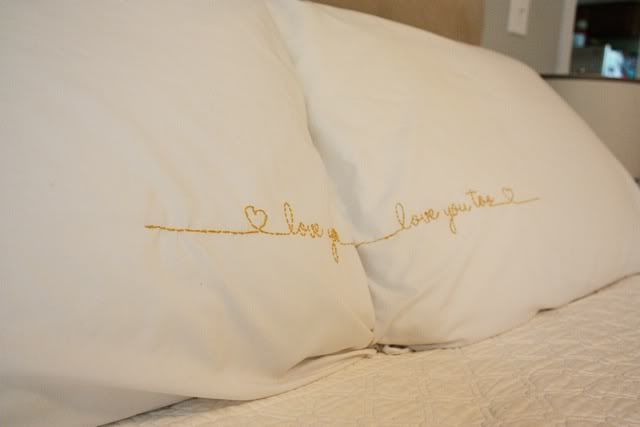


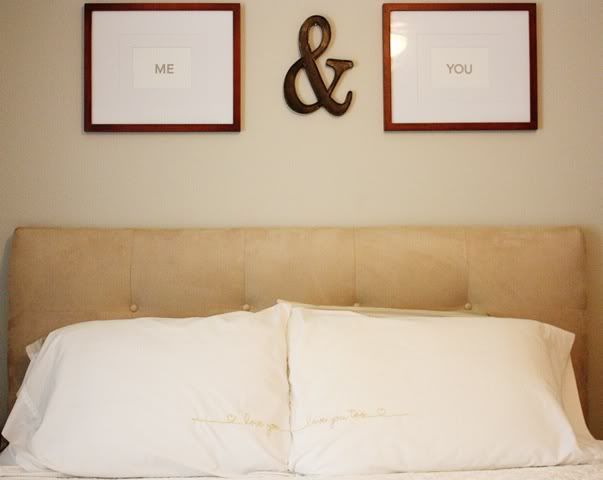
I was so proud of my stitchery. Being as it was my first time and all, I'd say those o's are rather impressive.
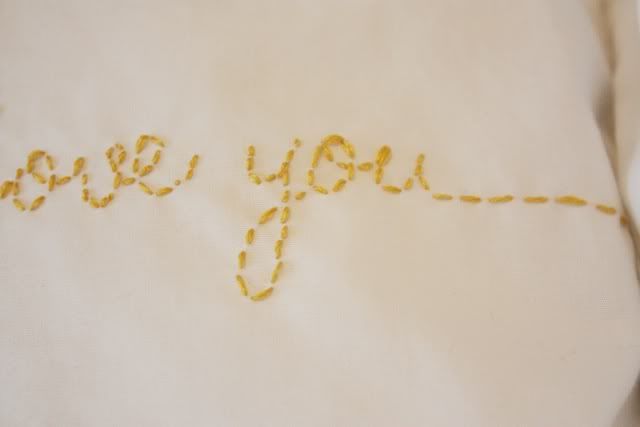

I was in the market for new shams but I decided I like these much better.
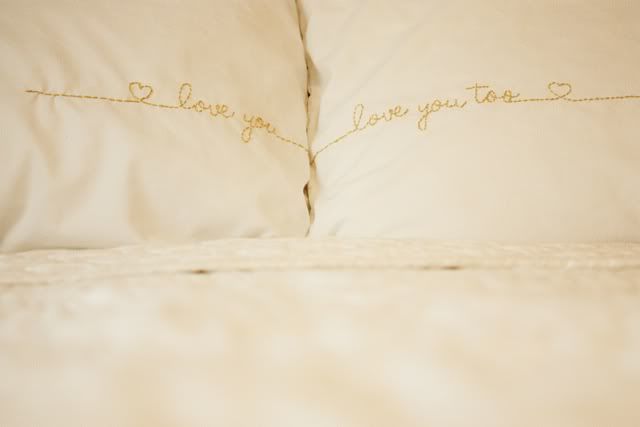


Ah, just looking at that makes me ready for bed.

Anyone have any advice for future embroidery projects for this newbie?

Friday, September 9, 2011

thrifted & gifted

When I'm thrifting, I'm always keeping my eyes open for things I can give to people. And I love knowing that my best friends would never turn their nose up at a thrifted gift. 

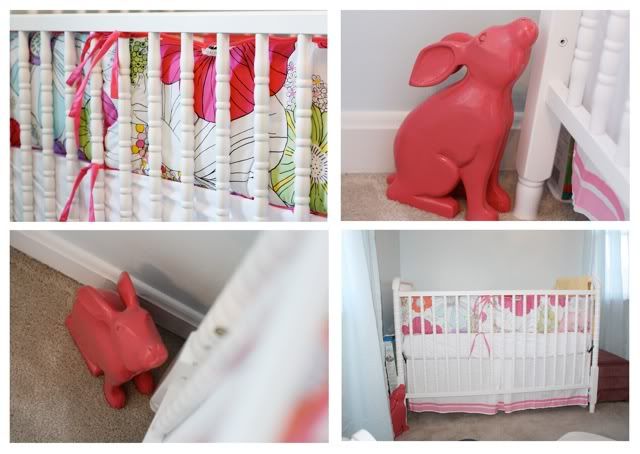
That was the case with this thrifted bunny. I saw him and I knew he had potential.

A few coats of pink spray paint later and he was a whole new bunny. And he looks so happy in his new home after I gifted him to my friend for her baby girl's nursery.

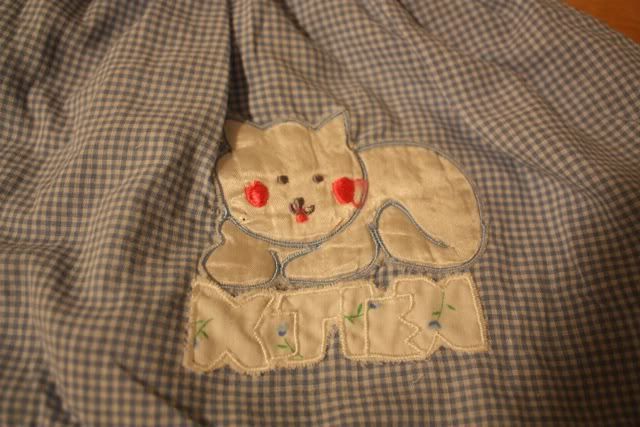
On subsequent thrifting trip, I found this vintage blue gingham dress. I'm a sucker for gingham and eyelets.

I am not a sucker for weird looking kittens.

A few homemade fabric flowers later and I had a whole new dress on my hands.

Definitely worthy to be gifted to a precious baby girl. 

I also like that my friends know that i love and appreciate a good thrifted gift. My friend Cheryl recently gave me this vintage stationary set and I am in love.

The box gets me everytime. And the stationary is so unique.


Be on the lookout for a 'luv letter' of thanks, Cheryl.

So, what's your take? Are you in favor of thrifted gifts?
Wednesday, September 7, 2011

i mustache you a question

I wouldn't necessarily say that I'm very 'trendy'.
I don't have a Keep Calm and Carry On poster.
Nothing I own is chevron patterned.
And you won't find an Eames rocker in my house.

But there's a certain trend I've been on the fence about for awhile and a certain yard sale find finally tipped me over the edge.

Please tell me you see it:

Don't those rungs just scream mustache?!
You can ask my girlfriends I was yard sale-ing with - I purchased this chair {for $5!} solely because the rungs looked like mustaches to me.  And I vowed to turn it into the mustache chair it was meant to be.

Josh didn't see it. When I brought it home and told him I was going to paint the rungs to look like mustaches, he gave me that look. You know, the one where he's like, I don't get it but I don't want to tell you that because I don't want to stifle your creativity or crush your spirit but I'm hoping you'll change your mind. Yeah, that one.
He can be such a wet blanket.

So instead of painting - which is hard to undo without painting over the whole thing when the mustache trend is over - I decided to go arts and crafts style. Mod Podge + cardstock.

My only obstacle was making a symmetrical mustache. I knew I couldn't free hand it - there's a reason I did graphic design over studio art. My drawing skills are, shall we say, less than awesome. But I knew I could make it symmetrical by folding the paper in half and drawing it. 

And who says you don't learn anything cutting out hearts in kindergarten?

Voila! A perfectly symmetrical mustache!

I did this twice more, playing around with different styles of mustaches. I wanted to make a Hulk Hogan style handlebar mustache, but it wouldn't fit on the rungs.

But here's what I came up with:

And I decided to use mod podge to apply it because it's glue - that dries clear - that also would protect it. Just what I needed.

All you do is coat the back with mod podge and then apply it to your surface and then coat the top as well. It's deceptive because when you put it on, it looks like this:

But then when it dries, it looks like this:


This chair is one of the final ones needed to fill up the spaces at the farm table.


 So, my question for you is...
Who wants to sit in the mustache chair?!

Monday, September 5, 2011

diy plate wall

Pinterest has made me a better woman. Seriously. It has me organized, inspired and most of all, motivated. I can be motivated to complete a project by simply seeing a picture.
Exhibit A:

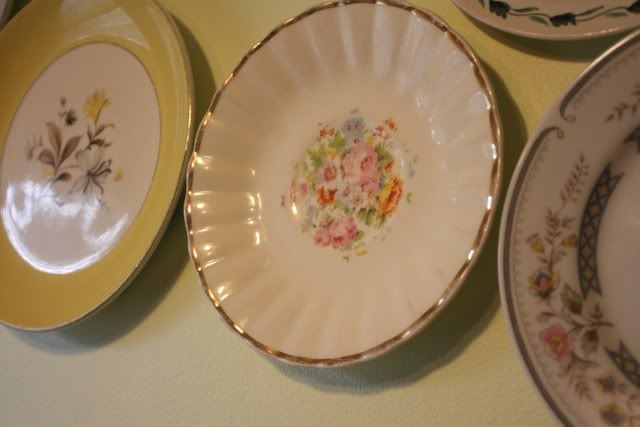
I have always loved the look of a plate wall and I actually started a plate collection a few years back, but it wasn't until i saw this photo that I was motivated to finally do something with those plates. 

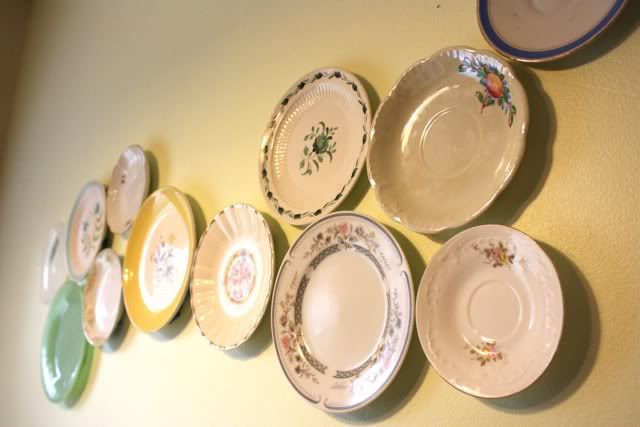
Looking over my plate collection, I only had a few that were display-worthy and more that I wondered, 'why did I think this was cute?' But luckily I hit the jackpot at a local antique store recently. Jackpot = 6 cute china plates for $3. 

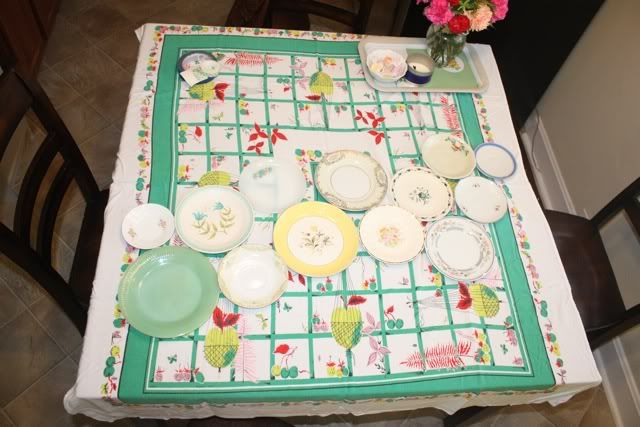
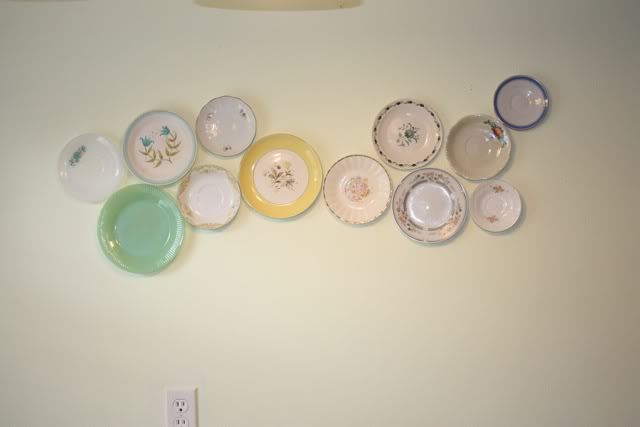
The first thing I did was arrange my plates on the table to see how I wanted to display them on the wall.

This next step may be unique to my situation, but it was oh-so-important in order to appease my tired-of-patching-and-re-patching-nail-holes husband. When he saw what I was about to do, horrific visions of a nail-hole ridden wall that I wanted to change to something different a month later ensued. 
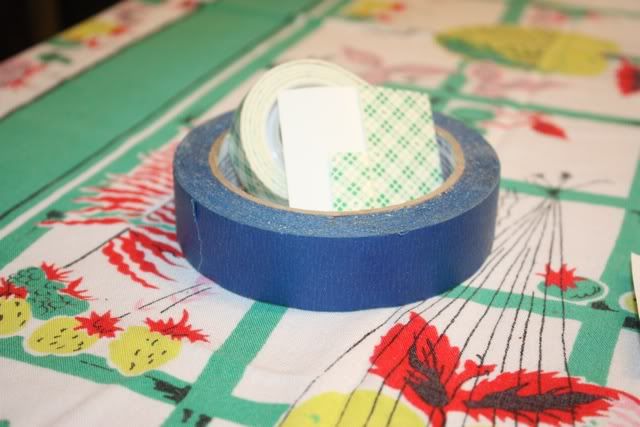
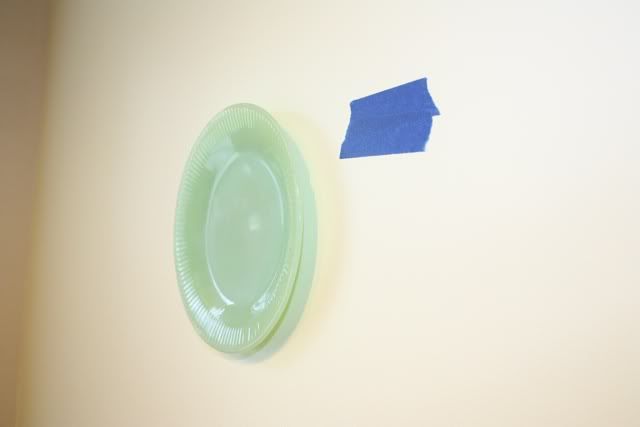
So, in an effort to save my marriage, I opted to use scotch blue painter's tape to protect my walls and my plates from the super-sticky mounting tape that I decided to use instead of nails and plate hangers (which is also a much more economical decision, btw). 

Painter's tape + mounting tape is a great hanging technique to have in your arsenal if a) you rent and need to have hole-free walls b) you like to change things around your house often or c) you prefer to 'eyeball' measurements and don't have the best accuracy with hanging things right the first time (guilty!)

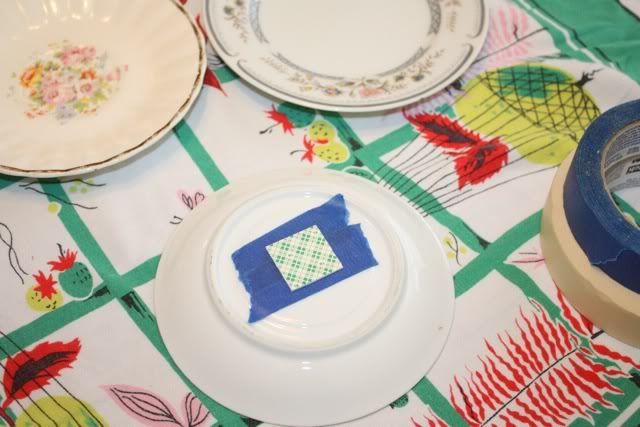
I protected the back of my plate with painter's tape and then applied the mounting tape.

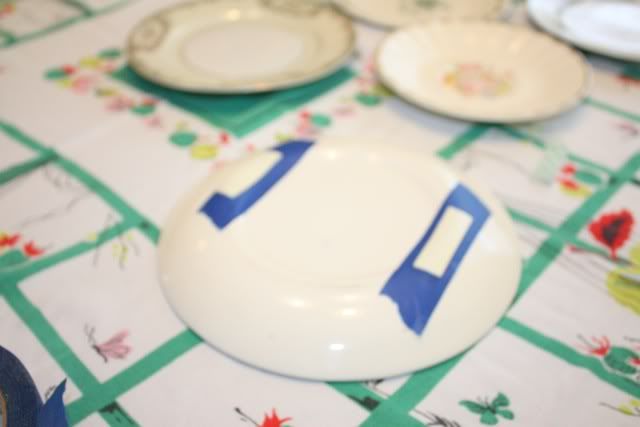
For plates with a beveled edge, I had to apply the mounting tape to the top and the bottom of the edge that would be flush to the wall.

Then I protected the spot on the wall where I was going to attach my plate.

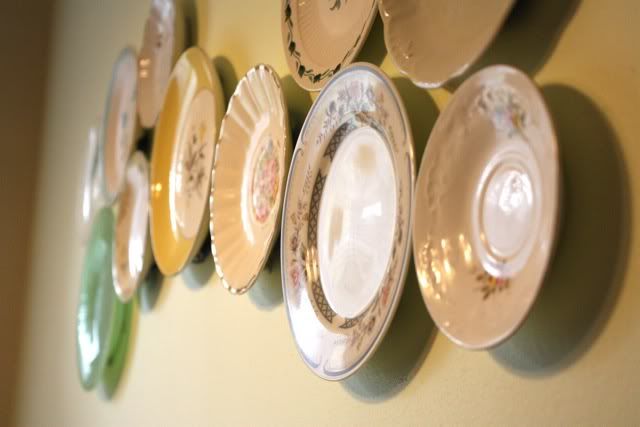
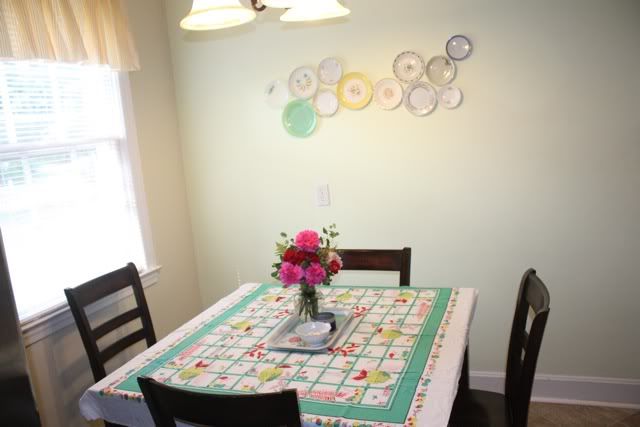
After repeating this process 12 times, I achieved this:

The mounting tape holds up to 2 lbs. so I feel secure knowing my plates will hold.

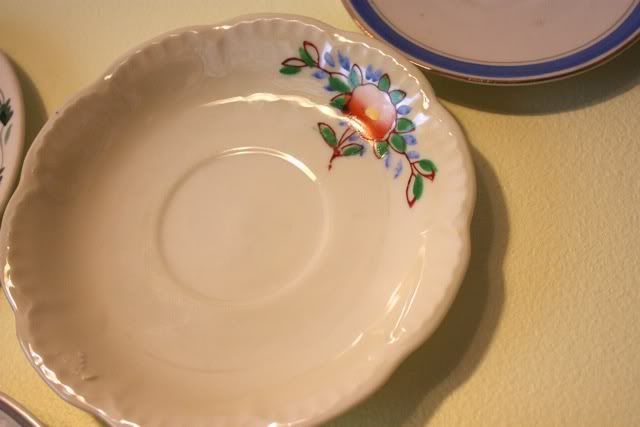
Each of these plates were chosen with care, but this guy is my favorite:

Although, this one is a close second:

I was even able to hide the chip in my vintage jadeite plate (a 25 cent yard sale find!).


This little wall just makes me smile.

And it looks like I have plenty of room to add more plates!


p.s. Happy Labor Day!! Hope everyone is enjoying a day off work - I know I am!

Wednesday, August 31, 2011

anthro knock-offs

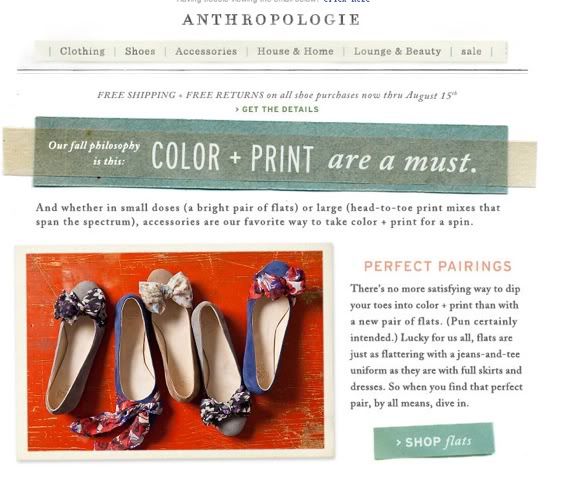
You know that weekly temptation email that anthropolgie sends out? 
I have a love/hate relationship with that email.
I love anthro's pretty pictures.
I hate being tempted to buy things I don't need.
I love the email style compostion.
I hate that everything is out of my price range.
I love feeling inspired by a single email.


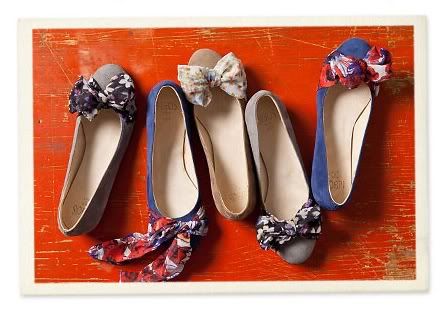
I got this email a few weeks ago and fell in love with these shoes.

But they were about $148 too much.
True to my frugality, I asked myself, Could I make this?
Where there's a will, there's a way, people.


What you'll need to DIY:
Old silk scarf or silk/chiffon-type fabric 
Clip-on earrings
Hot Glue


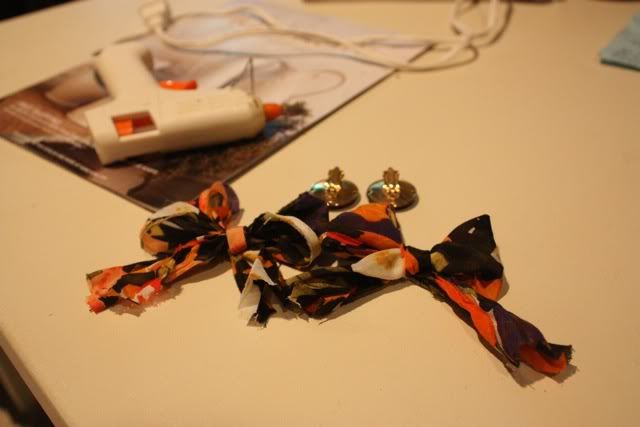
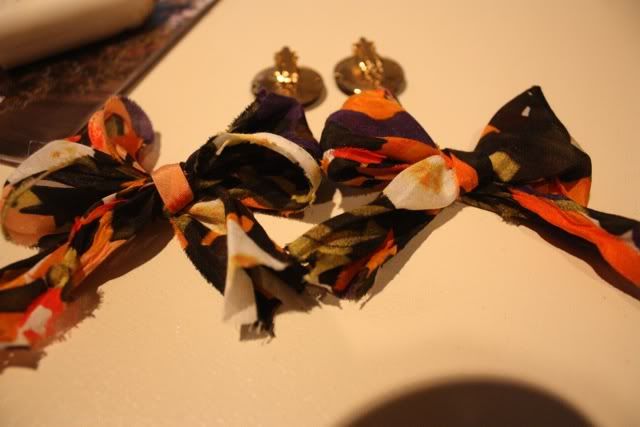
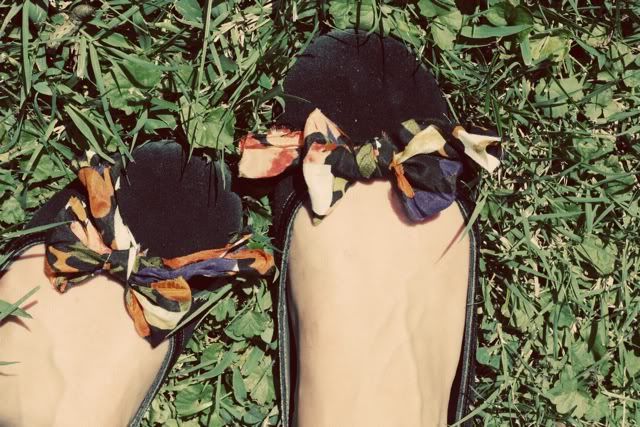
Take your scarf or fabric and cut it into strips for bow-tying. My fabric was part of an old j.crew headband that I didn't wear anymore.


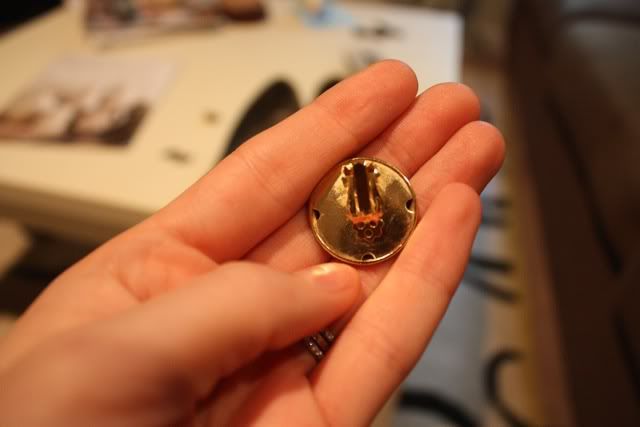
Take your clip-on earrings and either dismantle it so you just have the clip part or if your earrings are small enough, you can just glue your bows to the top of the earrings.


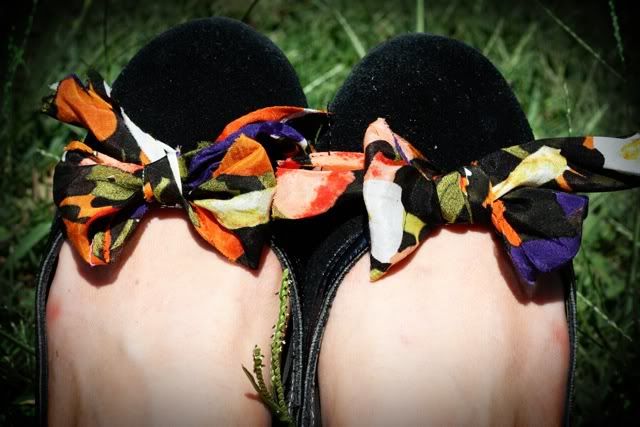
Attach your beautiful bows to a pair of flats.


I love my version better for the sheer fact that no money left my pocket - I used fabric and clips I already had and attached them to shoes I currently wear.


Thanks for the inspirational emails, anthro.


Shared at:
Making Monday Marvelous Linky Party