Pages

Pages

Showing posts with label parties. Show all posts

Saturday, September 23, 2017

Cheers to 3 years

A letter to you on your 3rd birthday.

Dear Griffin Boy,
You make life so special. You are joy embodied in a little boy. When you were 8 weeks old, our family went through some hard life changes. You were an angel. You slept through the night and woke with smiles every morning. You helped me press on in love. And you made my heart explode everyday with your sweetness. You've grown into your own little person. And we wrestle for who is in charge. We fight hard but we love harder. You bring me to the end of myself. And yet with your chubby hands on my face whispering 'i wuv you', I am undone. You've made me rely on God for wisdom and guidance and made me drop to my knees praying for patience. But I feel like the luckiest mom in the world that I'm the one that gets to love you. To guide you. To grow you. 
Cheers to 3 years, little boy. And many more to come. 
xoxo


Monday, September 12, 2016

Easy Statement Cake + Printable Numbers

We celebrated our Griff's second birthday this past weekend!
It is so much fun when birthdays fall on the weekend because then we're free to celebrate without lame things like work cramping our style. ;)

We just had a small family party for him and so I didn't really do many decorations.
I just wanted to get some fun balloons and a fun birthday banner and call it good.

But day-of I realized I didn't think about anything for his cake.
Then I remembered a simple trick I had done for Grady's 2nd birthday party and
decided to do the same thing for Griff's cake.

It is so simple and really comes out cute and makes a statement in a pinch!
Here's all you need for this cake:
- sprinkles
- card stock paper

That's it. And I've made it easy for you by creating a document with printable numbers 1-9 in a nice thick, sans serif font. 

Download your number, print it on card stock paper, cut it out, and then lay the number on top of your already frosted cake. You want your frosting to still be a tad sticky so the letter lays flush. And this is important so that your sprinkles stick too. Dried frosting will be a sprinkle disaster, trust me.
And I like to fold up one tiny corner of the number so it's easy to take off after the sprinkles go on.

Other helpful tips: Lay down a dish towel around where you'll be sprinkling because it's easy to catch the strays and then throw them away after and avoid unnecessary sweeping.

Once your number is laying flush on your cake, go to town with the sprinkles. Sprinkle your heart out. And make sure they especially fill in around the outline of your number.

When your cake is sufficiently sprinkled, take your folded up corner and slowly peel off your number.
Use an icing knife to smooth any icing that came off.
And behold your super easy statement cake!

I still like to add cake flags because I can't help myself.

And seeing my sprinkle-loving boy light up is the icing on the cake. ;)

Trying hard to blow out those candles.

Happy Birthday to my Griff, Griff.

Friday, May 2, 2014

Gender Reveal Party - Round 2

One of the things that I definitely wanted to repeat that I did in my pregnancy with Grady was a gender reveal party. We have the fondest memories of sharing that big moment with friends and family and we wanted to do it again.

Our gender ultrasound was on a Tuesday, but with Josh going out of town for work, we decided to wait until Sunday to actually have the reveal party and find out. 
It was a long wait to Sunday.


And as sentimental as we are, we decided to use the same bakery we used for Grady's gender reveal cake, only this time we asked them to make donuts. 

For the actual reveal donuts, we had them do cream filled with either pink or blue, and they had to put a white dollop of frosting over the piping hole in order for us not to see the color before hand.


Man, I love a good donut.

Of course, with milk.

And I made these fun donut balloons after seeing this blog post from Studio DIY.


And what do you know....
...it's a BOY!!

We are so thrilled for a brother for Grady!

Thanks to all our family and friends that skyped in... 

...and all those who could come celebrate this special moment with us!

We are overjoyed to be welcoming another little boy to our family in September!

Monday, July 8, 2013

You are invited

I seriously can't believe I'm planning my baby's 1st birthday!

Yes, it's a party for Grady but I also feel like we're celebrating the fact that Josh and I survived our first year with a baby - so much life change and lessons learned. 

And of course, parties always start with an invitation. 
As a designer, invitations are my favorite - they set the tone for the event and get people excited.


I'm not generally the themed party kind, but we are using a red & white striped tent in our front yard
so naturally I went the carnival route.
Lots of stripes, primary colors, and animals wearing party hats are on the docket.

So if you need me in the next two weeks, I'll be crafting and learning how to bake a smash cake.


Are you planning a party soon? I'm constantly adding new invitations to my shop!
Don't see what you're looking for? Email me about a custom design. 


Thursday, January 3, 2013

DIY Paper Fan Party Backdrop

So in like me fashion, I was still pulling up my polka dot tights when guests were arriving for the Black and White party at my house and I didn't get any pictures of the party decor or food spread.

But of course I got photobooth pictures because, well, isn't that what photobooths are for?!

That's why I think photobooths are so great - they're the perfect place for people to make sure they get their picture taken.

And the key to a great photobooth is a great backdrop.
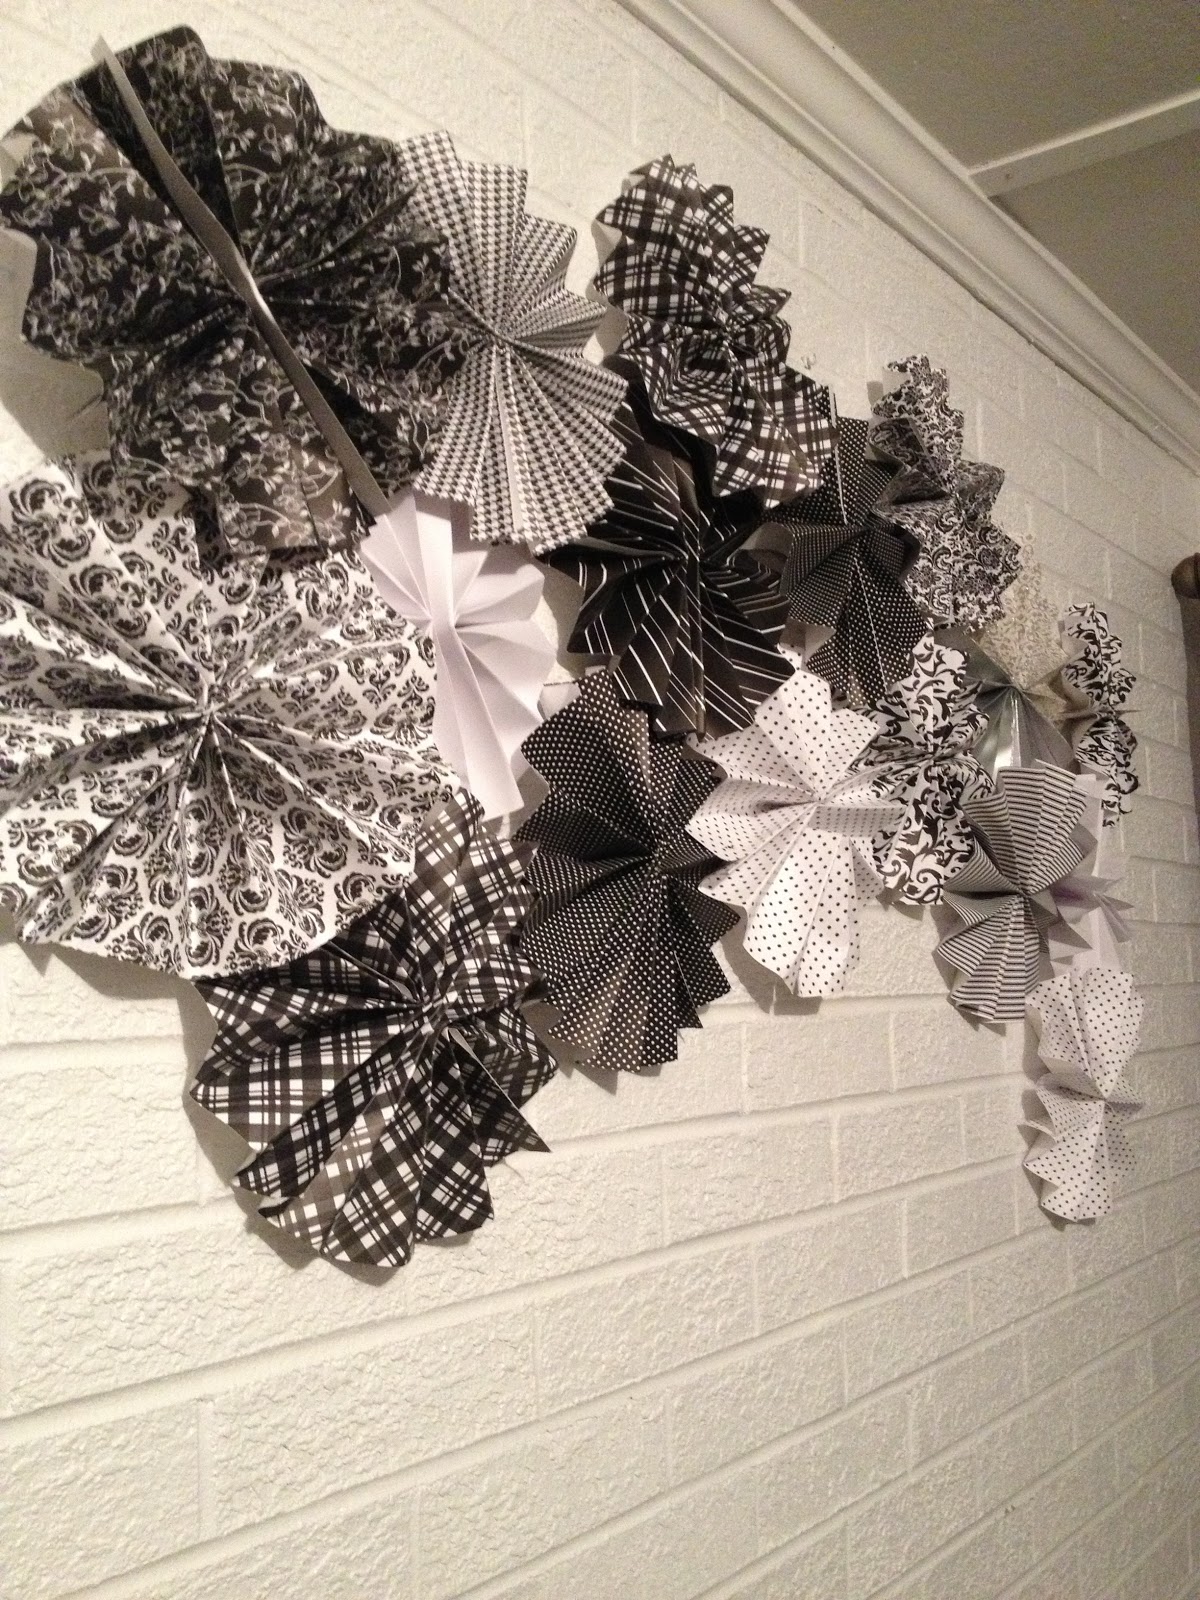
So my cohost, Kerry, and I decided to do a black and white paper fan backdrop.
a) Because it makes a statement & b) Because it's cheap and easy.

Start with a piece of paper and accordion fold it.

Then fold that piece of paper in half.

Staple or hot glue the open ends together.
(I started with stapling and ended up hot gluing most of them.)

Repeat with a second sheet of paper and then attach the two.

Repeat this process a bunch of times in the color scheme of your choice.

Then layer the fans around and on top of each other.
(Lucky me, I was adding these to a brick wall so I just hot glued them on and then peeled them off when I was done.)
Take a test picture to be sure it fills out the frame.

Add lights. 

Plus a banner if you chose.

Bring in a few photo-taking props.

And then let people take pictures! 


Done and done.

Tuesday, November 13, 2012

party planning

I'm thinking of hosting a holiday party.
I've pinned so many fun ideas and it's about time I put some to use.

Snail mail invites.
dollie

Black and white & sparkle.
White Christmas party

Fun backdrop.
backdrop

Photobooth.
photobooth

White elephant gifts.
brown paper packages tied up with rosettes

Hot chocolate bar.
Hot Chocolate Bar

Twinkle lights.
String lights in a scallop patter...so cute

Heavy hors d'oeuvres. 
food spread

I can see it now.

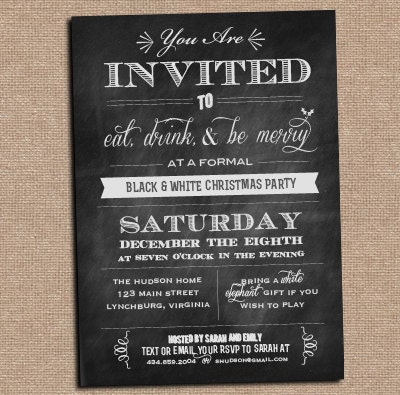
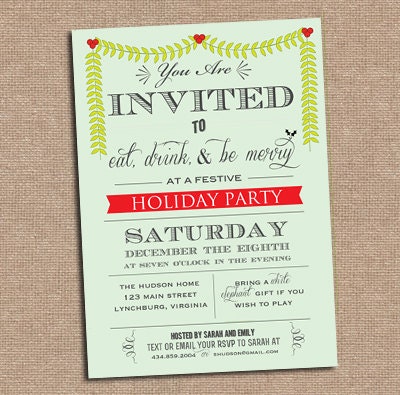
If you've got a holiday party in the works - check out these great invite options up in the shop!
Chalkboard Invitation - Holiday Party - Any Occasion

Holiday Party - Christmas Party Invitation