Pages

Pages

Friday, November 30, 2012

Grady's first food

Grady had his first taste of food this week.
It was an exciting milestone in the Goodman household.

We opted for sweet potatoes.


He was so curious about what we were giving him.

We were laughing because he seemed in shock by the whole process.


"Don't take your hand away, mama."

We have so much fun experiencing these 'firsts' with our sweet boy!

Wednesday, November 28, 2012

the secret of chalkboard art

Chalkboard art is all the rage.
Chalkboard art

Chalkboard Art tips

hand lettered holiday greetings

You might be feeling left out if you don't have nice handwriting or struggle with hand lettering.
I have decent handwriting and can even replicate fonts okay, but I was still feeling left out.
Then I saw this little tip.

The only catch is you need a printer.
Find a super fun font or a mixture of fonts and print out your words.

 Cover the backside of the paper completely in chalk.

Flip it over and trace with a pencil to get a perfect pattern to follow. In Emily's tutorial, she says to fill it in with pencil, which I did at first, but I found I was doing double the work by filling it in with pencil and then re-filling it in with chalk. And my hand was starting to cramp. So I found that just tracing the outline worked best and then you only have to fill it in once.

Voila.

So if you've been bummed about your bad handwriting on your chalkboard, but bummed no more.
It's a little more work, but the sky's the limit.

Go, make chalkbaord art.

Friday, November 23, 2012

BlackFridaySmallBusinessSaturdayCyberMonday SALE

In honor of Black Friday/Small Business Saturday/Cyber Monday, I am hosting an extended weekend sale! Use the code: SHOP15 to get an extra 15% off anything in the shop!

I've got stuff for all the people on your shopping list:

For the vintage floral lover
Vintage Floral Painted Serving/ Breakfast in Bed / TV Tray

For the mint green lover
Set of 8 Vintage Mint Green Melamine Plates 

For the bee lover
Vintage Occupied Japan Bee Serving Set 

For the nautical lover
Vintage Brass Anchor Mirror 

For the chevron lover
SALE - Vintage Chevron Afghan Blanket - Mint, Yellow, Burnt Orange, Olive Green Pattern


 For the silhouette lover
Silhouette Art - Couple with Horse & Buggy Silhouettes

For the coffee/tea lover 
Set of 2 Vintage Homer Laughlin Tea Cups - Gold and Red Stripe

For your friend born/married in 1973
Vintage 1973 Calendar Plate


For the toddler girl in your life
SALE - Vintage Navy Blue/Green Hearts & Bows Cardigan - 4T


For the entertainer
Vintage Two-Tiered Serving Platter - Silver Plated

For the film buff
Vintage Cine - Kodak Magazine 8 Camera / 8mm Video Camera

Let the holidays begin!!!

Monday, November 19, 2012

seeing stripes

It finally happened. 
I've been itching to paint stripes on a wall ever since we moved into this house over two years ago.
And we finally did it - and it took less than 3 hours.
I'm really wondering why we didn't do it sooner.

I read several tutorials before we started this project and here are the time saving tricks that we found to be super helpful.

1. Do your math. Measure the length of your wall and then divide by how many stripes you want. We opted for 7 stripes, because let's be honest, groups of odd numbers look better.
2. Make the math easy. Our wall was 79 inches. If you divide 79 by 7, it's 11.2857143. Try doing that math with a tape measure. So we just rounded down to 11 and left all the excess for the bottom. 

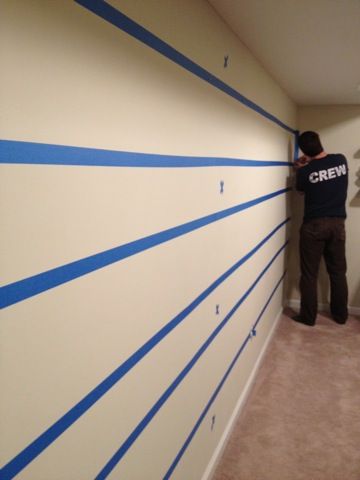
3. Measure in multiple spots. Before we put down the tape, we measured in multiple spots and made small tick marks with a pencil, then we stretched the tape from one tick mark to the other. Putting down a line of tape in several different increments like that made it much easier to keep straight. Unless you have a laser level, in which case, use that.

4. X does not mark the spot. Be sure to put tape in the stripe that you are NOT to paint. Hate to mess that one up.
5. Tape outside the line. Remember that you want your painted stripe to be the right size, so be sure to tape outside of your tick mark so that the whole area will be painted.

6. Two coats. Be sure to do two coats of paint and to paint into the tape.

7. Don't watch the paint dry. Be sure to peel off your tape while your second coat is still drying. This was a great tip from one of the tutorials I read - we did this and had NO bleeding! Perfectly clean stripes - I couldn't believe it!

Something about seeing stripes makes me smile. And I love how much character it adds to the room.

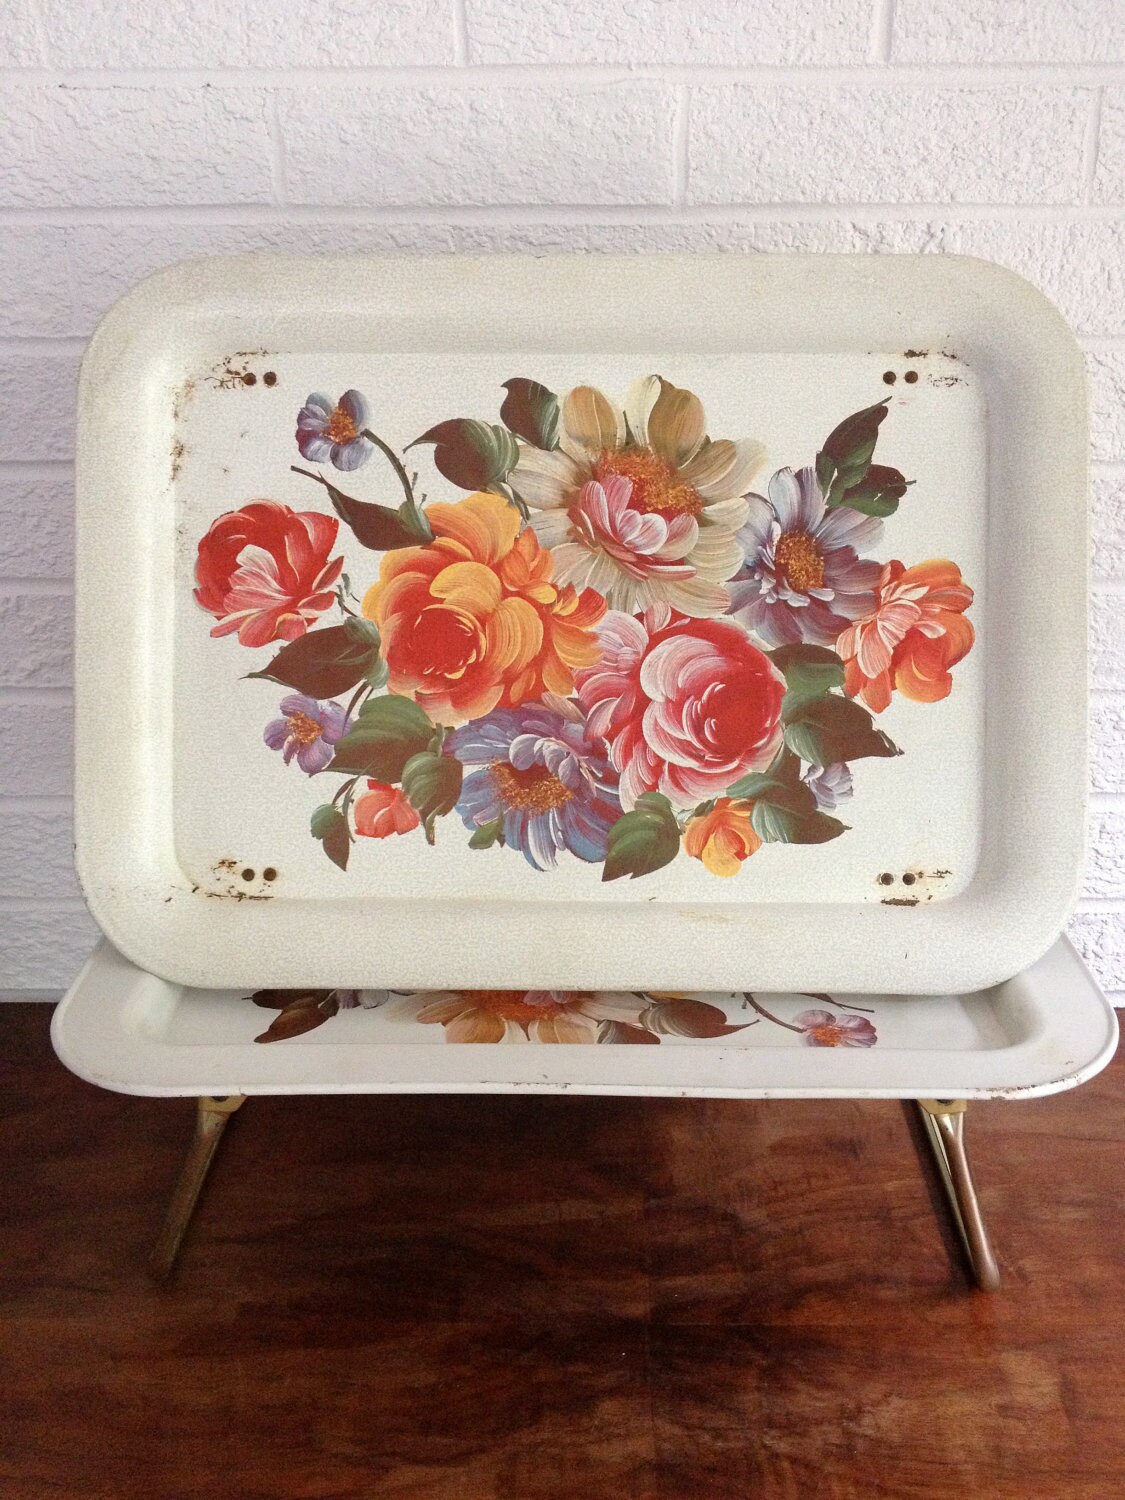
And here's my new favorite view.
Stripes and floral. Love.

Anyone feel like they could tackle a striped wall now?
I promise it's much easier than it seems.

Tuesday, November 13, 2012

party planning

I'm thinking of hosting a holiday party.
I've pinned so many fun ideas and it's about time I put some to use.

Snail mail invites.
dollie

Black and white & sparkle.
White Christmas party

Fun backdrop.
backdrop

Photobooth.
photobooth

White elephant gifts.
brown paper packages tied up with rosettes

Hot chocolate bar.
Hot Chocolate Bar

Twinkle lights.
String lights in a scallop patter...so cute

Heavy hors d'oeuvres. 
food spread

I can see it now.

If you've got a holiday party in the works - check out these great invite options up in the shop!
Chalkboard Invitation - Holiday Party - Any Occasion

Holiday Party - Christmas Party Invitation

Friday, November 9, 2012

put a magnet on it

I like to take time to beautify even the simplest of things - like refrigerator magnets.
You can pretty much turn anything you want into a magnet for the fridge simply by hot gluing a magnet to it!

1. An old spice tin: Find one. Clean it out. Put a magnet on it.
2. Washi tape: Buy some. Put a magnet on it.
{I found that the flimsy magnets like the ones you'd get from a business, work great for this}


3. Vintage pin: Get one. Remove the pin backing. Put a magnet on it.
4. Old clip on earrings: Dig through your grandma's jewelry box. Remove the clips. Put a magnet on it.

5. Fabric flower: Make one. Put a magnet on it.
6. Scrabble letters: Find the game. Pick out letters. Put a magnet on it.

As simple as that.


p.s. Menu planner is a free download via Ollie Bird.

Wednesday, November 7, 2012

#thankful

I don't know about you, but I love the month of November.
I'm definitely not one of those lets-just-skip-over-Thanksgiving-and-hurry-on-to-Christmas people.
(I am however, a swallow-that-last-piece-of-turkey-lets-put-up-the-Christmas-tree kinda girl.)
But I like to relish in November. And I think it is a great month to focus on counting your blessings and generating that spirit of thanksgiving.
I love to see my Facebook and Instagram feeds filled with what people are thankful for each day - it brings me joy and reminds me that I, too, have oh so much to be thankful for.

Last year, we put up a thankful branch at our house.
Well, this year, I didn't feel like taking down the Instagram photo display I recently put up, so I decided to just add to it.

I printed out enough cards to fill out one each day of the month, as the tradition stands.
(free download available at Jones Design Company)
 

Josh will write some, and I will write some, and Grady would write some, but he's mostly just thankful for milk.


And by the end of the month, we'll be overflowing with thankfulness.


I'm posting my different things I'm thankful for on Instagram too - you can follow me at @shelbygoodman