Pages

Pages

Wednesday, April 11, 2012

found

Isn't it the best when you find things you're actually looking for while thrifting?!
(As opposed to things that just strike you as lovely or things that you force yourself to make room for.)

Well this week/weekend was a good one for me scoring things on my 'to find' list.

Score #1: this perfect little metal cart.

This window (newly dressed might I add) in my mudroom is the perfect little sunspot for plants, but I needed something that could sit right under it and hold plants and my watering can. So I was looking for a vintage-y metal cart that I wouldn't mind if it got wet while watering.
Enter chippy metal cart for $5.


Score #2: While organizing my office/craft room, I realized that all my sewing goods are being stored in tupperware. Not cute. I thought to myself, I should look for a nice sewing box. In my mind, I wanted to find a sweet vintage one, but I also realistically noted that I could use a 40% off coupon on JoAnn's to pick one up.
Several days later - hello, sweet vintage sewing box for $1.

I know, not the cutest thing in the world (the gold in the basketweave makes it look dirty), but I knew a quick coat of spray paint could make it just as I imagined. I chose a pea green to keep that vintage look.

And it has tons of storage.


Score #3: Josh and I love bread. It's not uncommon for loaves of french bread or rolls to be found sitting out on our counter. Not too long ago, my friend Vanessa snagged a sweet vintage chrome breadbox. A breadbox - duh! I had totally forgot these things existed. But if it was going to be out in my kitchen, I wanted one with a great vintage look. I went on etsy and favorited a bunch to get an idea of what I was looking for and then my friend (seeing all my etsy favorites pop up) sent me a picture of one and I fell in love - the breadbox of my dreams.

Would you believe I found this same exact vintage bread box at a yard sale this weekend for $1?!
I wouldn't - but it happened! The old man who sold it to me joked that his wife may have left some bread in there and I replied with an over zealous laugh. I didn't want him to realize what he was doing and change his mind. 


And no, his wife did not leave any bread inside. The inside was surprisingly nice for how old it is.

Anyone else get some great scores recently? You know I love a story about a great deal. 

Shared at: Her Library Adventures,& Southern Hospitality

Monday, April 9, 2012

Faux Cool: Roman Shades

Remember that naked window in the mudroom?

Well, it finally got dressed. 
I knew I wanted to do a roman shade of some sort and was all set to follow this DIY faux roman shade tutorial when I came across this idea from Amanda.
Not only was it much simpler (Martha's tutorial is quite extensive) but it also cheaper! The only downside to this method is that you can't really pull the shade up and down. This was fine with me because this window doesn't have a screen in it anyways, so it's rarely opened.

Here's all you need:
Fabric & 3 Tension Rods

Here's the basic breakdown:
Decide on fabric. I went with a gray linen so it wouldn't darken the room too much.
Then, measure your window and don't forget to include your seam allowance (I learned this lesson the hard way). Cut your fabric to the right dimensions and sew in your unfinished edges.

Next, create a pocket at the top to slip your tension rod through.

Now, take your finished piece of fabric to the window. Here you'll place two tension rods where you want your roman shade 'folds' to be.


Now, slip your third tension rod through the pocket you created at the top and place it in the window. Put the rest of the fabric behind both of the other rods.

Now pull your fabric over each of the rods until it hangs as you like it.


Your tension rods are hidden and you have the look of a roman shade!

This window treatment was so easy to create - I think I might make some for the new office!

Isn't it fun to know roman shades are no longer have to be expensive?!

Friday, April 6, 2012

24 weeks & at a loss...


Wanting to see the previous weeks? Look here.


So, I've been searching really hard trying to find a cute baby book for Grady...and I'm at a loss.
I had all these ambitions for making my own, but then reality set it and I realized it just wasn't going to happen. I'm looking for a more classic take on the baby book with less of the cheese-factor I see in most baby books and absolutely no cartoon monkeys.

There are definitely some cute options out there, but most are out of my baby book price range.
I love this one from RubyLoveDesigns. It's customable and classy with lots fun information pages. ($60)Modern Baby Memory Book. Ruby Love Modern Baby Book. Gray Mod Circles Album


Another adorable etsy option that is out of my price range is from 2giggles.
Super modern and beautifully designed. ($105)
Baby Book -  Blue Chevron (125 designed journaling pages to record pregnancy up to 5 years)


I'm almost tempted to go the vintage route, but most of these don't leave much extra room for photographs.
Vintage Baby Book Album

What did you do for a baby book? Anyone knows of any classy and affordable options?
Suggestions appreciated.

Wednesday, April 4, 2012

contact-ing

I am quite the happy camper because we made TONS of progress on our list of projects this weekend. We mainly focused our efforts on the office/craft room combo.

One of my little projects was making over my paper storage unit. It's an old hand-me-down from my parents back in my college days, but I love it. It's super functional, but it's not the cutest thing in the world.  I never really cared what it looked like before because it was hidden away downstairs where no one could see it. But now that it's going to be on display in the office and visible from the living room through the french doors, I wanted to make it a little easier on the eyes.

Lucky for me, I had an unopened roll of vintage contact paper that I had picked up Goodwill several months ago for such a time as this. And if you've ever tried to paint particle board furniture, you understand why I did not even consider that route.
So here's all it took - contact paper, scissors and an exacto knife.

Purchasing a new paper storage system was out of the question - those things are expensive! But if I had been able to, I would have liked a white one, so the fact that my contact paper is white with gold details made me happy.

Don't you love that tag line: Now Home Decorating Can Be As Easy As 1-2-3!

I started on the top and the paper rolled out fairly easily.

The biggest thing was making sure I had the paper lined up and smoothed out.

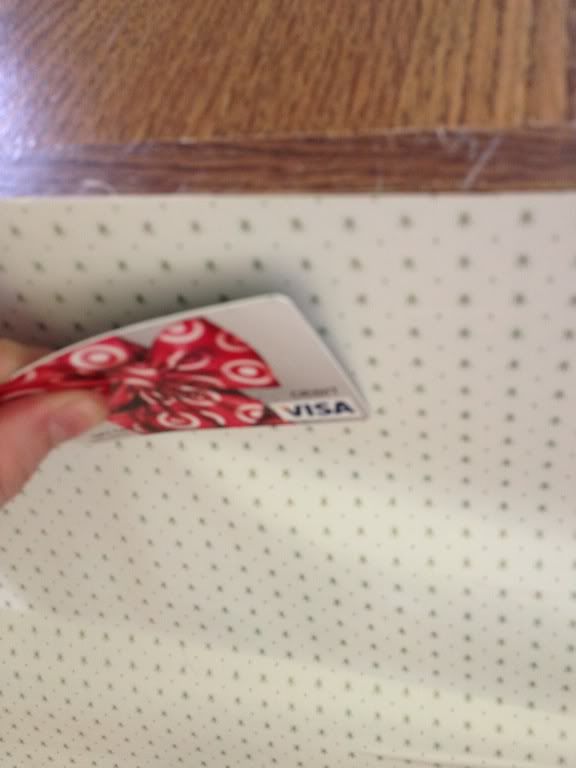
I used a credit card to smooth out any air bubbles.

With the excess hanging over the side, I used my exacto knife to cut clean corners and wrap the contact paper underneath.

Once I had all four sides done, I opted to cover the middle slats as well.

Here she is in all her finished glory.

It's so nice to be able to walk into the room and not see a big brown blob.
The white with gold flecks works perfect in my space.

I was so pleased with how well it adhered and how clean the corners came out.

Now even my view from below is pleasant.

Project total: $1.50 + 30 minutes

That's just the tip of the iceberg - can't wait to show you what else has been going on up in here!

Monday, April 2, 2012

sentimental packrat - take 2

I've already admitted that I'm a sentimental packrat and I save things the average person wouldn't hold onto for years. This is not an easy thing to be when you are in the process of purging your house of unnecessary items.

I'm happy to admit that I was able to let go of lots of things like my wedding binder packed full of ideas/plans for my wedding that happened 4 years ago, a 60+ page research project I wrote in college, and a box full of random movie stubs. Under other circumstances, I may have hung onto these things for another 30 years.

One thing that I came across, that I absolutely could not part with was my box full of cards. I'm already a sucker for a great looking card, but this box was full of ones from people I love. Ones that had special notes in them about moments in my life. These, I could not part with.

So instead, I decided to organize the cards by year. 

Just going through and re-reading the cards made this easy to do. Then I punch a hole in the center of each card and tied them together. For the front, I stamped a piece of cardstock with the year.


You might think I'm a little crazy, but when I was finished I could pick up a year and remember how in 2008 Josh's mom wrote me the sweetest card a couple days before I married him and became her daughter-in-law.

I could fall in love with Josh again reading a heartfelt card he wrote me on my 24th birthday in 2009.

I could remember the thoughtfulness of my parents sending us a housewarming gift when we moved into our house in 2010.

And have myself a good cry over the letter my best friend Megan wrote me before she moved away.

I felt the bond of friendship reading out-of-the-blue cards from great friends.

And was reminded how much something as simple as a card meant to me when I was going through one of my hardest times.

It really is a great way to look back and reflect over a particular year.
And since I took the time to organize them, I can go in my cabinet and grab a year whenever I feel like a stroll down good ol' memory lane.


Anyone else out there a card-saver? What do you do with all your old cards?